You stand in a half-demolished driveway while the truck unloads, and you know the concrete sets fast. Rush the sequence and you get a cracked slab to patch by next spring. Pour with the right clock and it lasts decades.
A slab pour is a timed sequence of base prep, screeding, finishing and curing, and it fails the moment you skip or rush a step.
What Pouring a Concrete Slab Actually Involves
Concrete slab pouring is a six-step sequence: base prep, form assembly, pour, screed, finish, and cure. Each step has a window where it works and a limit where it fails, and the windows run back to back.
Concrete is not a liquid you pour and walk away from. It is cement, aggregate and water hardening through hydration, a chemical reaction that needs moisture and runs for 28 days. Screeding levels the wet mix, bull floating closes the surface, and curing keeps that reaction going instead of letting it stall.
Once the concrete leaves the chute you have 90 to 120 minutes of working time in warm weather before it starts setting, and less than that in heat. Every step after the pour has to fit inside that window. There are no do-overs on a slab.
Base and Forms: What Has to Be Right Before the Concrete Arrives
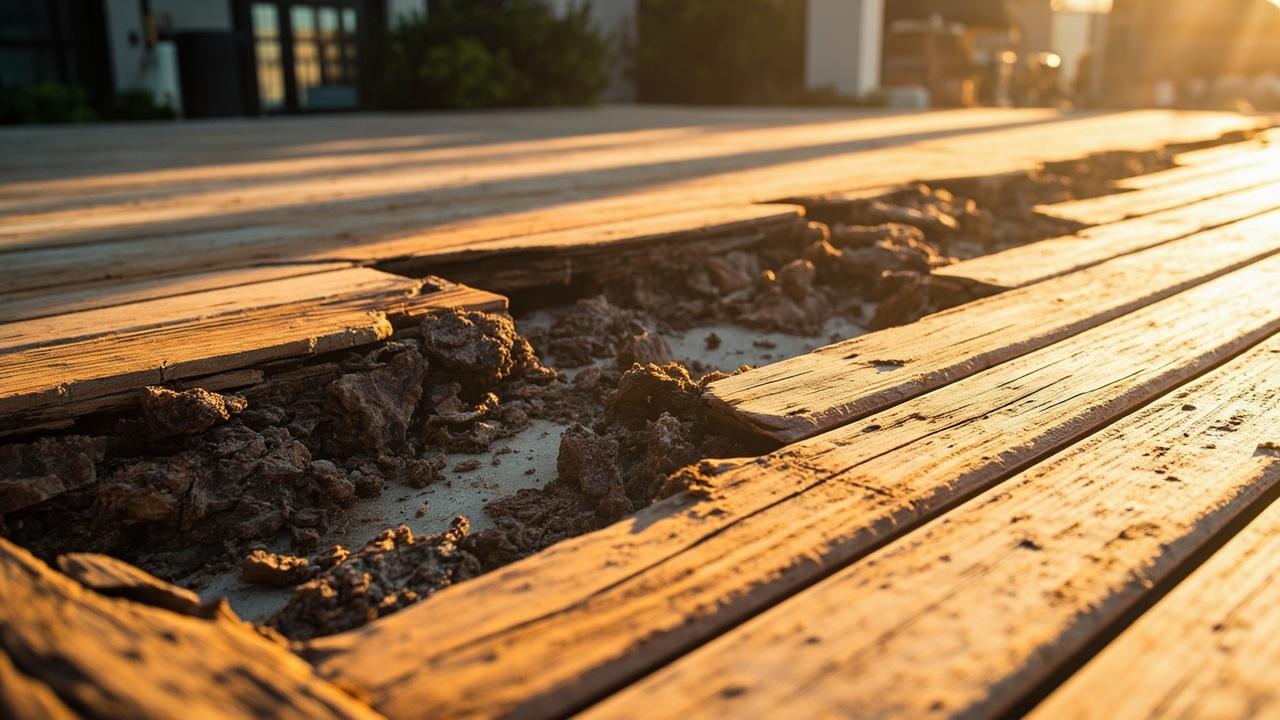
A compacted gravel base is the non-negotiable foundation for any slab that will carry vehicles. Pouring on native soil or loose fill means the slab settles unevenly and cracks regardless of the mix strength. Rush this step and you are choosing a repair bill in two or three years.
Pour 4 to 6 inches of 3/4 inch crushed stone and compact it in 2 inch lifts, 3 to 4 passes per lift with a plate compactor or hand tamper. Dumping the whole depth at once leaves soft spots that settle later.
Walk the finished base and your footprints should not sink in. Check depth from the top of the forms down to the base at several points and keep every reading within 1/4 inch of the others.
Grade the slab to shed water: a minimum 2 percent slope, or 1/4 inch per foot, away from the building. On a 12 foot wide slab against a house, the far edge sits 3 inches lower than the edge nearest the wall.
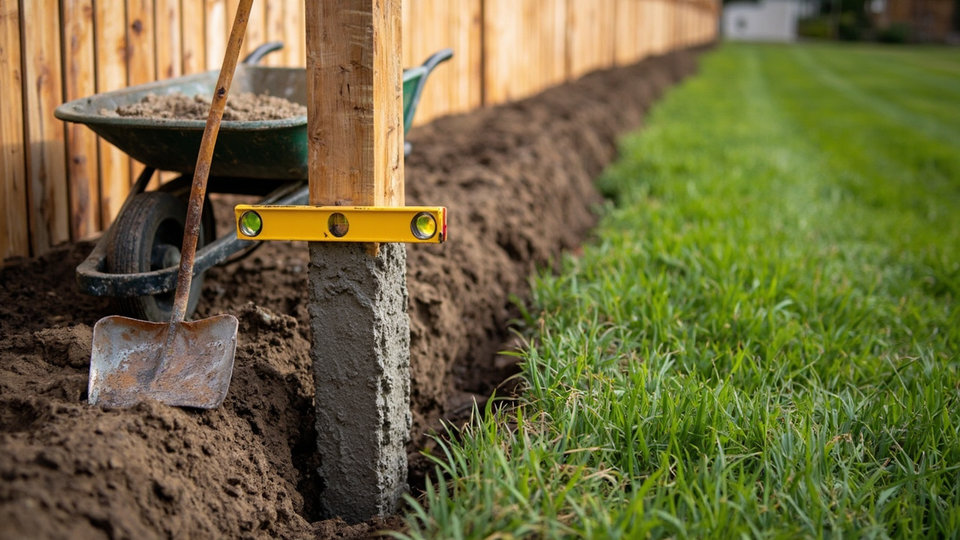
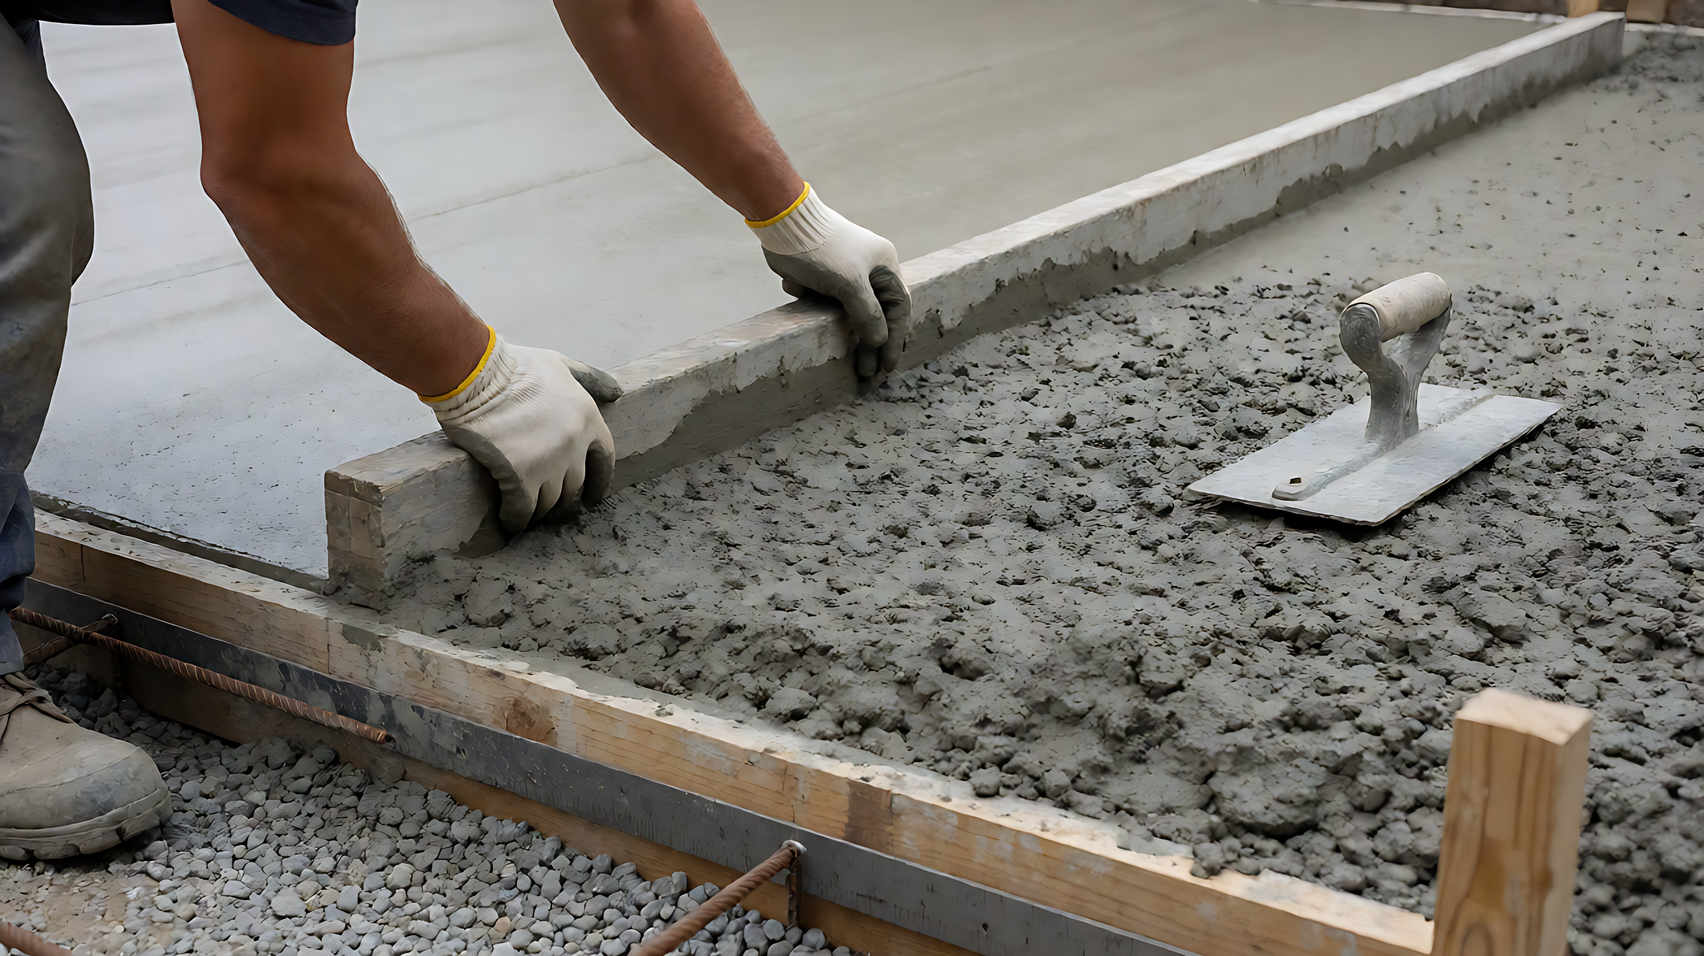
Forms decide the edges. Use 2×4 lumber for a 4 inch slab and 2×6 for a 6 inch one, with 2×2 stakes every 3 to 4 feet on the outside. Level the boards, then check the slab is square by measuring both diagonals from corner to corner.
Where new concrete meets existing concrete, pack 1/2 inch expansion joint material against the old surface so the two can move independently.
Add a 6 mil polyethylene vapor barrier for a garage or shed floor, for heavy clay soil, or where code requires it. For an outdoor patio it is usually unnecessary and can trap bleed water. Reinforcement matters too: any slab larger than 8 by 8 feet wants 6×6 inch welded wire mesh, and rebar sits at mid-depth on chairs rather than lying on the gravel.
Call 811 at least two to three days before digging to mark underground utilities. Permits are commonly required for slabs over roughly 120 to 200 square feet or any structural work, which means a call to the building department two to three weeks ahead.
Pouring, Screeding and Finishing: The Part That Has a Clock
Pour in 3 to 4 foot sections, starting at the corner farthest from the truck and working back toward it so nobody walks through wet concrete. Overfill the forms about 1/2 inch above the top. If the mix looks stiff, work it harder rather than adding water, which weakens the concrete.
Here is the sequence and the window each step lives in.
| Step | When | Tool | What it does |
|---|---|---|---|
| Screeding | Immediately, finish within 30 to 45 minutes | 2×4 board | Levels the surface to form height |
| Bull floating | 5 to 15 minutes after screeding | Bull float | Embeds aggregate and brings paste to the top |
| Edging | 15 to 30 minutes after floating | Edger | Rounds and finishes the slab edge |
| Control joints | 30 to 60 minutes after edging | Groover | Controls where the crack forms |
| Hand float | 45 to 90 minutes | Magnesium float | Smooth finish for garage floors |
| Broom finish | 1 to 2 hours | Concrete broom | Slip-resistant texture for outdoor slabs |
Screed the surface right away and make two or three passes over each area, filling low spots with fresh concrete as you find them. Do not leave concrete sitting unscreeded for more than 10 to 15 minutes on a large slab.
Bull float 5 to 15 minutes after screeding, once the sheen has disappeared from the surface. Float while water is still standing and you weaken the surface; the wait is longer in cool weather, 45 to 60 minutes around 60 degrees Fahrenheit, and 15 to 30 minutes around 80.
Run the edger along the form edges 15 to 30 minutes after floating, then finish with a broom finish 1 to 2 hours after the pour for anything outdoors that will get wet underfoot. Two to three passes with the edger leave a rounded edge that resists chipping.
Inside a garage, a magnesium hand float in sweeping arcs gives the smooth finish.
The failure here is always a timing one. A DIYer once ordered 3 yards for a 12 by 16 patio, took delivery at 2 PM on a 95 degree day, and by the time the concrete was spread it had begun setting. The slab came out wavy, with low spots and a rough texture. That afternoon pour cut the working time from 90 minutes to 45.
Control Joints, Curing and the First Winter
Control joints are intentional weak points where the slab is meant to crack, in a straight line instead of a random zigzag. Groove them 30 to 60 minutes after edging, while the concrete still works but has firmed up enough that the groover will not tear the surface. Press the groover a quarter of the way down: 1 inch deep on a 4 inch slab.
Spacing follows one rule. The distance in feet equals two to three times the slab thickness in inches, so a 4 inch slab wants joints every 8 to 12 feet. Every inside corner and every corner touching a building or step gets one. If you prefer a saw cut instead of a groover, the concrete has to be hard enough to resist ravelling at the cut, which means 4 to 12 hours after the pour.
Curing is the step most people skip, and it is the one that decides how the slab ages. Concrete hardens through hydration, a reaction between cement and water, not by drying out. Keep it moist and the reaction continues; let it dry out fast and the reaction stops, leaving weak, porous concrete that cracks. Proper curing raises final strength by 30 to 50 percent.
The timeline you can plan around: walkable in 24 to 48 hours, about 70 percent of final strength at 7 days, full design strength around 28 days. A car can usually go on the driveway after 7 days, but the slab is not finished until the month is up.
The first winter is the real test, and a slab that was rushed settles or cracks within two to three years.
When to Pour, When to Wait, and When to Call a Pro
The ambient temperature window decides success or failure. The ideal pour happens on a dry day with the air at 50 to 60 degrees Fahrenheit and no freeze forecast for 48 hours. Below 40 degrees, protect the slab with blankets, heated water or accelerators until it reaches 500 PSI. Above 90 degrees, use a retarder, cold water and a dawn start.
Your crew decides as much as the weather does. A slab under 200 square feet, roughly 12 by 16 feet or smaller, with one or two helpers is a realistic weekend project. Past that, or with complex drainage, structural footings or a garage floor that has code requirements, hire a crew.
Choose 3,000 PSI if the slab only has to hold furniture on a patio or shed base. Choose 3,500 to 4,000 PSI if a vehicle will park on a driveway, because the load is what wears the surface through.
If the base is not compacted or the weather is outside the window, wait. A failed slab costs far more to fix than a week of patience.
Once the slab is cured and sealed, the next decision is what goes on top of it. For advice on protecting the finished slab from stains and wear, read our guide on concrete sealer types.
Still comparing surfaces for a driveway? See our concrete vs paver driveway comparison. To understand the mix itself, start with our concrete mix design and strength guide.