Noticed the old vanity rocks when you lean on it, and the shutoff valves look crusty? A new cabinet plus top is one of the most satisfying weekend upgrades, because fresh storage, a clean surface, and sound plumbing change how the whole room feels. Bathroom vanity countertop installation is the process of setting a level cabinet anchored to studs, bedding a quartz, granite, or cultured marble top, then connecting faucet, drain, and supply lines with watertight seals.
What a Vanity Install Actually Involves
A bathroom vanity installation centers on a cabinet 30 to 72 inches wide paired with a fitted top that carries sink and faucet loads daily. Vanity cabinet 30 to 72 inches wide spans powder rooms at the small end and double sink layouts at the large end. The cabinet must sit level before the top touches it, because every later joint inherits this first placement.
Standard drain outlets sit about 18 to 20 inches above the finished floor, with hot and cold supplies flanking the drain slightly higher. Shutoff valves quarter turn ball type replace old multi turn stops during this job, because they close fast with a short twist when a future leak demands speed.
The correct sequence runs measure, dry fit, anchor, set top, connect plumbing, then seal and test, with a checkpoint at each stage. Level tolerance 1/8 inch over 4 feet separates tops that drain toward the sink from tops that pond water at the backsplash. Keep a four foot level and composite shims within reach from the first minute.
Measure the Space and Pick Cabinet Plus Top
Bathroom vanity measuring starts with width between finished walls minus clearance for doors and drawers to swing without striking trim. Standard vanity height 32 to 36 inches to the top of the counter suits most adults, and depth of 18 to 21 inches should leave 30 inches of clear floor in front.
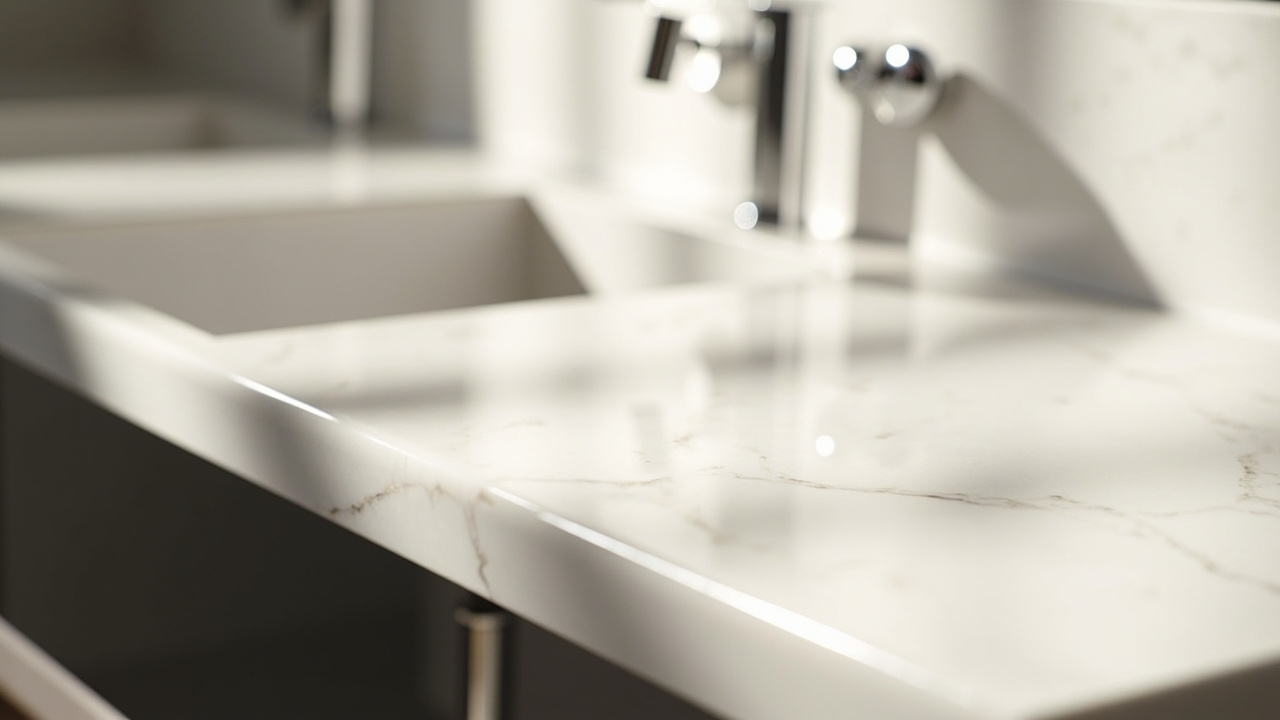
Countertop material choice balances budget, maintenance, and moisture tolerance in a steamy room. Quartz top 200 to 600 dollars installed for a single sink length resists stains with almost no upkeep. Choose quartz if low maintenance matters most, granite if natural pattern matters most, and cultured marble if tight budget matters most, since cultured marble top 100 to 250 dollars still allows an integrated sink.
Finish pairings deserve a decision before ordering, because the vanity anchors the palette of the whole bath. Confirm samples together under bathroom lighting, since floor tile meets the cabinet toe kick. Our ceramic vs porcelain tile bathroom comparison explains which tile body handles wet floors better around a vanity that sees daily splashes.
| Top material | Typical cost (USD) | Upkeep | Pick it when |
|---|---|---|---|
| Quartz | $200 to $600 | Wipe clean, no sealing | Stain resistance tops the list |
| Granite | $250 to $550 | Reseal yearly | Natural stone pattern matters |
| Cultured marble | $100 to $250 | Avoid abrasive cleaners | Budget rules the project |
| Laminate | $80 to $180 | Keep seams dry | Guest bath sees light use |
Set, Level, and Anchor the Cabinet to Studs
Bathroom vanity cabinet setting begins with a dry fit against the wall so pipe openings can be marked before fasteners exist. Wall studs 16 inches on center set the anchoring rhythm in most United States bathrooms. Cut pipe holes slightly oversized with a hole saw, because tight holes fight final positioning and stress supply stubs.
Leveling comes before anchoring, never after, since screws lock in whatever tilt exists. Check the top rails front to back and side to side, then slip shims composite 1/16 inch pack under low corners until the bubble centers. Shim at the frame corners, not mid rail, because corner support carries load without flexing the box.
Anchoring runs through the back rail into every available stud with proper cabinet screws. Mounting screws 2.5 inch cabinet screws bite through rail and drywall into solid framing, two per stud, then re-check level since tightening can pull a corner off its shim. Moisture control matters behind cabinets too, and our bathroom mold remediation prevention guide shows why dry, ventilated cavities stay clean for years.
Bed the Countertop and Connect Faucet Plus Drain
Bathroom vanity countertop bedding starts with a dry lay that confirms overhang and wall fit before adhesive appears. Countertop overhang 1 inch past cabinet face sheds drips clear of doors, while the back edge should leave no more than a 1/8 inch caulk gap. Scribe bowed walls first, because forcing rigid stone against a curve cracks it.
Set the top onto a continuous bead of silicone or manufacturer adhesive on the cabinet rails, lowering it straight down without sliding. Silicone sealant 100 percent silicone kitchen bath grade stays flexible through humidity cycles that stiffen cheap latex within a year. Let the assembly cure the full period on the tube, usually 24 hours, before adding plumbing load.
Faucet and drain connections reward patience over strength, because overtightening cracks porcelain and splits nuts. Mount the faucet first when access is tight, then connect new lines with supply lines 3/8 inch compression braided stainless ends, hand tight plus a quarter turn. The drain drops through a drain tailpiece 1.25 inch diameter into a P-trap 1.25 inch slip joint aligned without side pressure, since forced joints weep within months.
Clearances around the vanity follow the same drainage logic as showers, where water should travel toward drains instead of joints. Our bathroom shower systems tiled tray vs prefab vs wet room breakdown maps slope and curb choices for the rest of the room.
Seal Every Joint, Test for Leaks, and Call a Pro When Needed
Bathroom vanity sealing closes the three joints that admit water: top to wall, sink rim to top, and faucet base to top. Backsplash gap 1/8 inch silicone bead along the wall flexes with seasonal movement where rigid filler would crack. Tool the bead with a damp finger in one pass, because reworking skinned silicone leaves ridges that trap grime.
Test in two rounds: run the faucet for five minutes with paper towels under every joint, then recheck after the trap sits pressurized overnight. Exhaust fan 50 CFM minimum should run during testing and daily showers, because humid air swells cabinet joints even when plumbing never drips. Confirm dryness with a moisture meter reading under 17 percent on framing near any stain before closing up.
Call a licensed plumber when supply stubs crumble, when the drain sits far off center, or when shutoffs fail to hold. Moving a drain or reworking venting exceeds weekend scope, and mistakes surface at inspection. Finish details like regrouting around the new footprint are covered in our bathroom grout epoxy vs cement stain resistance guide for scars the new cabinet cannot hide.