Leaking grout, musty corners, or a renovation quote that keeps growing? Start with the system, not the tile catalog. Bathroom renovation is the coordinated upgrade of waterproofing, tile substrate, drainage slope, and ventilation whose material composition and tolerances determine whether the room stays dry and safe for a decade.
What Bathroom Renovation Covers and Its Core Variants
Bathroom renovation covers the complete system of waterproof membrane, tile adhesive, grout, drain assembly, and wall substrate that must work together to block moisture. Unlike a simple tile swap, a true renovation addresses the structure behind the finish, the slope that moves water, and the airflow that dries it.
In practice you will encounter three depths. A surface refresh replaces fixtures, paint, and silicone while keeping existing tiles. A full strip renovation removes tiles to substrate, reapplies waterproofing coating, and resets drain slope. A layout change moves the toilet or shower and requires new waste lines and vent branches.
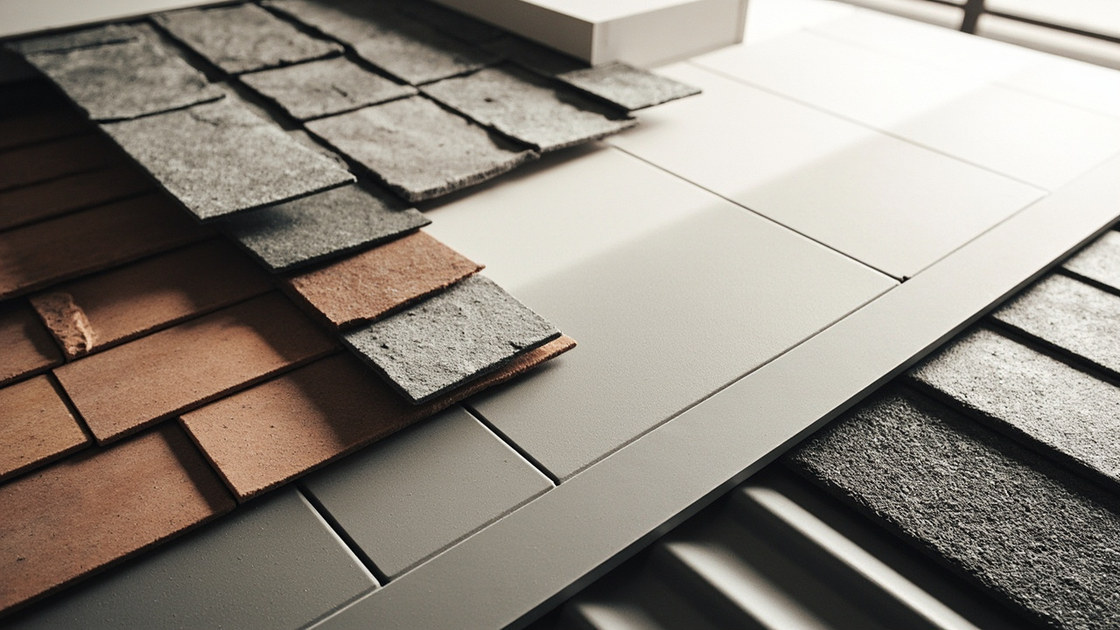
Material families split by where water sits longest. Porcelain tiles with absorption below 0.5 percent suit floors that stay wet, while ceramic wall tiles are lighter around niches. Natural stone looks warm but needs impregnating sealer and careful slope to avoid marks.
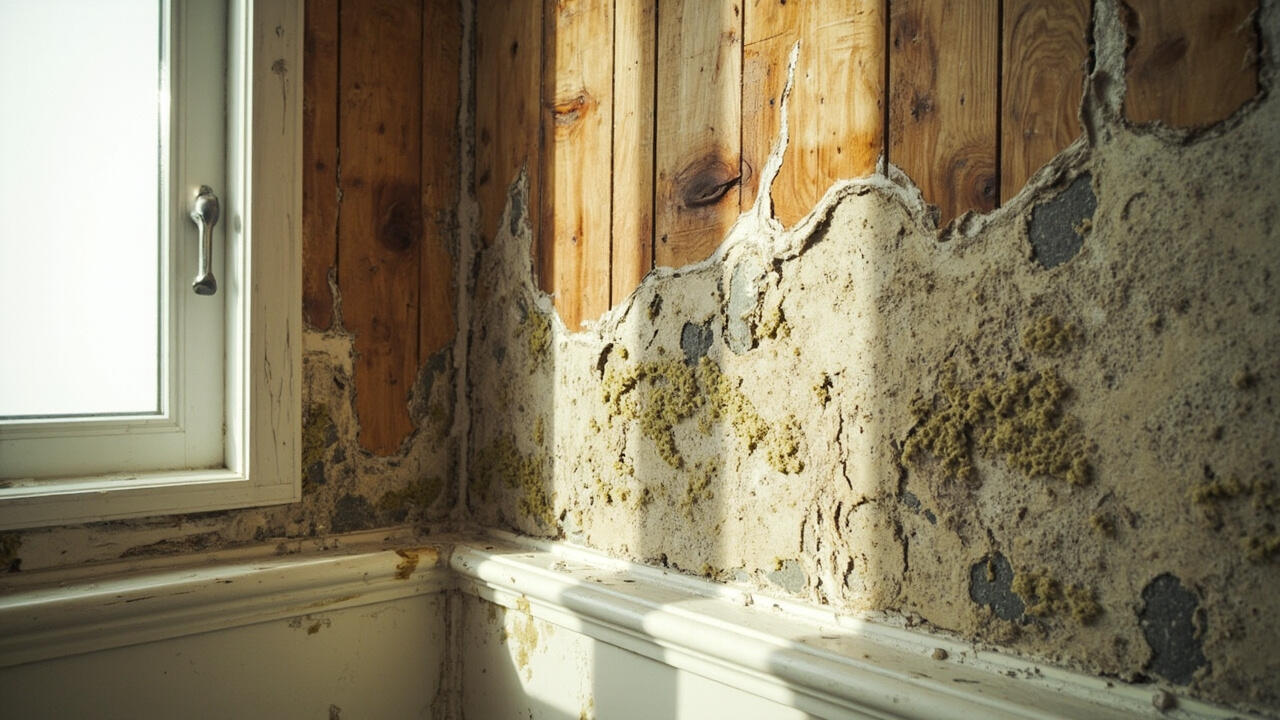
The detail that decides durability is edge continuity. A cement board substrate behind the shower handles wet and dry cycles, whereas gypsum board softens and feeds mold even under sealed porcelain if membrane laps are short.
How Bathroom Systems Work — Waterproofing, Slope, and Airflow
Waterproofing membrane works as a continuous tray that laps 150 mm up walls and 100 mm over thresholds, with corners reinforced by fabric tape. Without that upstand, water through a hairline grout crack reaches the wall core and appears as peeling paint next door within months.
That is why drainage slope matters more than tile size. A shower floor needs 15 to 25 mm fall per meter toward the drain, verified with a 1200 mm level before tiling. Large 600 by 1200 mm porcelain bridges a flat spot and leaves a 3 to 5 mm puddle that never dries.
Airflow completes the triangle. Without 8 to 10 air changes per hour, humidity stays at 75 to 90 percent after a hot shower. An exhaust fan rated 90 to 150 cubic meters per hour, ducted outside with a backdraft damper, clears moisture in 15 to 20 minutes. A duct that ends in the ceiling void simply moves mold to the next cavity.
Temperature adds a hidden variable. The void behind a PVC ceiling panel above the shower can reach 38 to 45 degrees. Without a 10 mm expansion gap at the perimeter and clips at 300 mm centers, panels buckle and drip condensation onto fittings. For work above 3.5 m or near electrics, consult a professional.
Where Each Approach Fits and What It Costs to Compare
For a compact ensuite with stable plumbing, a surface refresh plus new silicone and exhaust fan often delivers 80 percent of comfort at 30 percent of cost. Expect $90 to $150 per square meter if the substrate is sound and the drain slope already drains fully.
For a family bathroom with persistent dampness or cracked grout at corners, choose a full strip with liquid waterproofing coating at 1.2 to 1.5 mm dry film or sheet membrane, plus cement board in the wet zone. Budget $180 to $280 per square meter installed.
| Criteria | Full Strip Renovation | Surface Refresh Only | Layout Change |
|---|---|---|---|
| Moisture Protection | High — new membrane lapped correctly, 1.2 mm coating | Low — relies on old membrane | High if detailed — new drains allow proper laps |
| Slope and Drainage | Reset to 15-25 mm per m, puddles gone | Inherits flat spots, puddles persist | Requires recalculating fall for moved drain |
| Ventilation Potential | New fan and duct sized correctly | Keeps weak fan, humidity stays high | Allows correct duct routing outside |
| Total Cost per sqm | $180 to $280 | $90 to $150 | $260 to $420 plus plumbing |
| Time Off Use | 7 to 12 days | 2 to 4 days | 12 to 20 days |
| Lifespan if Done Right | 10 to 15 years | 3 to 5 years | 12 to 15 years |
The trade-off rarely stated: a strip renovation saves on future repairs but spends on membrane and leveling. A cheap quote that omits laps and slope verification hides that cost until the next room blisters. Calculate lifecycle cost over five years, not tile price alone.
Installation Sequence and Mistakes That Cause Leaks
The correct sequence protects the tray before finish hides it. First, set cement board or render and cure 24 hours. Second, apply primer and two coats of waterproofing coating at right angles to reach 1.2 mm dry thickness, with fabric at corners and pipe penetrations.
Third, flood-test the tray for 24 hours by plugging the drain and filling 25 mm of water. A drop over 2 mm signals a pinhole that must be patched before tiling.
Fourth, screed the slope to 15 to 25 mm per meter and check with a straightedge. Fifth, lay porcelain tiles with an 8 to 10 mm notched trowel, back-buttering large formats, and leave 2 to 3 mm joints for grout movement.
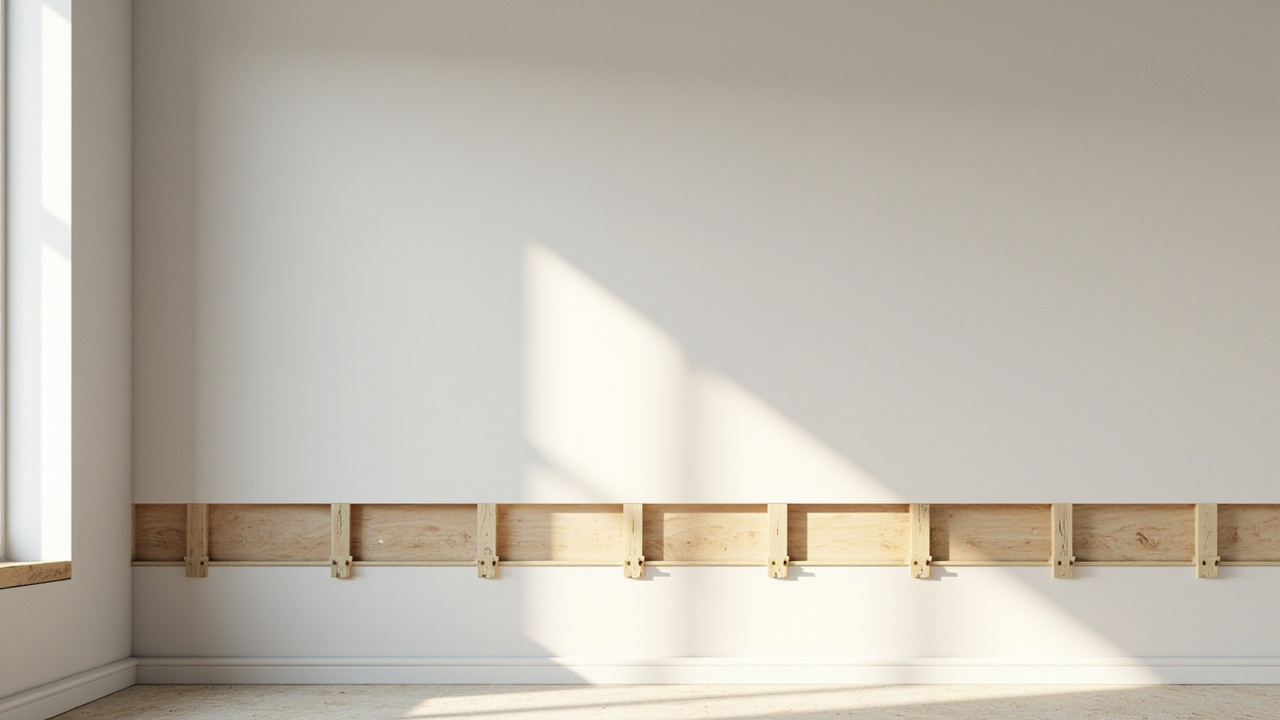
Common mistakes shorten life quickly. Bridging the expansion gap with rigid grout instead of flexible silicone guarantees a corner crack at the first thermal cycle. Skipping the backdraft damper lets humid air return at night. Using untreated timber as a partition base wicks water even under perfect membrane if the lap stops short.
Limits, Edge Cases, and What to Do Next
No system fits every home. With timber subfloors, deflection beyond 2 mm over 600 mm will crack grout regardless of membrane quality. A decoupling mat and 300 by 300 mm tiles absorb that movement better than a large slab.
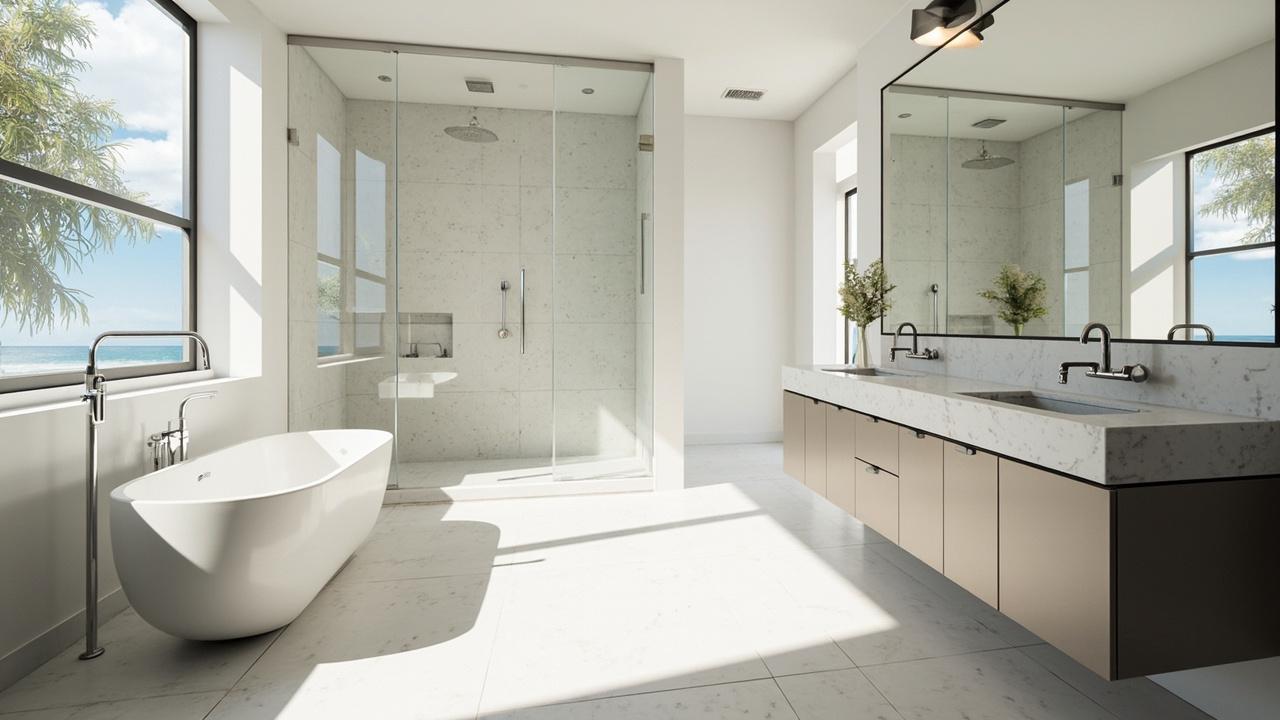
In coastal humidity where the room never fully dries, specify epoxy grout on floors and an exhaust fan with a humidistat that runs 15 minutes after lights off. A window alone leaves humidity above 70 percent for hours.
Before deciding, photograph the bathroom from four corners, measure the longest drain run, and note the ventilation duct termination. Ask how many years the membrane and grout sealer are warrantied and whether it includes substrate and slope. A good installer explains expansion gaps and test results, not just tile patterns.
Choose a surface refresh if the floor drains in under 15 minutes, corners are dry, and the fan ducts outside. Choose a full strip if you see peeling paint outside, puddles remain, or the home is older than eight years without documented membrane. Choose a layout change if daily use is awkward and you can budget for new waste lines.
For system depth see our kitchen countertop installation cost guide for how substrate flatness transfers across wet areas, and the bathroom renovation sub-systems guide to match drains and boards without overspending. The comparison of bathroom renovation options maps refresh versus strip by risk. For slab cuts or work near sealed electrics, consult a professional.