
You have a wall to frame, a stack of 2x4s on the deck, and two numbers in your head: 16 inches on center or 24. Pick the wrong one and you inherit the problem for the life of the building. Stud spacing is the center-to-center distance between the vertical members of a stud wall, and it is the first structural decision you make.
It sets the height limit, the plate layout, the drywall thickness, and the blocking that has to fit around it later.
What most guides give you is a preference for 16 inches on center and stop there. The more useful answer is what each spacing actually changes: the load path, the code table that caps your stud height, and the fasteners that carry a cabinet.
This guide gives you those numbers and the conditions that decide between them, so you can lay the wall out on the deck before you stand it up.
Stud Spacing and Plates: What the Frame Actually Does
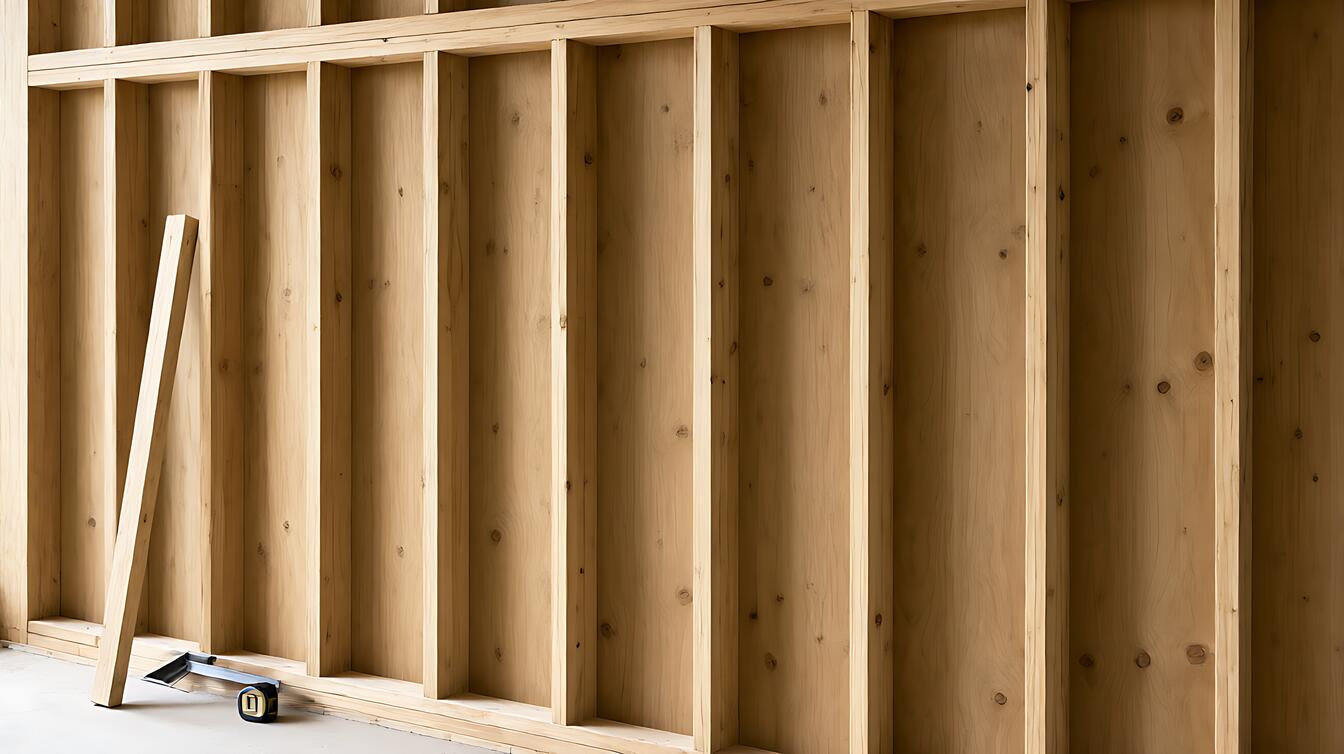
A stud wall is three horizontal layers and one vertical rhythm. The sole plate sits on the floor or foundation, the studs run vertically between the plates, and the double top plate caps the assembly and ties it to the joists or rafters above.
The on-center spacing between the studs is what makes this frame work, and it is not a stylistic choice. Every load in the building comes down through that vertical rhythm.
Widen the spacing and each stud carries more axial load before it reaches the footing, and the wall deflects more under lateral pressure. That is the load path talking, not aesthetics. Narrow it and the same load spreads across more members, but you pay for it in lumber, in sheet layout, and in how long the wall takes to close up.
The other half of the decision is the plates. Plate stock length follows the wall length rather than the stud count, so the spacing choice does not change how much plate you buy.
What it changes is what happens on top of the plates: how the top plate splices are offset, where the corner and opening studs land, and whether the bottom plate can sit where the wall is going to stand.
16 in or 24 in on Center: What the Code Allows
The International Residential Code sets prescriptive height limits by stud size, spacing, and what the wall carries. IRC Table R602.3(5) is where those numbers live.
For a bearing wall supporting one floor and a roof, 2×4 studs at 16 inches on center may reach a maximum height of 10 feet. The same 2×4 stud at 24 inches on center is capped at 8 feet.
Non-load-bearing interior partitions get much more room. A 2×4 partition at either 16 or 24 inches on center may reach up to 14 feet, which is why 24 inch spacing shows up so often on interior work where nothing hangs off the wall.
Utility grade lumber has its own tighter limits under R602.3.1. It cannot be spaced more than 16 inches on center, cannot support more than a ceiling and a roof, and cannot exceed 8 feet on exterior and load-bearing walls.
Stacked framing adds one more constraint under R602.3.3, where 24 inches on center is used on load-bearing walls. Studs in the wall above should align directly over the studs below within 5 inches to keep the load path continuous.
| Wall condition | Stud size | Spacing | Maximum height |
|---|---|---|---|
| Bearing, one floor plus roof | 2×4 | 16 in o.c. | 10 ft |
| Bearing, one floor plus roof | 2×4 | 24 in o.c. | 8 ft |
| Non-load-bearing partition | 2×4 | 16 or 24 in o.c. | 14 ft |
Two regional conditions push you back toward 16 inches. In high-wind or high-seismic areas, 16 inches on center is the preferred spacing, because the tighter rhythm gives the shear wall more fastener edges and less panel buckling.
Where the job has prescriptive requirements or an inspector who expects conventional layout, 16 inches is what gets accepted without a discussion.
The Sole Plate and Top Plate Rules That Drive Spacing
The bottom of the wall decides whether the spacing question is even yours. A sole plate resting on concrete or masonry has to be pressure-treated or otherwise protected against decay under IRC R317.1, and that requirement is independent of how the studs above are spaced.
If the plate is going onto a damp slab, that is the damp slab detail to solve first. It is worth reading the pressure-treated plate requirements before you lay anything out.
The top of the wall follows the load. Bearing walls need a double top plate to keep the load path continuous; a non-load-bearing partition is allowed a single top plate.
Where the double top plate is spliced, the splice must be offset from the studs below by at least 24 inches, and the lap at a wall intersection or corner must run at least 24 inches past that intersection. Corners take a minimum of three studs, or two studs with approved corner bracing hardware.
Those are the rules that make the plate layout a consequence of the framing you chose, not a separate decision.
Connections are prescriptive as well. Table R602.3(1) requires studs to be fastened to the bottom plate with two 16d end nails or three 8d toenails, and the double top plate splices are face-nailed with eight 16d nails.
Heights above 10 feet also trigger fireblocking under R302.11, since blocking is required at horizontal intervals not to exceed 10 feet.
What Wider Spacing Costs You Downstream
Moving from 16 inches to 24 inches on center cuts the stud count roughly 30 percent. A 20 foot wall takes about 16 field studs at 16 inches on center and about 11 at 24 inches.
The field stud formula is simple: divide the wall length in inches by the spacing and add one. The lumber saving is real, and it is also the least of what changes.
Drywall is the first cost. Under IRC R702.3.5, drywall framed at 24 inches on center requires a minimum of 1/2 inch board, and where a water-based texture material is applied the minimum rises from 1/2 inch to 5/8 inch. At 16 inches on center you can use thinner board and still meet the table.
The thicker sheet also weighs more, and at 24 inches on center you have fewer edges to nail.
Sheathing is the second cost. At 16 inches on center, a 4×8 plywood panel lands on every third stud; at 24 inches on center it lands on every second stud.
Either way, blocking is required wherever a panel edge falls between studs, so wider spacing does not remove blocking. It changes where you have to add it.
Insulation is the third. At 16 inches on center the batts need to be sized 15 inches, and at 20 inches on center they need to be 23 inches. Match the spacing to the batt width you are buying, because a batt two inches narrow leaves an air channel in the cavity that quietly ruins the thermal performance you paid for.
The cavity depth sets the ceiling too. A 2×4 bay holds roughly R-13 to R-15 while a 2×6 bay holds roughly R-19 to R-21, and basement wall insulation choices change what you can fit in a shallow bay.
Then there is the fixings. At 16 inches on center you get about 50 percent more attachment points than at 24 inches, and that is what makes the tighter spacing the right choice where a grab bar, a wall-mounted television, upper cabinets or shelving will hang.
At 24 inches on center, those areas typically need added horizontal blocking, and in a kitchen, bathroom or garage that blocking can absorb the entire stud saving on its own.
How to Match an Existing Wall or Add Blocking
On an addition, the spacing is already decided for you. If the house you are tying into was framed at 16 inches on center, the new wall has to match it, because a stud that does not line up with the one above it breaks the load path and the drywall edge.
Find an existing wall, measure stud center to stud center over several bays, and mark the layout on the floor before you cut the plate.
When the spacing does not work, blocking is the release valve. A blocking piece is a short length of lumber run horizontally between studs, and you add it where a fixture needs a nail surface, where a panel edge lands between studs, or where the wall needs to pick up a point load.
Order it with the rest of the framing: two king studs and two jack studs plus cripple studs above and below each opening, two or three studs at each corner depending on the corner detail, and backing studs where an interior wall meets an exterior wall.
Budget the material honestly. A 20 foot wall needs about 60 linear feet of plate, which is the wall length multiplied by three for the bottom plate and the double top plate.
Add 10 to 15 percent for waste, including crowning culls and the cuts around openings. The plate stock does not change with spacing, but the blocking, the extra opening studs and the labor to close the wall faster at 24 inches all show up in the real cost.
If the wall is a rainscreen assembly, the rainscreen drainage layer also changes the sheathing and fastening sequence.
Choose 16 inches on center if the wall is load-bearing and taller than 8 feet, when it carries one floor and a roof, when you are in a high-wind or high-seismic region, when heavy fixtures will hang from it, or when you are matching an existing wall.
Choose 24 inches on center if the wall is a non-load-bearing partition up to 14 feet high, when you are working with advanced framing and aligned trusses, or when the energy performance and lumber budget matter more than fixture loads.
Before you commit, check how the load continues past the wall itself. If the wall carries a beam or joist above, the beam sizing and the footing below it have to agree with the framing decision, and the deck framing guide covers that side of the load path.
For the wall below grade, the basement egress window sizing guide covers how openings in a framed wall are sized when the wall is doing more than carrying itself.