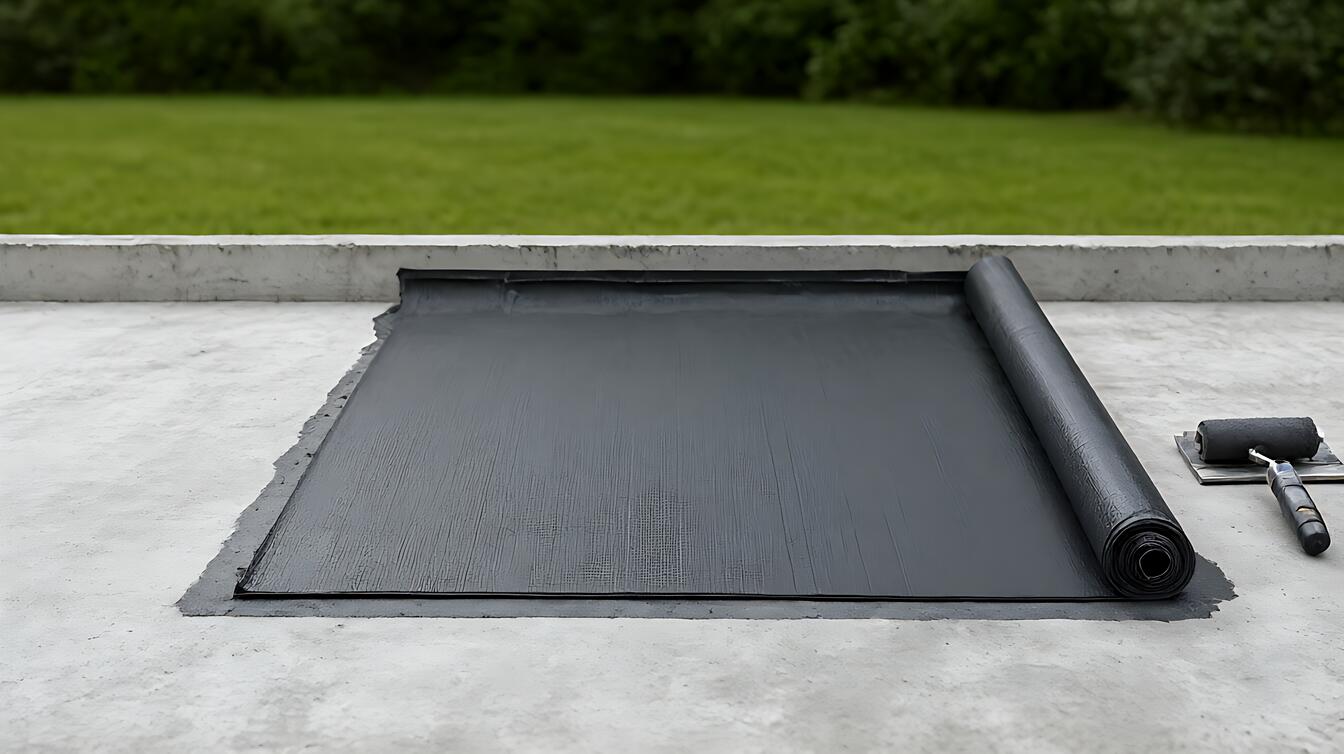
Waterproofing for balcony drains matters because the drain is where several materials meet, so a sound deck can still leak if that junction fails. Choose a continuous waterproofing system that is compatible with the substrate, slopes toward the drain, and forms a sealed connection around the outlet. Balcony – drain waterproofing is the membrane or coating layer that keeps water out of the structure and directs it safely into the drainage system.
The useful part is not memorizing product names. It is knowing which details control the result: membrane thickness, sealed overlaps, drainage slope, and drain – flange detailing. Those choices also determine whether a small repair is realistic or whether the affected area needs professional assessment.
What Waterproofing for Balcony Drains Actually Means
Waterproofing for balcony drains is a continuous barrier around a balcony outlet, not a strip of material placed over the grate. Its job is to prevent water from entering cracks, joints, or porous concrete while carrying runoff toward the drain opening.
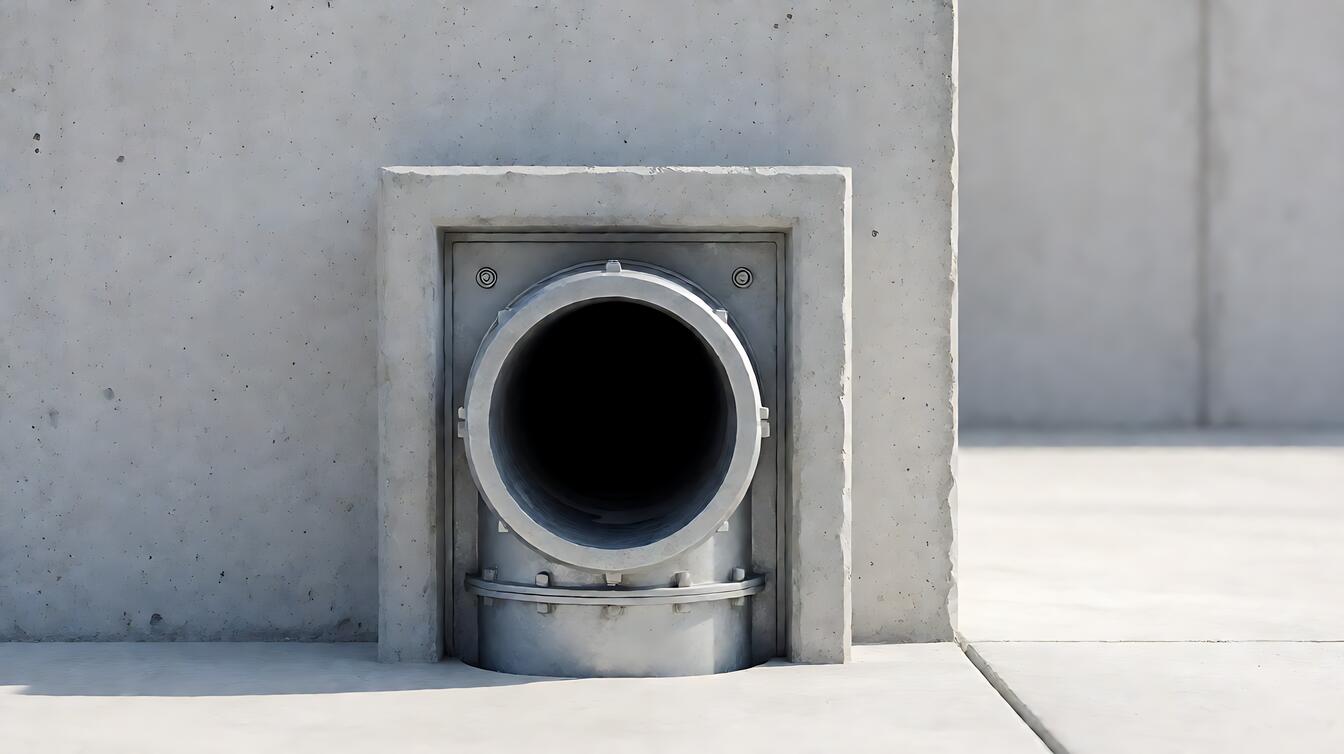
The barrier must connect cleanly to the drain flange, which sits against or beneath the finished surface. If that seal is discontinuous, water can travel along the flange edge and bypass the waterproofing layer entirely.
That is why drain detailing often determines performance more than the membrane alone. Compare the waterproofing systems complete guide to understand how balcony protection fits into a broader drainage and waterproofing plan.
How Waterproofing Around Balcony Drains Works
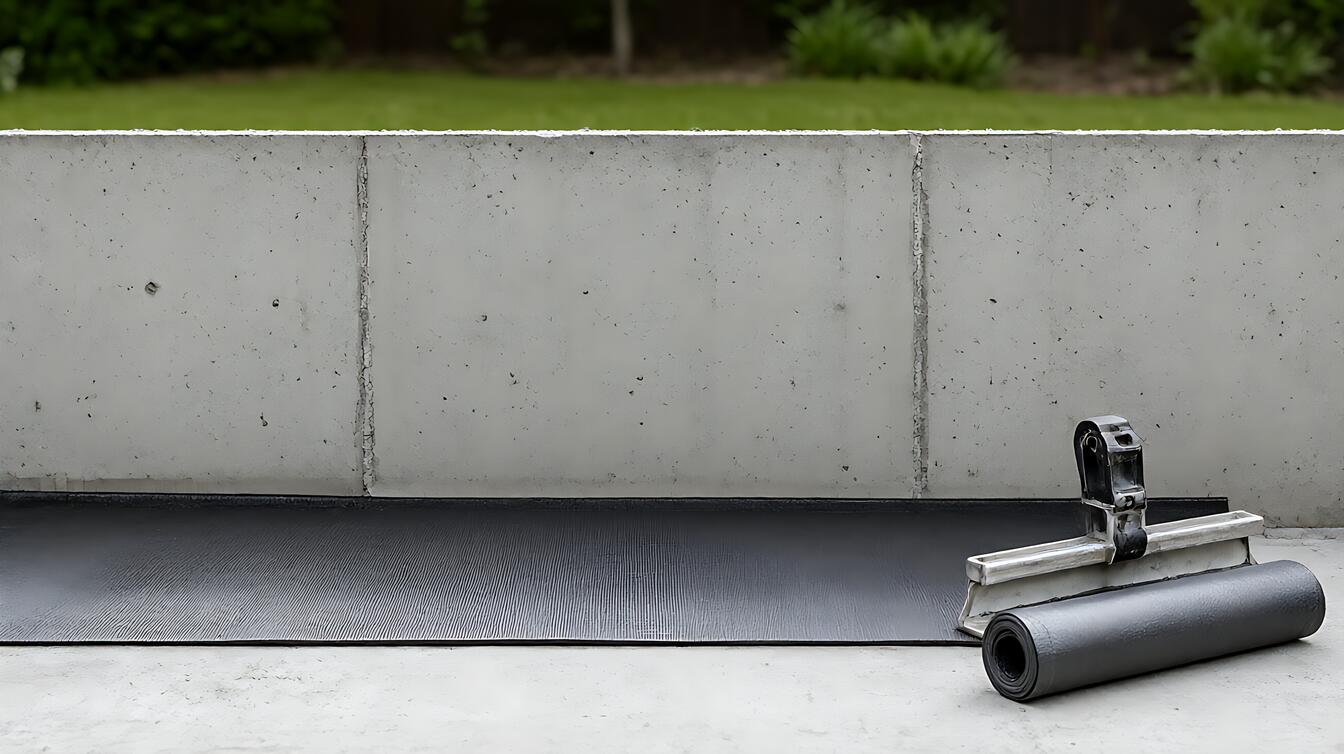
Membrane torch 3 – 4mm describes a thick, torch – applied waterproofing layer that forms a continuous barrier when its seams and junctions are properly sealed. This thickness matters because the layer must bridge small surface irregularities and resist movement without opening at local defects.
Water should reach the drain through a deliberate path rather than wandering beneath the finish. A drainage slope of 1 – 2% guides runoff across the surface, while a ponding test 24h checks whether trapped water exposes a leak or failed junction.
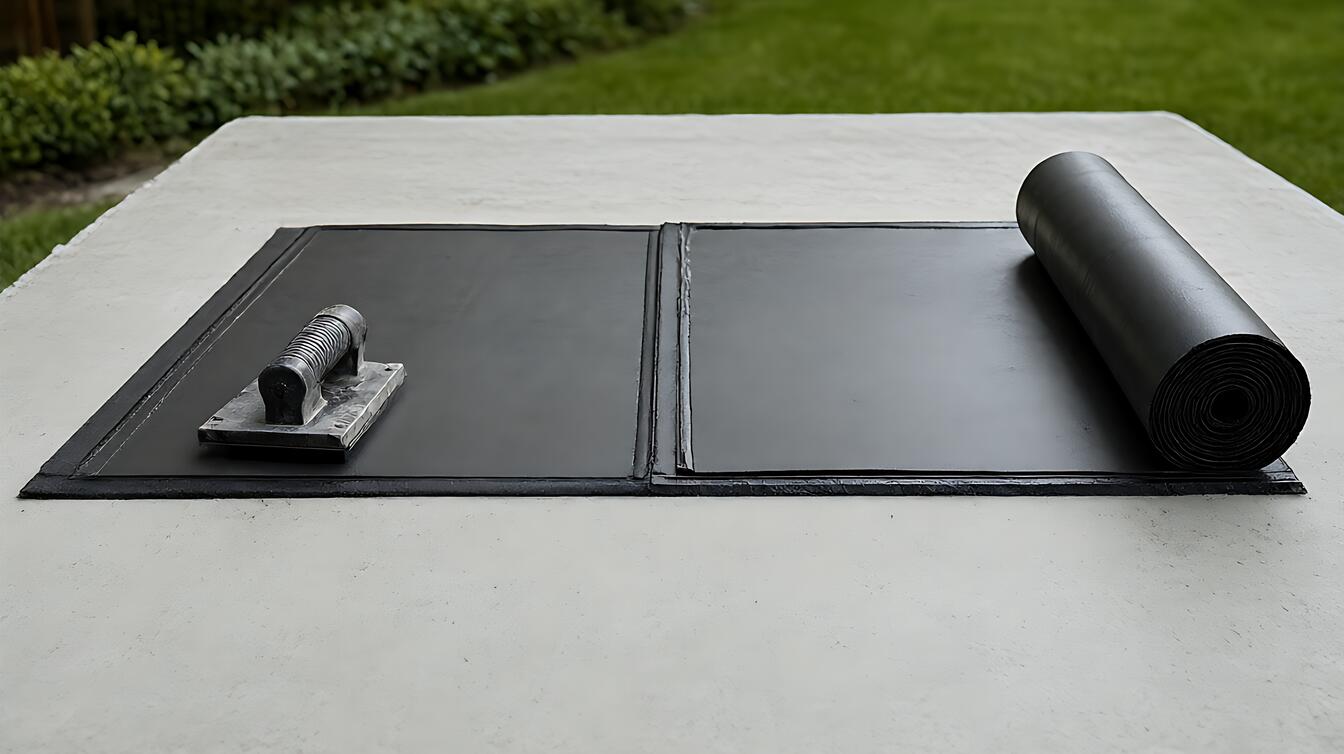
Seams cannot be treated as an afterthought. An overlap 100mm gives adjacent membrane sheets enough shared surface for a continuous bonded or welded seam, provided the manufacturer’s installation requirements are followed.
Each figure has a condition. Thickness depends on the chosen system, slope depends on the balcony design, and the test must follow the specified wetting procedure. For a wider explanation of these details, see waterproofing membrane thickness and overlap.
When to Choose Each Waterproofing Option
Cementitious versus sheet waterproofing changes the method, not simply the appearance. Cementitious coatings form a bonded coating over suitable mineral substrates, while sheet membranes create a separate waterproofing layer that must be detailed around the drain.
Choose a cementitious coating when the substrate is compatible and the installation area needs a coating that can form around complex details. It has limits: compatibility, preparation, curing, and weather during application can affect the result.
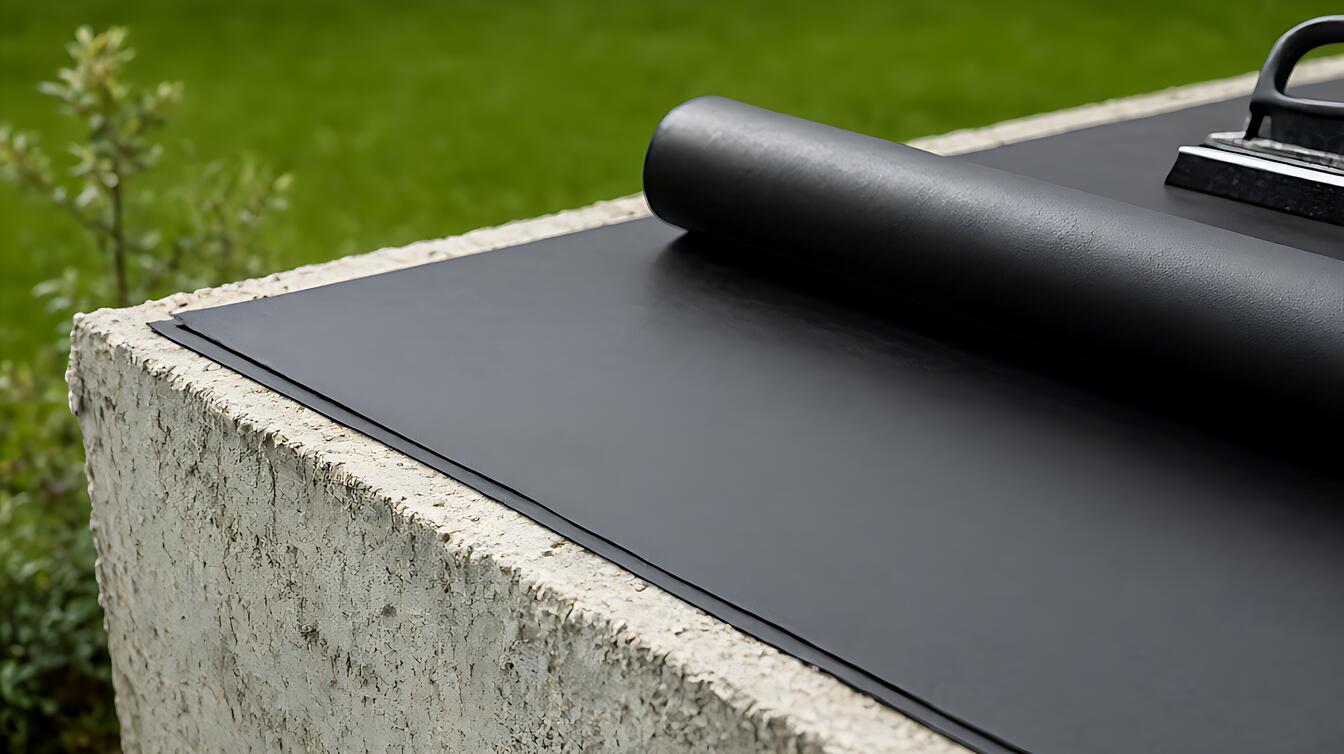
Choose a sheet membrane when the design calls for a defined 3 – 4mm layer and trained installation can control seams, penetrations, and drain connections. Torch – applied work requires careful sequencing and safe heat control near combustible materials.
An acrylic coating can be useful as a compatible protective or repair layer when the manufacturer permits it over the selected system. It should not be treated as a universal fix for wet – area detailing.
The practical choice depends on the substrate, exposure, drainage geometry, and installer capability. The comparison of sheet, liquid, and cementitious waterproofing helps separate those conditions without turning them into a generic list of pros and cons.
| Condition | Option to consider | Decisive limitation |
|---|---|---|
| Mineral substrate requiring a bonded coating | Cementitious system | Substrate compatibility and curing conditions must be checked |
| Design specifies a 3 – 4mm membrane layer | Sheet membrane | Seams, terminations, and drain details demand careful workmanship |
| Compatible repair or protection layer is needed | Acrylic coating | It is not automatically suitable for every underlying system |
What Changes on a Real Balcony
Wet area detailing determines whether the waterproofing layer survives around a drain exposed to standing water, cleaning, and repeated wetting. A familiar symptom is a damp patch below the balcony or near an exterior wall, often beginning after rain rather than appearing immediately.
The visible stain may sit away from the actual entry point. Water can travel through a cracked surface, beneath a finish, or along a loose drain connection before it becomes visible indoors.
On site, the drain flange must sit in the correct relationship with the waterproofing layer, and the outlet must remain clear of debris. A sound membrane cannot correct a blocked outlet that causes water to pond beyond the design assumptions.
Here is the sequence that matters:
- Inspect the substrate, drain connection, and nearby penetrations for movement, cracks, or moisture.
- Confirm that the finished surface directs water toward the outlet with the specified 1 – 2% slope.
- Install the compatible waterproofing layer continuously through seams and around the drain flange.
- Form the specified 100mm overlap where sheet edges meet, following the manufacturer’s joining method.
- Keep the outlet unobstructed and complete the specified ponding test for 24 hours.
That final check matters because a dry day can hide an incomplete seal. If moisture appears below the balcony, a complete failure – cause guide can help separate drainage symptoms from waterproofing symptoms: waterproofing failure and leak diagnosis.
Limits, Edge Cases, and Your Next Decision
Sun – exposed balconies can accelerate wear on exposed coatings, while heavy loads can crack thin finishes and stress waterproofing junctions. Neither condition changes the need for a continuous drain seal, but both make substrate condition and material compatibility more important.
Choose a sheet membrane when the specification calls for a defined thickness and the installer can provide controlled seam and drain detailing. Choose a cementitious coating when the substrate is compatible and the area can be prepared and cured as required.
Call a qualified waterproofing professional when the leak is recurring, the substrate is cracked or unstable, water reaches occupied space, or the repair requires work beneath structural finishes. A tight budget may justify a targeted repair, but only after someone confirms that the drain and surrounding substrate are sound.
Before selecting materials, review the broader waterproofing systems options and use the waterproofing cost and home budget guide to plan the repair rather than comparing material labels alone.
Decision guidance: Choose a 3 – 4mm sheet membrane when the design specifies that thickness and professional detailing is available. Choose a cementitious coating when the substrate is compatible and its preparation and curing requirements can be met. Use an acrylic coating only when the manufacturer approves it for the underlying waterproofing system. Repair or replace around the drain only after checking slope, outlet condition, substrate stability, and the cause of visible moisture.