You’re standing at a basement window with a damp wall beside it, wondering whether the well needs a membrane, a different liner, or simply better drainage. The right answer depends on where water collects and how it reaches the foundation. Waterproofing for window wells is a system of coatings, membranes, drainage, and grading that keeps water moving away from the opening instead of letting it sit against the building.
The decisive attribute is continuity. A product can work well and still fail when one seam, corner, or penetration remains open. Start with the symptom and the well’s drainage path, then choose the layer that solves that specific failure.
What Window Well Waterproofing Actually Needs to Do
Waterproofing systems for window wells must keep collected rain away from the foundation, especially when drainage is absent or unreliable. The membrane blocks passage through the well surface, while drainage and grading remove water that reaches the opening.
A window well is not a swimming pool. Its job is to hold soil back from the foundation and create a dry route around an egress window. Waterproofing changes that route by sealing vulnerable surfaces and directing runoff away from the building.
Visible cracks, seepage through the liner, or a well older than 30 years warrant a closer inspection. In that situation, waterproofing failure is more likely a drainage and detailing problem than a shortage of sealant. Learn how to separate those causes in the waterproofing failure and leak diagnosis guide.
How the Waterproofing Layer Works
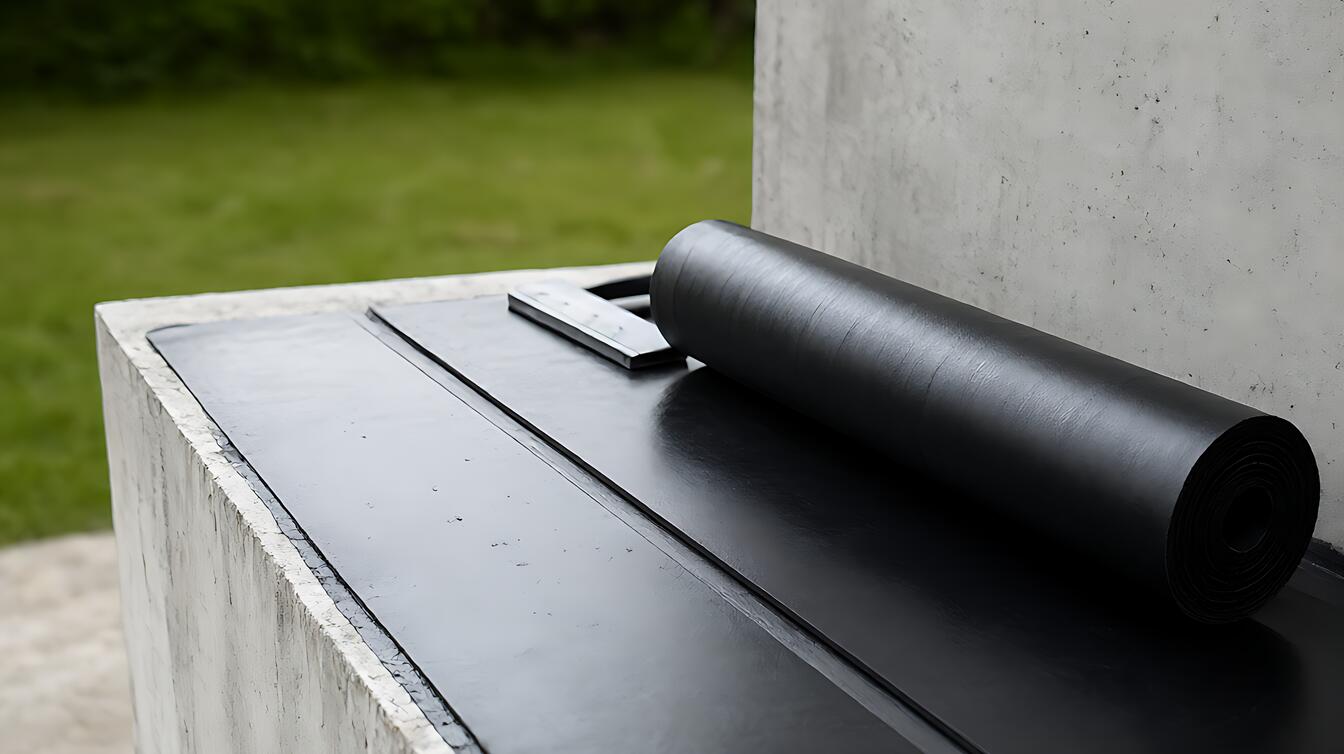
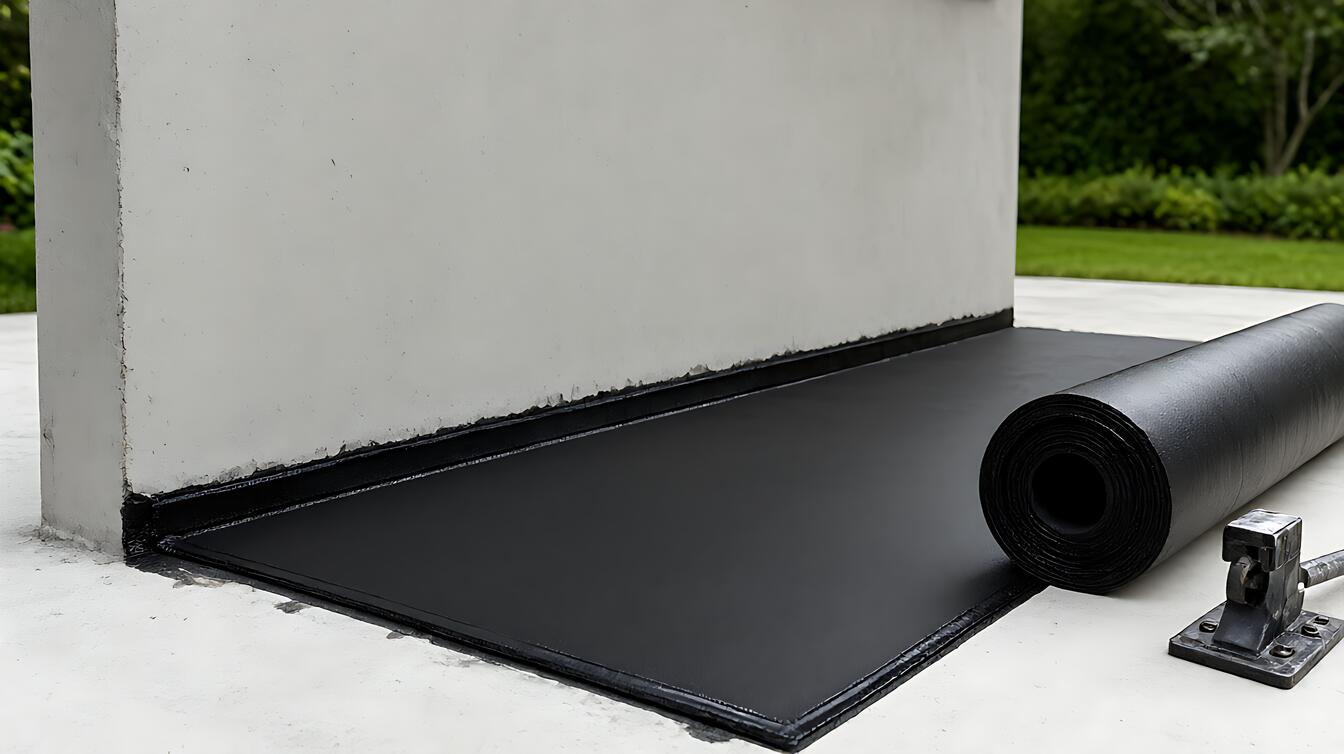
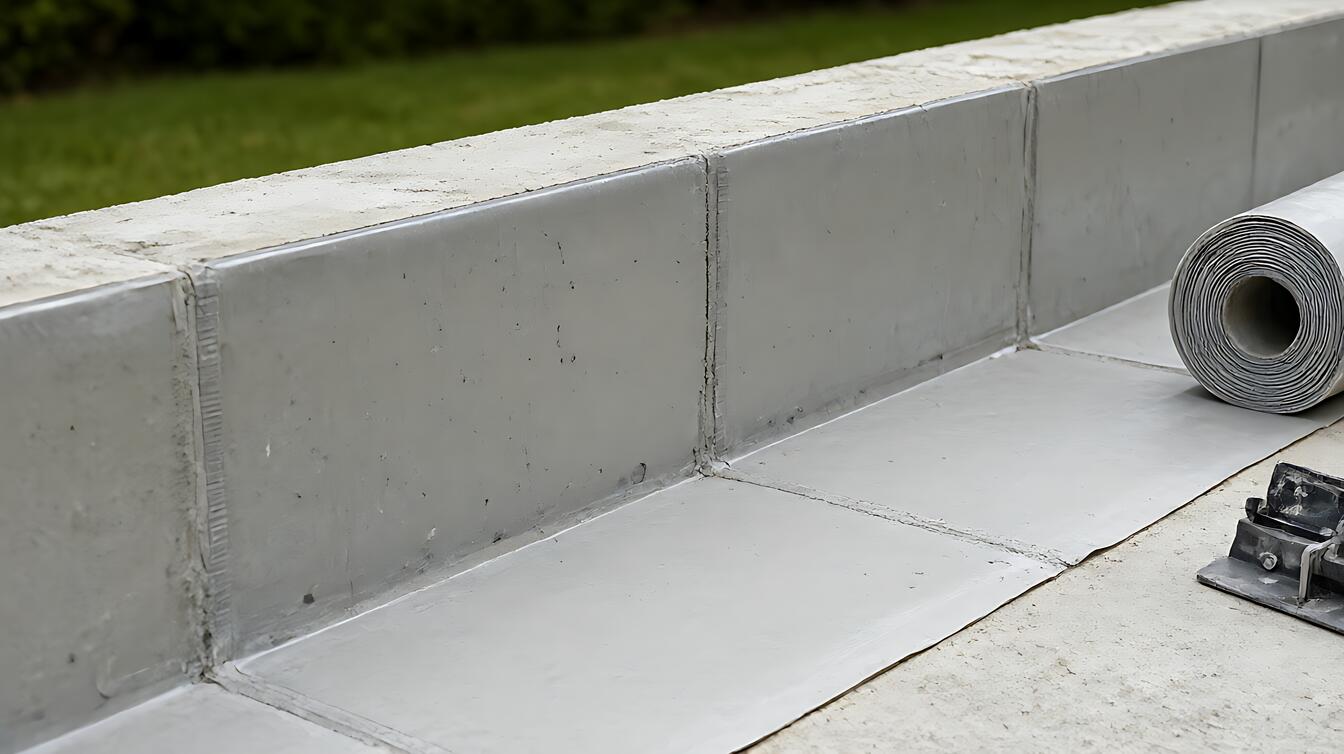
A membrane torch application typically uses 3 to 4mm membrane in suitable wet – area conditions. The material is heated to bond it to the prepared surface, creating a continuous waterproof layer where seams and terminations are properly detailed.
The mechanism is straightforward. A well liner blocks direct entry through one surface, but water can still arrive through the sidewalls, the foundation beneath the window, or an unsealed corner. The waterproofing layer therefore has to connect cleanly at every transition where water could travel.
That continuity depends on preparation and overlap. A 100mm overlap joins adjacent membrane runs so water does not easily enter the seam. Corners, penetrations, and terminations still need separate detailing because a good field installation does not rescue a weak transition.
For compatible substrates, an acrylic coating can provide a simpler alternative to heat – applied membrane. Its suitability depends on the existing surface, exposure, and application requirements. The broader choices appear in sheet, liquid, and cementitious waterproofing types.
When to Choose Each Waterproofing Option
Choose bonded wet – area barrier at 3 to 4mm when the well has a prepared, compatible surface and needs a bonded wet – area barrier. Choose acrylic coating when its application requirements suit the substrate and the project favors a simpler coating approach.
Choose drainage – first work when the recurring symptom is a well that fills with water. A drain connection, proper grading, or a well cover addresses the load directly, while a membrane handles residual surface seepage.
| Site condition | Decisive attribute | Practical choice |
|---|---|---|
| Water repeatedly collects in the well | Removal path | Prioritize drainage and grading |
| Seepage crosses the liner or corners | Surface continuity | Detail a compatible waterproofing layer |
| Prepared surface and detailed transitions | Bonding method | Consider 3 to 4mm torch – applied membrane |
| Existing liner needs a simpler treatment | Substrate compatibility | Consider acrylic coating where suitable |
The trade – off is simple: drainage reduces the amount of water demanding attention, while waterproofing protects the surfaces that remain exposed. If a drainage outlet is absent, blocked, or discharging toward the foundation, no coating should be treated as the complete fix.
What Changes on a Real Job Site
Picture a narrow basement window well beside a finished wall. The liner appears intact, but water stains run down the interior wall after rain. That pattern points first to overflow, poor grading, or a failed drain connection.
Look at the bottom and lower corners. If water collects there, the system lacks a dependable exit. If dampness follows a crack or appears where the liner meets the foundation, continuity of the waterproofing layer deserves inspection.
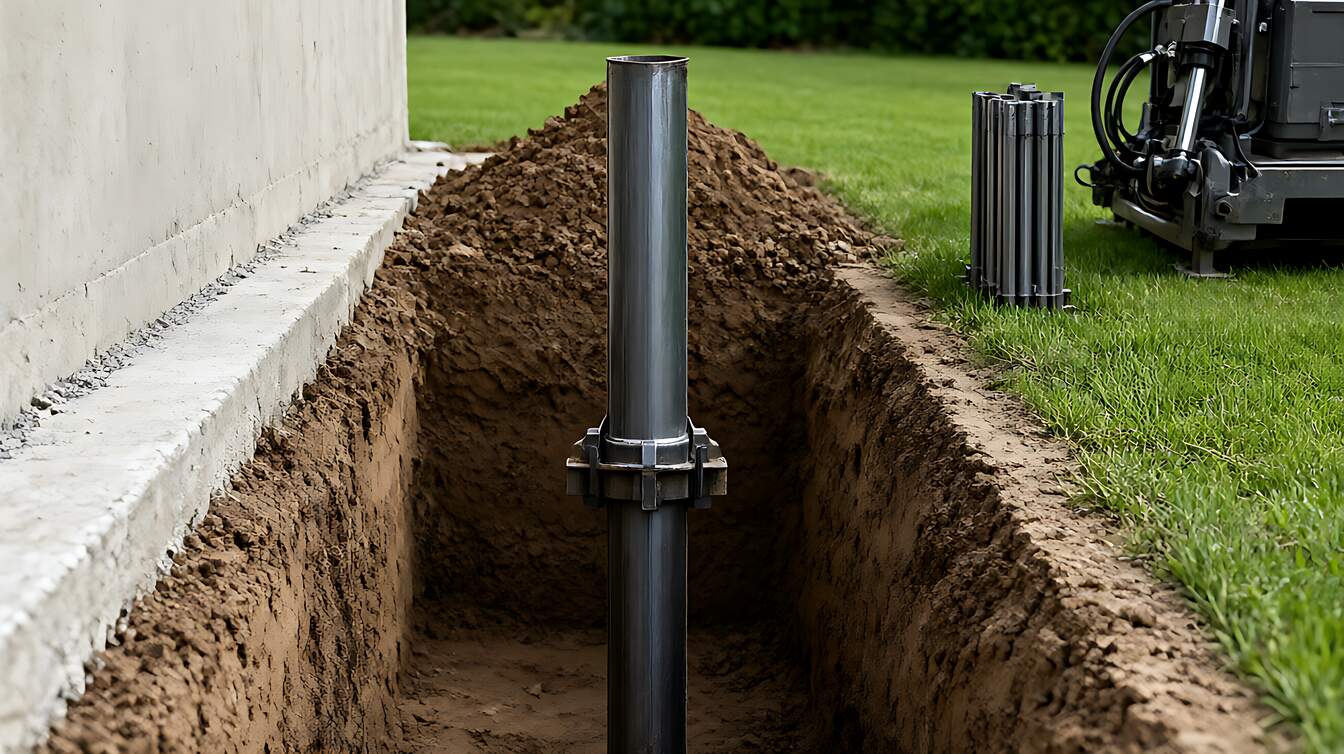
Job timing depends on scope. A simple drain tile installation or well cover typically takes 1 to 2 days. A complete replacement with a new liner, drain tile, grading, and cover typically takes 2 to 3 days, depending on well depth, foundation condition, and soil conditions.
The site condition changes the specification. Soil condition may affect excavation, while foundation condition can limit how safely a new connection is installed. Those variables are why a membrane – only answer rarely fits every well.
Limits, Edge Cases, and the Next Step
Drainage performance is the main limit of any surface membrane. A membrane can reduce passage through the treated surface, but it cannot make ponded water disappear. If the well fills, the drain route must be checked.
Use drainage specifications and the wider fundamentals in the waterproofing systems overview. If budgeting is the first constraint, the waterproofing cost and home budget guide helps frame the repair before work begins.
Choose torch – applied 3 to 4mm membrane when the prepared substrate supports a bonded system and detailed transitions can be completed. Choose acrylic coating when the existing surface and exposure meet its requirements. Choose drainage – first repair when collected water is the main problem.
Call a qualified waterproofing professional when the work affects the foundation, requires structural modification, or leaves uncertain drainage connections. Verify contractor credentials and request evidence of basement waterproofing experience before work begins.
Do one final check before leaving the site: water should have a clear route out, every membrane seam should be continuous, and every corner should be sealed as part of the system, not patched in isolation. That simple sequence prevents the most expensive kind of almost – right work.