You want a clear answer before hiring anyone, not a vague promise that a surface is “properly sealed.” The direct answer: run 12 measurable checks on moisture, cracks, drainage, and installation details, then treat any failure as a reason to call a qualified waterproofing professional. A home waterproofing inspection checklist is a pass – and – fail checklist that tests whether waterproofing systems keep water out under the conditions you actually face.
Home Waterproofing Inspection Checklist: 12 Measurable Tests
A home waterproofing inspection checklist has 12 measurable points when inspecting waterproofing systems in wet areas, with moisture meter reading below 16% marking the first pass threshold. The checklist separates cosmetic wear from failures that let water move through the assembly.
That distinction matters because a roof or bathroom ceiling can look intact while moisture travels sideways and appears somewhere else entirely. Your goal is not a perfect surface. Your goal is finding the weak point before it becomes damage inside the home.
Start with the system context, especially the waterproofing systems overview. Different membranes, coatings, and substrates behave differently, so the inspection question changes with the assembly you own.
How Waterproofing Inspection Checks Work
Most waterproofing failures come from water finding a path around or through a sealed surface. A checklist works by testing that path directly: measure moisture, hold water, measure slope, inspect edges, and check whether joints actually overlap.
Here is the practical sequence. Run the visual checks first, because they tell you where to place the instrument and where to concentrate the water test.
- Record every visible crack, blister, lifted seam, and damp patch before touching the surface.
- Measure suspect areas with a moisture meter, comparing readings against the surrounding dry substrate.
- Test standing water on the surface and check whether it remains after 24 hours.
- Measure drainage fall, edge upstands, and lap coverage where each feature is visible.
- Document each result with photographs, locations, dates, and instrument readings.
That record gives a contractor something specific to investigate. It also stops small findings from being averaged into a vague opinion about the whole roof.
| Inspection point | Pass threshold | Failure reading |
|---|---|---|
| Moisture content | Below 16% | Above 16% |
| Ponding test | No standing water after 24 hours | Water still present |
| Crack width | 0.3mm or less | Wider than 0.3mm |
| Drainage fall | 1 – 2% | Below 1% |
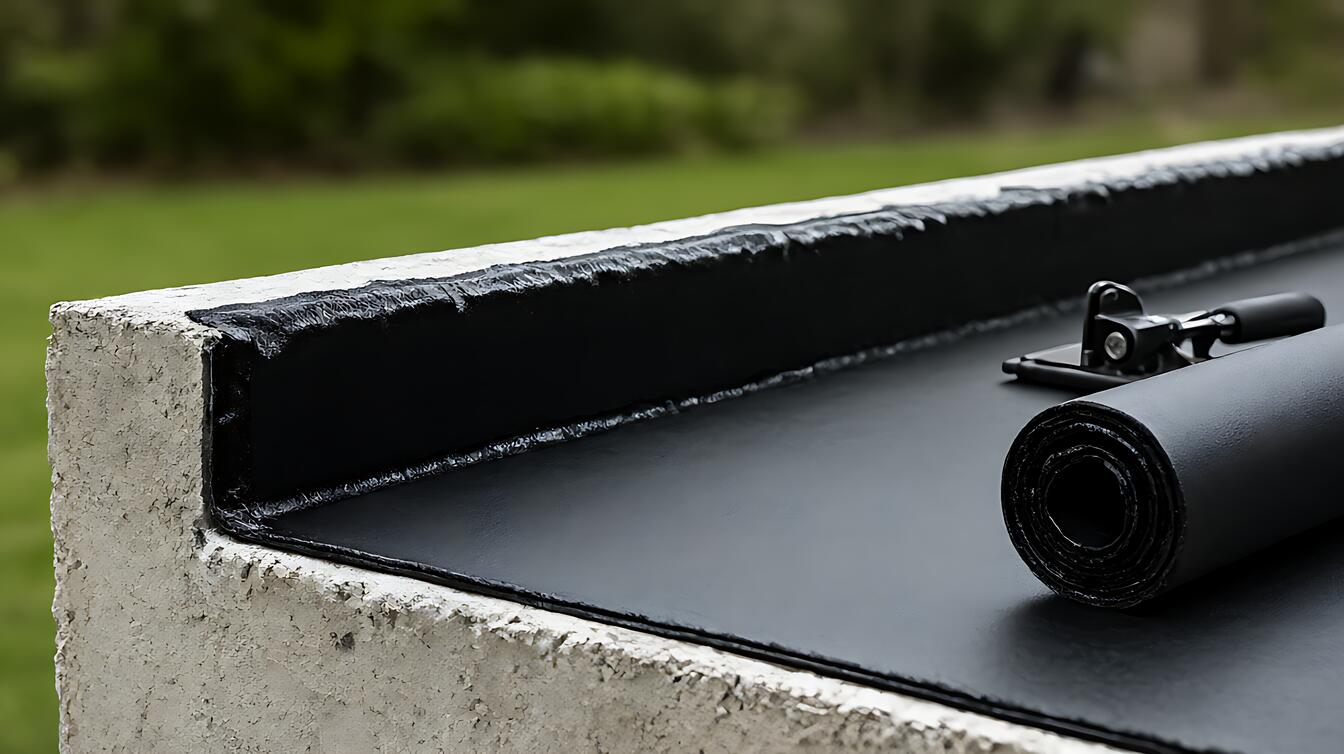
| Upstand height | At least 150mm | Below 150mm |
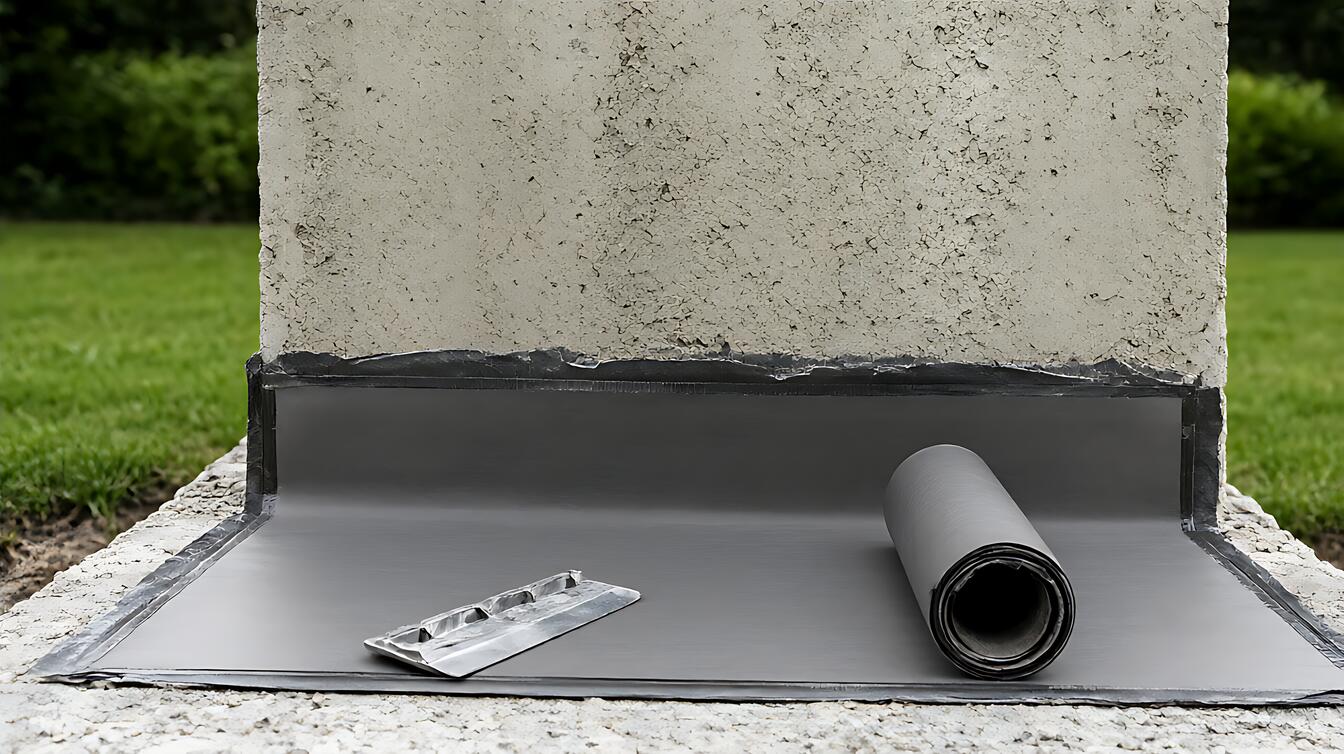
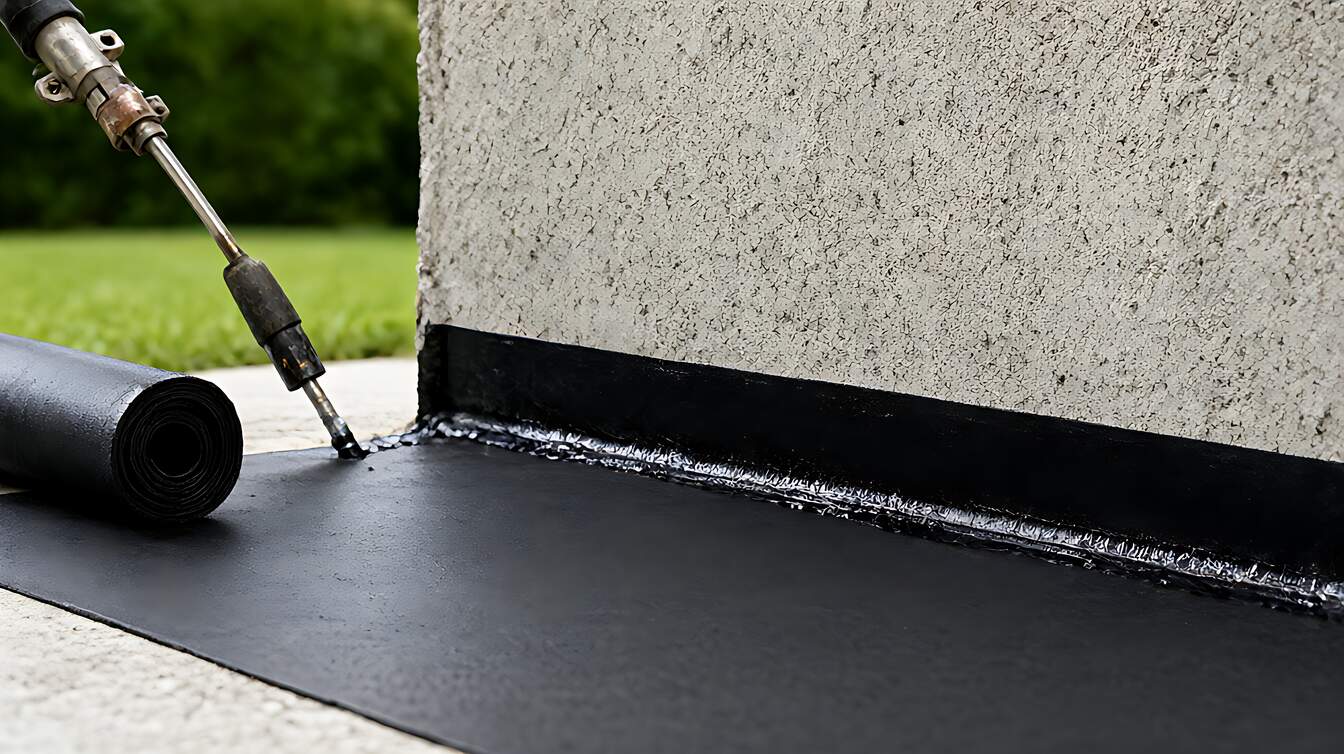
| Lap coverage | 100mm overlap | Overlap missing |
These thresholds are screening criteria, not a substitute for professional assessment. They help you identify where attention is needed, which is exactly where generic lists fall short.
How to Read Each Failure Before Choosing a Repair
Choose a repair approach based on the failed measurement, because each reading points to a different mechanism. Moisture above 16% suggests wet material, ponding reveals inadequate drainage, and a wide crack points to movement that the surface has not accommodated.
For example, standing water after 24 hours points to drainage rather than membrane thickness alone. Before ordering more membrane, check the fall and confirm that drains are clear. A flat roof cannot dry properly when water has nowhere to go.
- Choose acrylic coating when the surface needs a protective finish and the underlying drainage and joints already pass.
- Choose local joint or lap repairs when overlap is missing at a specific seam and the surrounding membrane remains sound.
- Choose drainage correction when fall falls below 1%, because a coating will not create a slope that the structure lacks.
For the installation details behind these decisions, see our guide to membrane thickness and overlap. Matching the repair to the failed mechanism avoids spending money on the wrong layer.
What a 12 – Point Inspection Reveals on a Real Job
Picture a flat roof above a bathroom where the ceiling shows a damp ring but the roof surface above looks clean. The visible ring identifies the symptom; the inspection reveals the mechanism.
The ponding test leaves water standing for 24 hours, revealing that drainage fall is only 0.5%. The same inspection finds a crack wider than 0.3mm near the drain and an upstand below the 150mm threshold. Three failures now sit on one record instead of one vague opinion.
That evidence changes the conversation. Repairing the membrane alone would not solve the slow drainage or the cracked movement joint. A site investigation needs to address the complete path water can take.
For the symptom side of the diagnosis, use waterproofing failure and leak diagnosis. It helps separate surface conditions from water traveling through the assembly.
Limits, Safety, and the Next Step
Checklists have limits. A pass reading describes the condition on the day you tested it, and it does not reveal concealed damage beneath the surface. Waterproofing work can also involve structural loading, electrical systems, and plumbing, so consult a qualified professional before altering a roof, upstand, or drainage outlet.
Do not cut, lift, or puncture a membrane just to investigate a damp patch. Your checklist is for observation and measurement, not exploratory demolition.
Choose professional repair when moisture exceeds 16%, ponding remains after 24 hours, or a crack is wider than 0.3mm. These signals suggest the problem extends beyond cosmetic repair, and early diagnosis usually protects more of the building than a quick surface patch.
To understand the system behind each reading, compare the main approaches in waterproofing types compared. Matching the fix to the material and failure keeps the decision grounded.
Decision Guidance for Your Waterproofing Inspection
Choose a targeted repair when only one checklist point fails and the rest pass. That points to a specific condition, such as a lapsed joint or a blocked drain, rather than a failed waterproofing system.
Choose a professional assessment when moisture reads above 16%, cracks exceed 0.3mm, or water remains after the 24 – hour ponding test. Ask for a written scope covering the failed measurement, the proposed method, and the finish details.
Choose a full system review when drainage fall is below 1%, upstands are below 150mm, or lap overlaps are missing. These failures affect how the whole assembly moves and drains, so treating them as isolated defects tends to bring the problem back.
Keep the photographs, readings, and dates from the inspection. A waterproofing checklist is not paperwork for its own sake. It is a record of what passed, what failed, and what needs attention next.