You should not approve a quote until you can see how its excavation, waterproofing membrane, drainage board, and drain tile work as one system. The contractor should also explain where collected water goes, because a buried pipe with no usable discharge cannot protect the foundation. An exterior foundation waterproofing system blocks water, channels it downward, and carries it away from the foundation.
What Exterior Foundation Waterproofing With Drain Tile Actually Does
The exterior foundation waterproofing system works as a three-part chain when soil is saturated: the membrane resists water, the drainage board directs it down, and the drain tile carries it away. Saturated soil can create hydrostatic pressure, pushing water through cracks, cold joints, and porous concrete. Removing that pressure prevents a waterproof layer from becoming the only defense.
The waterproofing membrane belongs on the wet side of the wall, where outside water presses it into the concrete rather than pulling it away. This differs from damp-proofing, a thin asphaltic coating commonly sprayed on new construction. True waterproofing uses a thicker elastomeric, rubberized, polyurethane, or sheet membrane designed to bridge hairline cracks and remain flexible.
Drainage does not replace the membrane, and the membrane does not replace drainage. For the broader distinction, compare foundation drainage versus waterproofing before accepting a proposal that treats them as interchangeable products.
The Seven-Step Installation Sequence, Step by Step
A complete exterior foundation waterproofing system follows seven linked stages. Perimeter excavation exposes the wall, the membrane seals it, the board channels water, and the drain assembly removes it before backfill and landscaping can conceal mistakes.
- Excavate beside the foundation to expose the full wall, commonly 6 to 8 feet deep, or 7 to 9 feet on some basement foundations.
- Remove soil, clean the wall to sound concrete or block, repair cracks, and patch hollow block walls with parging.
- Install the specified waterproofing membrane on prepared concrete, sealing joints, penetrations, and termination edges.
- Attach the drainage board with its dimples facing the wall, keeping the membrane protected and creating a vertical drainage path.
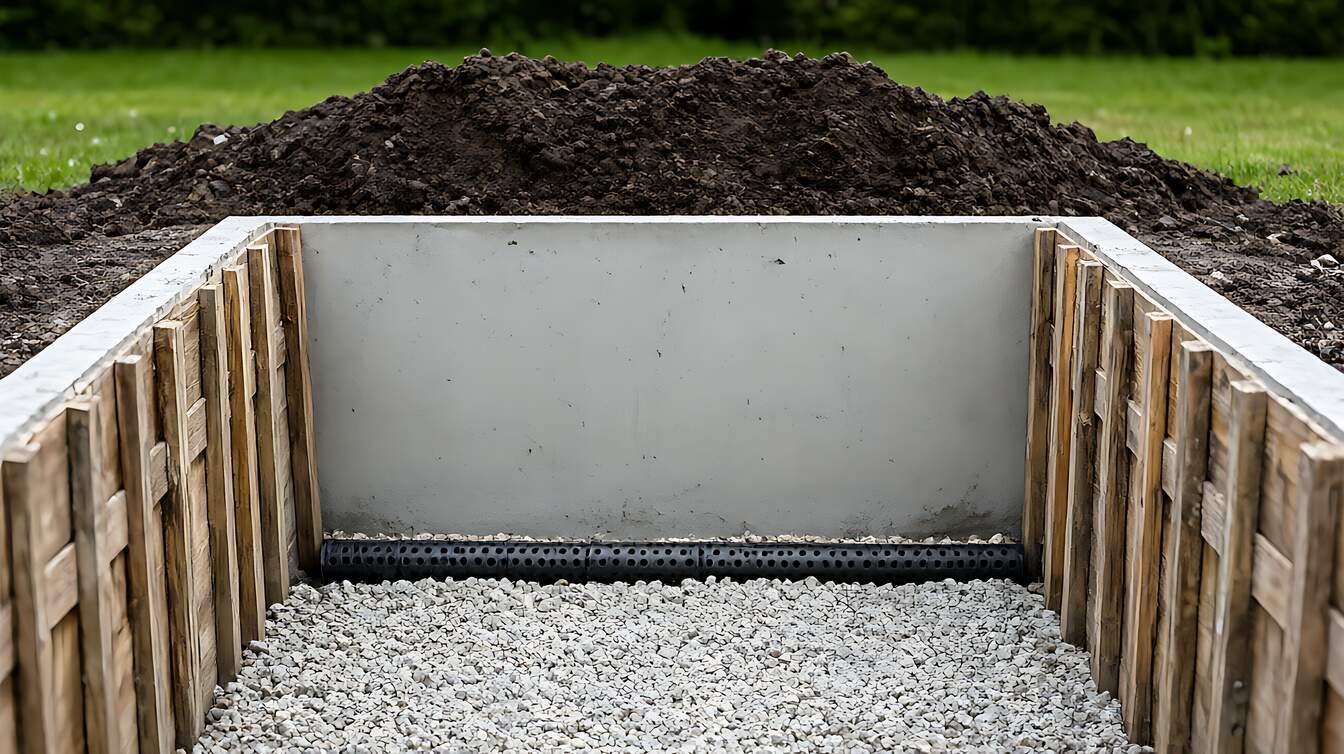
- Grade the gravel bed, lay the drain tile with perforations toward the foundation, and cover the pipe with clean drainage stone.
- Install the filter fabric and backfill with free-draining material in gentle lifts, keeping heavy clay away from the wall.
- Restore drainage, grading, and landscaping so surface water moves away from the completed foundation.
The sequence matters because each layer protects the next. The membrane cannot bond to loose material, gravel cannot carry water through compacted clay, and correct pipe fall cannot compensate for a blocked outlet. For pipe and aggregate requirements, see foundation drain installation requirements before approving concealed work.
Pipe, Gravel, Membrane, and Board: The Specs That Decide the Outcome
4-inch perforated PVC or corrugated HDPE pipe forms the drain line, usually with holes oriented to admit water. The pipe should maintain at least 1 inch of fall per 10 feet, roughly 1 percent, toward its outlet or sump. A level checks the gravel bed because a pipe laid by eye often creates low spots where water and silt collect.
3/4-inch angular drainage stone creates open voids around the pipe and helps keep fine soil out of it. The stone does not replace the filter fabric, which encloses the drain assembly and keeps silt from entering. When that fabric is missing or incorrectly installed, the pipe can silt up within a few years and leave the wall under pressure again.
| Layer or component | Main job | Critical condition |
|---|---|---|
| Waterproofing membrane | Blocks moisture | Wall must be clean and sound |
| Drainage board | Channels water downward | Dimples face the wall |
| Drain tile | Carries collected water | Maintain continuous fall |
| Filter fabric | Keeps silt out | Must surround the drain zone |
| Drainage stone | Creates water-flow voids | Use clean angular material |
The drainage board is not merely a dimpled cover. It protects the membrane from backfill punctures while maintaining a path down the wall. Its material and installation choices are covered in drainage board options for foundation walls.
When Exterior Waterproofing Is Worth It, and When It Is Overkill
Choose a full exterior foundation waterproofing system if saturated soil, failed surface grade, or recurring water intrusion affects the foundation broadly. If the water arrives through one isolated crack instead of the whole wall, repair that crack rather than excavating the perimeter.
Expect roughly $100 to $250 per linear foot, with a typical full-perimeter project around $15,000 to $35,000. The high price reflects the excavation, wall preparation, drainage assembly, restoration, and professional risk.
Choose regrading first when water enters because the yard slopes toward the house. Grade should fall at least 6 inches within the first 10 feet of the foundation, while impervious surfaces within 10 feet should slope at least 2 percent away from the building. Clean gutters and extend downspouts so discharge lands at least 6 feet from the foundation.
Choose a targeted crack repair when the symptom is one isolated crack without broad groundwater pressure. A single crack may call for injection rather than excavating the entire wall. Condensation calls for humidity control, not exterior excavation. Understanding foundation drainage, grading, and French drains helps separate surface-water problems from foundation intrusion.
| Situation | Suitable response | Main limitation |
|---|---|---|
| Saturated soil and recurring intrusion | Exterior waterproofing and drainage | High cost and major excavation |
| Poor surface grade | Regrade and correct downspouts | Will not solve groundwater pressure alone |
| One isolated crack | Evaluate and repair the crack | Needs structural assessment when displaced |
| Condensation | Control indoor humidity | Excavation does not address condensation |
What Fails First, and the Limits You Cannot Dig Past
Silt is the leading failure risk because filter fabric keeps soil away from the perforated pipe. Without the correct wrap or with disturbed backfill, fines can enter the drain and settle inside it. A failed slope creates the same result more slowly: water collects in low spots, deposits sediment, and leaves the foundation carrying pressure it should not.
Poor backfill quietly defeats good work. Replacing excavated clay with clean, free-draining material reduces trapped water, but the fill must be placed in gentle lifts rather than compacted hard against the foundation. For the separate pipe and service-life details, review foundation drain tile specifications.
Site constraints can prevent the standard approach. Narrow lots may not provide safe excavation access, and saturated ground increases cave-in risk. A high groundwater table can also leave no practical gravity-discharge route, making a sump or other engineered solution necessary.
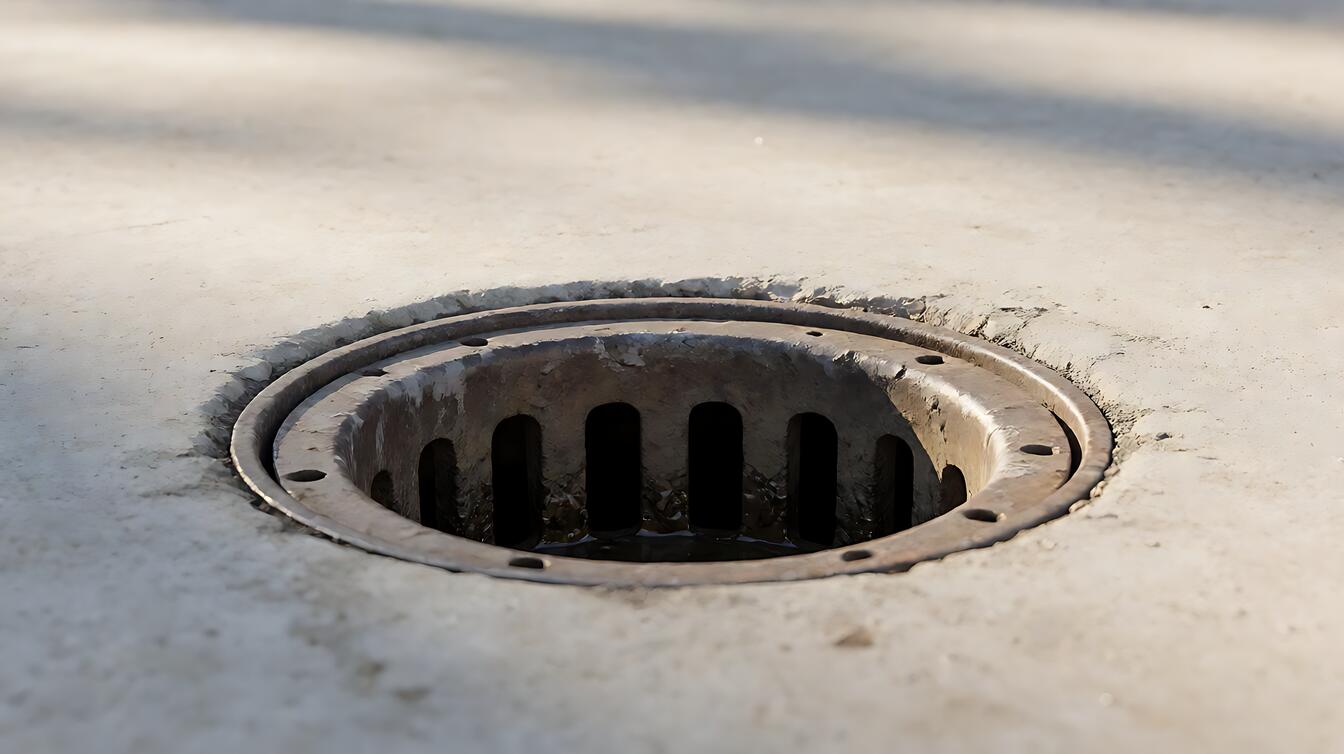
Before anyone breaks ground, settle the discharge route, the structural condition of the foundation, and permit requirements; without those answers a complete-looking proposal can still fail to move the water it collects. The connection requirements are covered in foundation drain outlet and discharge guidance.
Do not treat this as a DIY excavation job. A deep trench beside a loaded foundation needs shoring or benching and usually permits. If a crack is wider than a quarter-inch and displaced, consult a structural engineer before a waterproofer.
A properly built exterior system can protect a foundation for 30 years or more, but only when its layers, pitch, outlet, and backfill work together. Check that work before landscaping conceals it: foundation drainage inspection verifies the pipe, outlet, slope, and restored grade.