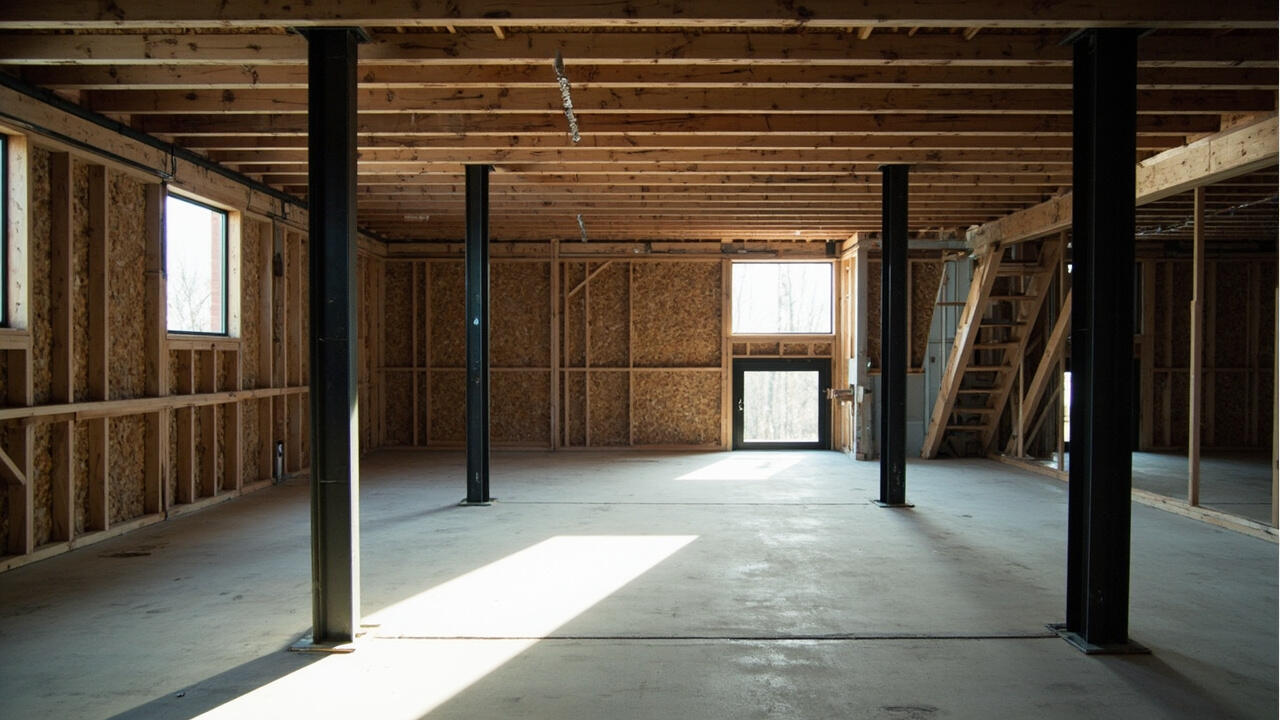
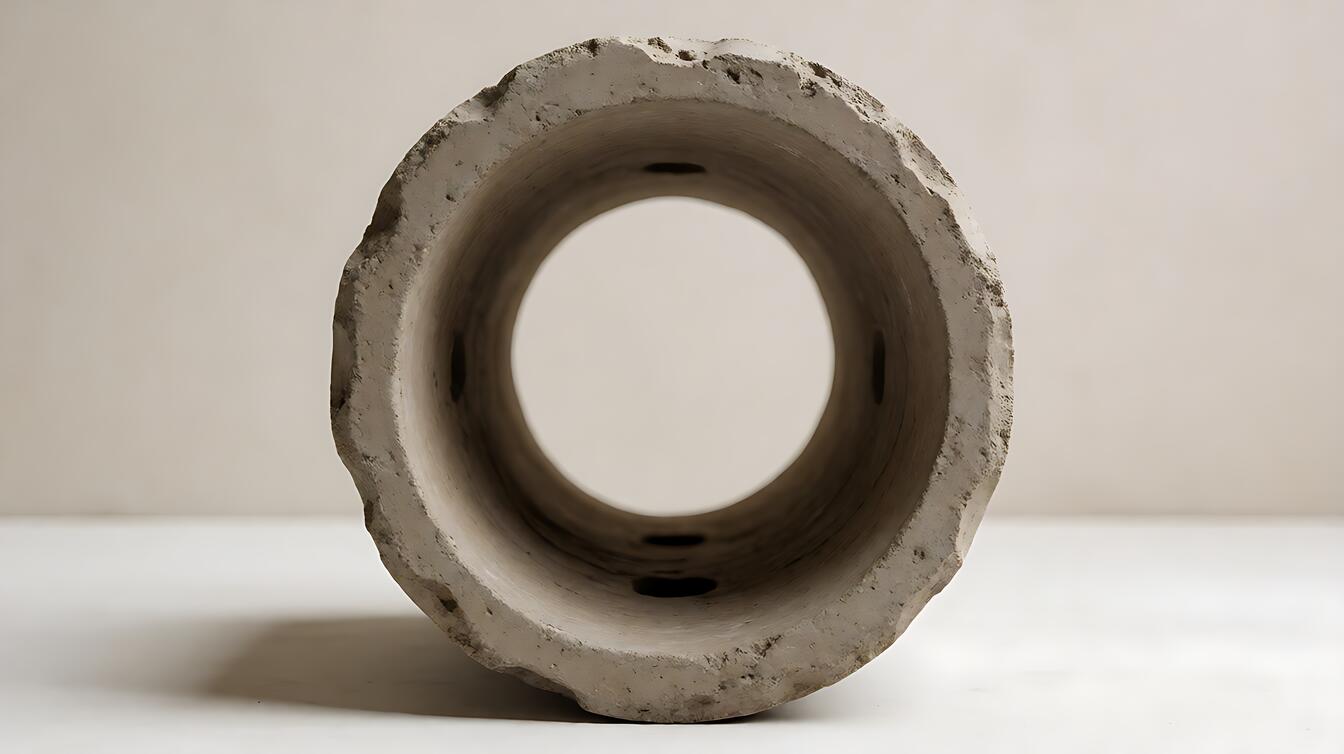
When rain reaches the back of your siding, you need a path that carries water away from the exterior wall systems before it reaches framing or interior finishes. The direct answer is to build a continuous drainage layer behind cladding, give it a clear outlet, and seal every transition. Drainage behind exterior walls is a ventilated or drained cavity that intercepts water and directs it toward an exit instead of letting it accumulate behind the cladding.
What Drainage Behind Exterior Walls Means and the Direct Answer
Exterior wall systems use a drainage layer behind cladding when wind-driven rain can bypass the outer surface. In wet or high-humidity conditions, that layer intercepts moisture, carries it downward, and releases it through a defined path so the wall cavity does not remain damp.
The decisive attribute is continuity. A drainage layer works only when it connects at the top, overlaps at openings, remains unobstructed below, and ends at a drainage outlet. Disconnected sections can leave water trapped in the wall, where it may wet insulation or support surfaces.
That is why drainage behind exterior walls is more than an extra membrane. It is a water-management path with a start, a slope, and a destination. For related waterproofing methods, compare a membrane versus coating for exterior walls.
How Drainage Behind Exterior Walls Works, With Real Numbers
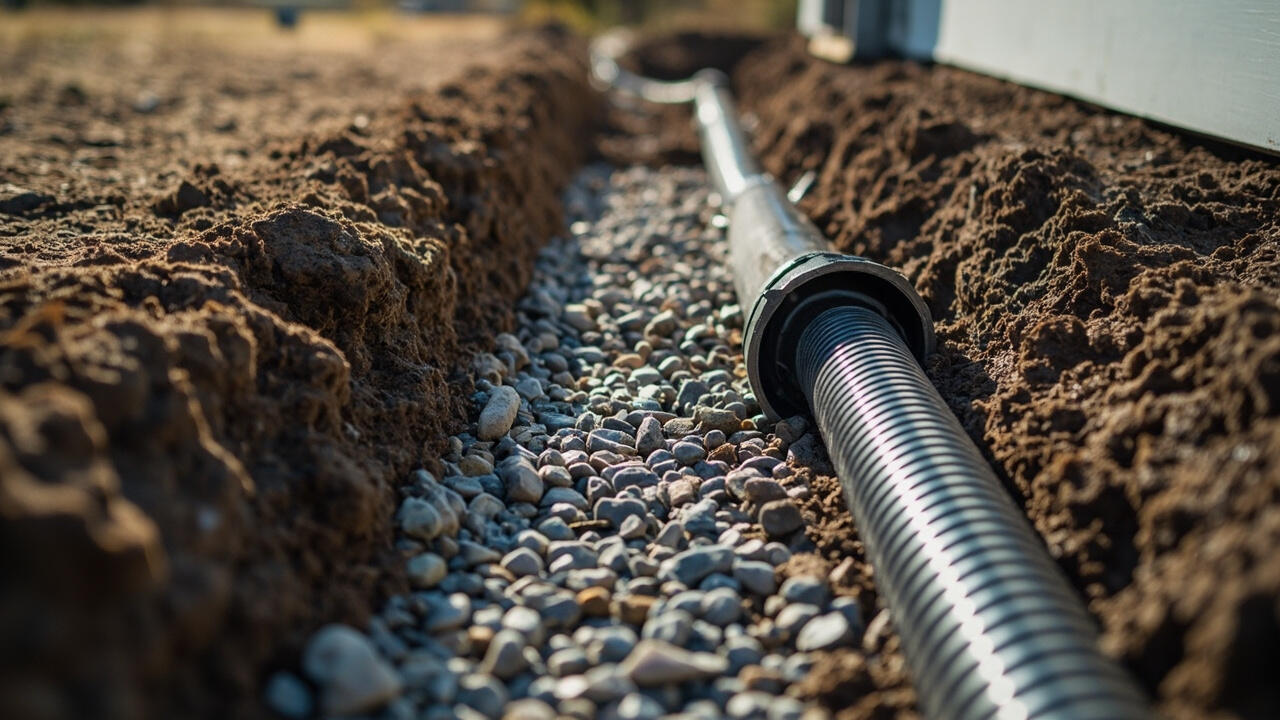
Drainage stone moves water through open space, while perforated pipe provides a defined collection channel. For many residential retaining walls, the grounded detail uses about 12 inches of clean drainage stone behind the wall face and a 4-inch perforated pipe near the base.
The stone should be clean 3/4-inch crushed aggregate, or roughly 20 mm. Its open voids create a path for water, while the pipe carries collected water toward a discharge point. Neither component should be treated as an invisible backup for a wall that has no outlet.
In practice, the same layered logic can guide exterior cladding decisions. A waterproofing system for exterior walls can protect a surface, but it does not automatically replace a drainage cavity. Surface treatment and cavity drainage perform different jobs.
When to Choose Each Drainage Option
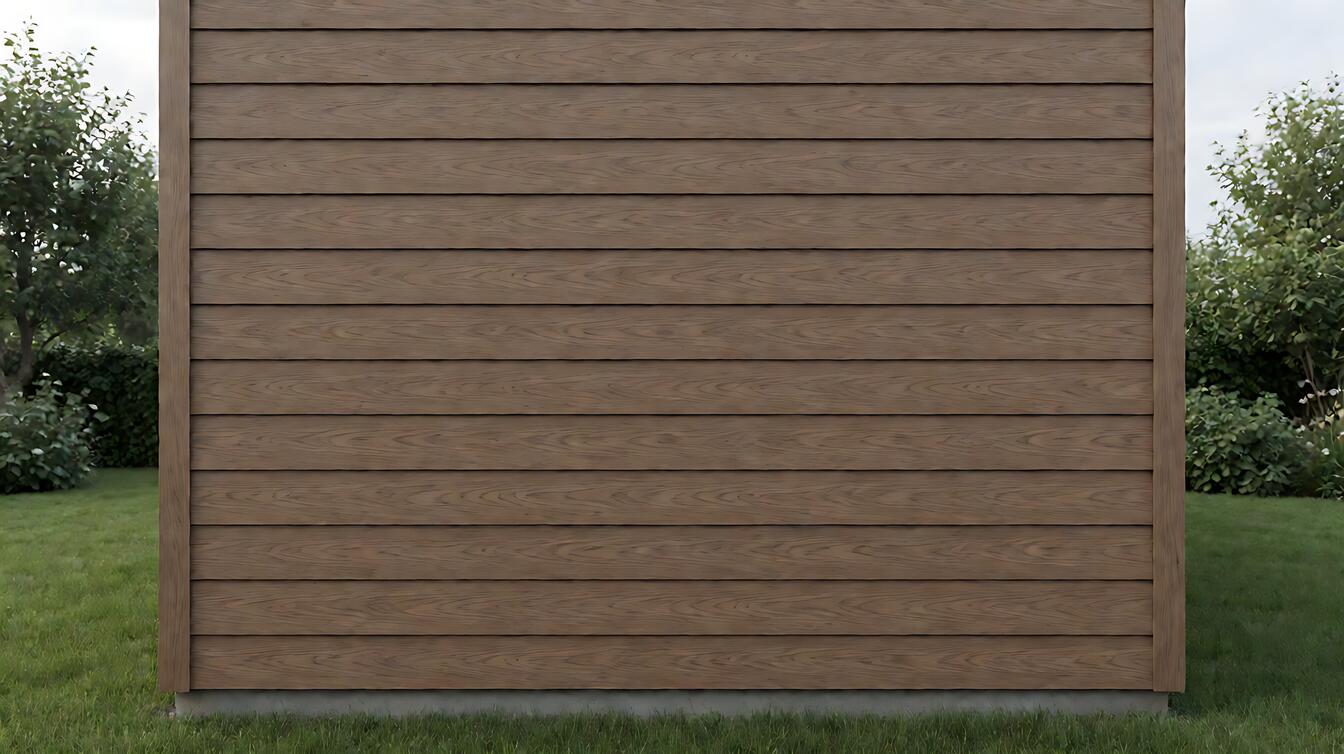
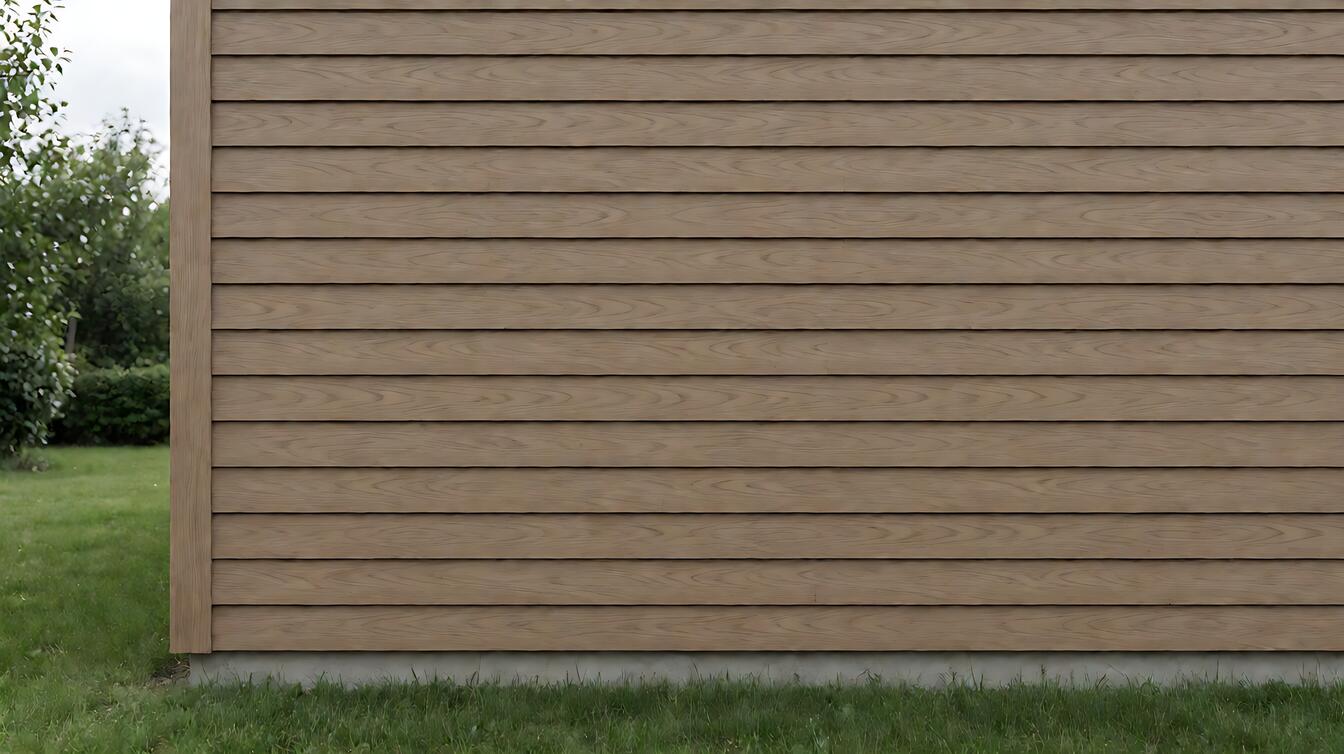
Choose an open rainscreen cavity when cladding can tolerate an airspace and the site experiences wind-driven rain. The ventilated gap lets water drain and dry, which is especially useful in high humidity. Its limitation is installation precision: blocked edges or missing end details can defeat the path.
Choose a drained rainscreen assembly when the wall needs a more controlled outlet for collected water. Here, the backing layer directs water toward a drainage plane or trough. The assembly uses more components, so continuity of flashing, laps, and termination becomes the central condition.
Choose clean crushed stone with a perforated pipe when the wall retains soil or receives substantial water pressure. The grounded retaining-wall detail uses about 12 inches of stone and a 4-inch pipe. For below-grade applications, read retaining wall construction drainage before specifying the assembly.
Choose a drainage-plane method when a full stone bed would be impractical. Its benefit is a thinner, lighter system, but every opening and termination must be detailed for discharge. For basement projects where water reaches below grade, interior versus exterior basement waterproofing addresses a related but separate water-control decision.
Real Job-Site Reality: The Leak Appears Away From the Rain
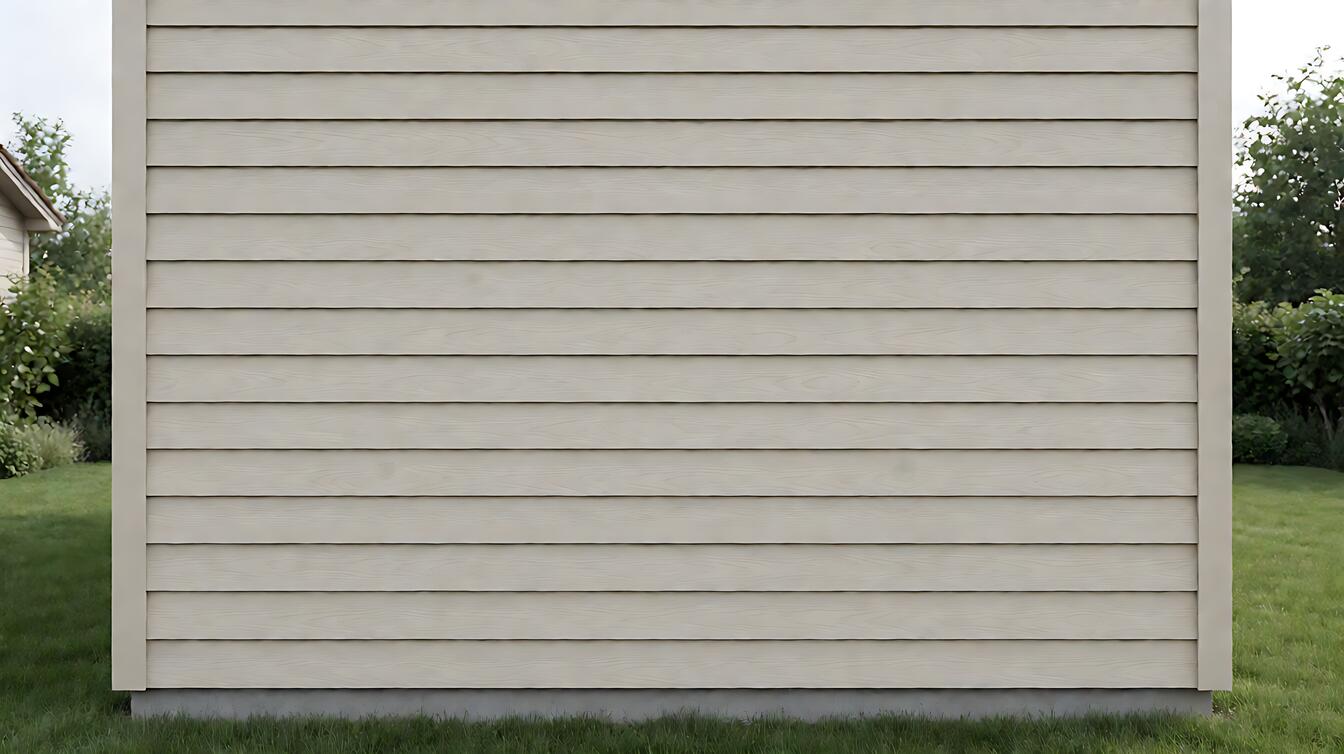
Imagine a wall where rain enters near a window head, but the damp patch appears on the interior side of a distant room. The clue is not where the water appears. It is where water entered the cladding layer and then followed an unintended path through framing, insulation, or interior finishes.
That pattern usually points to one of three failures: an incomplete flashing transition, a clogged rainscreen channel, or a drainage outlet that discharges toward the building. Inspect the head, sill, penetrations, and base in that order, because those are where water first enters or changes direction.
The repair should restore the intended path rather than simply cover the visible stain. Adding more surface coating may hide the symptom while leaving water trapped. Confirm the exterior paint preparation and priming requirements before recoating any surface disturbed during diagnosis.
Limits, Failure Conditions, and the Next Decision
Drainage behind exterior walls stops working when its path is discontinuous, its outlet is blocked, or the wall is exposed to water that exceeds the detail’s capacity. A cavity cannot compensate for failed flashings, missing weather barriers, or structural movement that opens the wall assembly.
The honest trade-off is straightforward. A drained cavity adds material and labor but gives water a controlled route. A surface-only system uses fewer components but cannot dry a saturated cavity. Sun exposure can accelerate degradation of exposed materials, so durability depends on material compatibility, installation quality, and exposure rather than one universal service life.
Consult a qualified professional when the decision involves structural loading, water intrusion near electrical work, below-grade excavation, or an active leak. The drainage outlet must discharge where water cannot erode soil or repeatedly wet the foundation.
- Choose a ventilated drainage cavity when wind-driven rain is the main exposure and the cladding detail supports an airspace.
- Choose a drained assembly when controlled discharge is more important than minimizing the wall’s thickness.
- Choose clean crushed stone and a perforated pipe when soil retention or substantial water pressure governs the wall.
- Call a professional when drainage work intersects structure, electrical systems, or unresolved below-grade water entry.