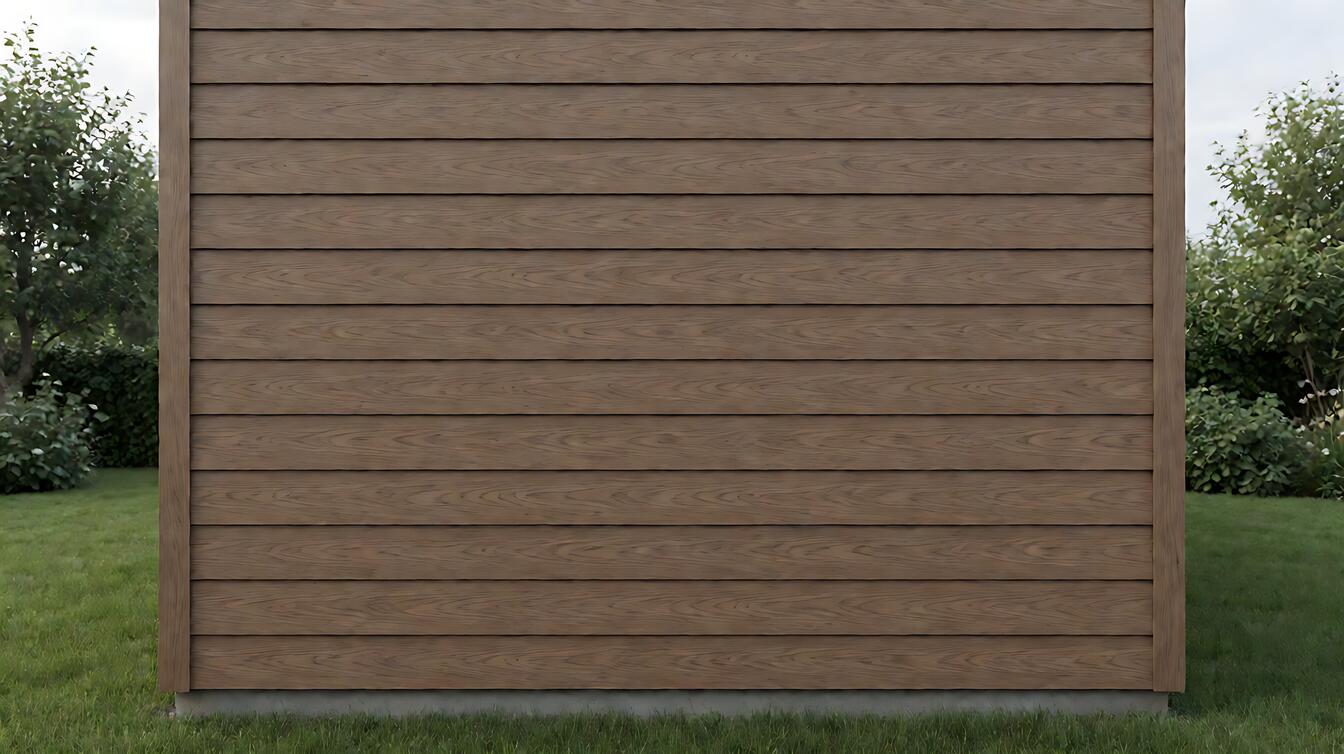
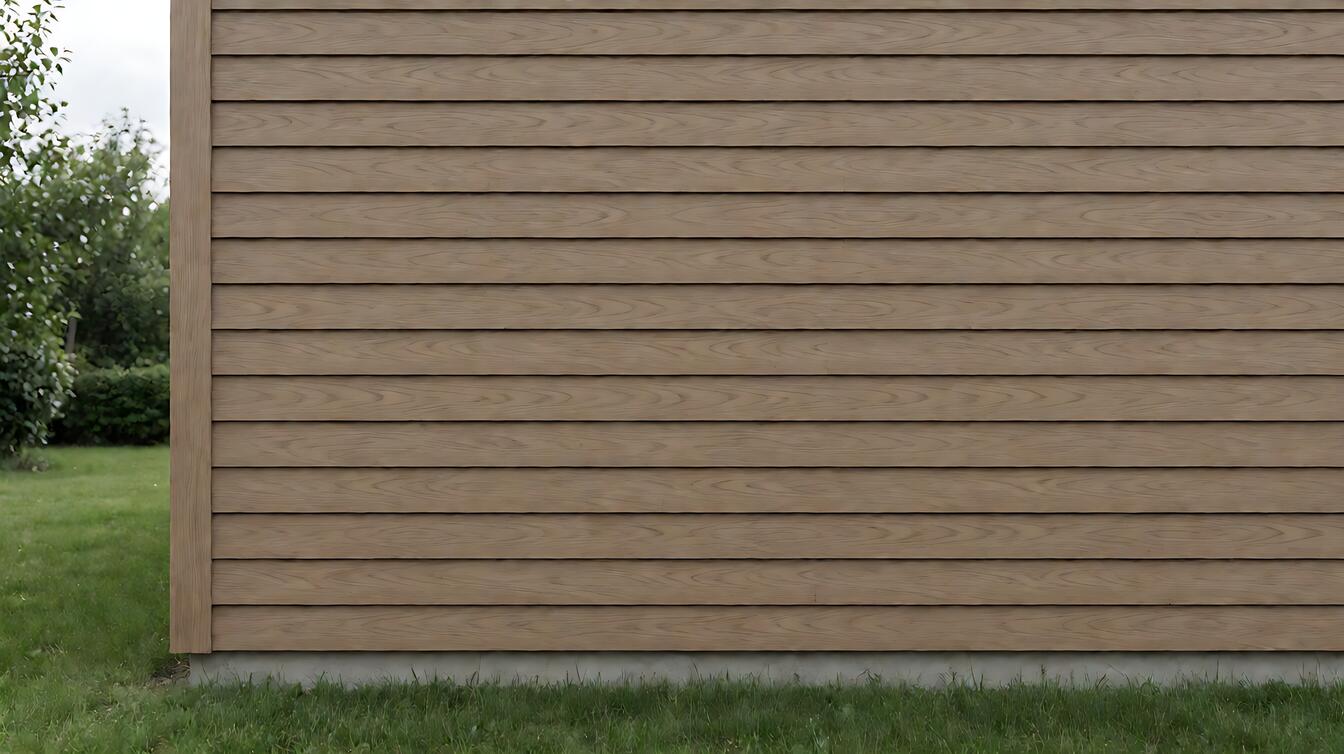
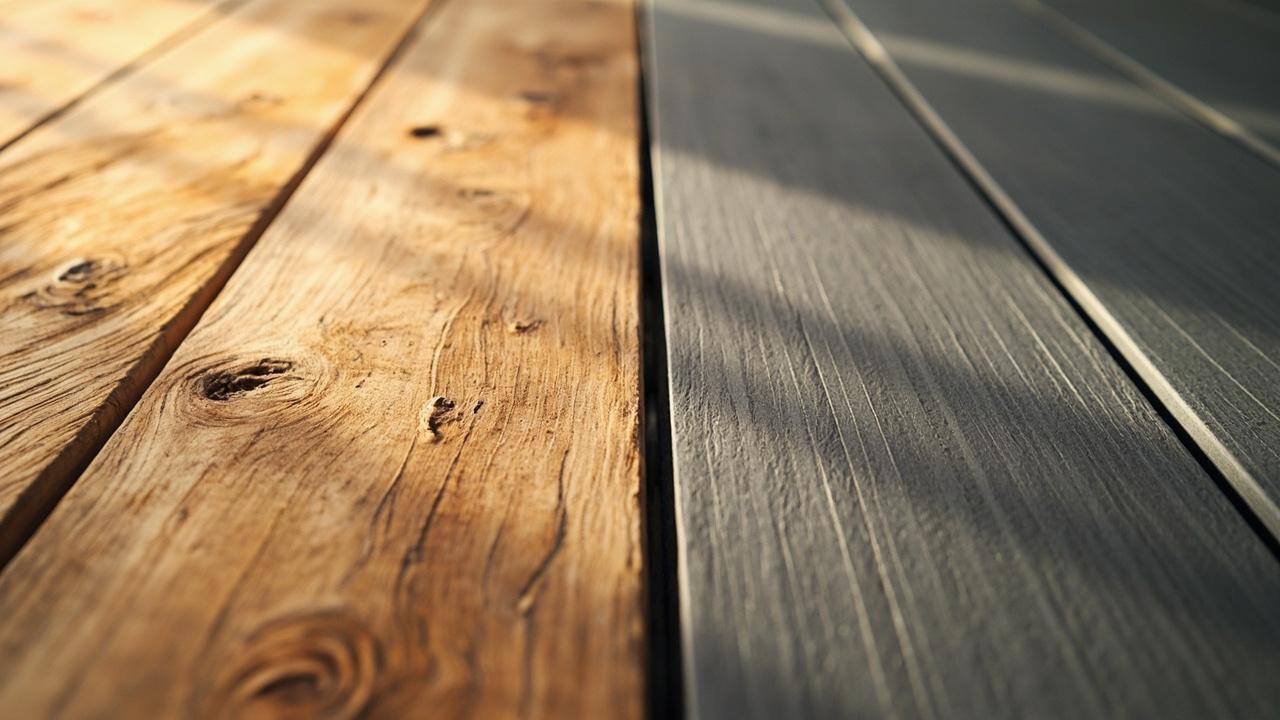
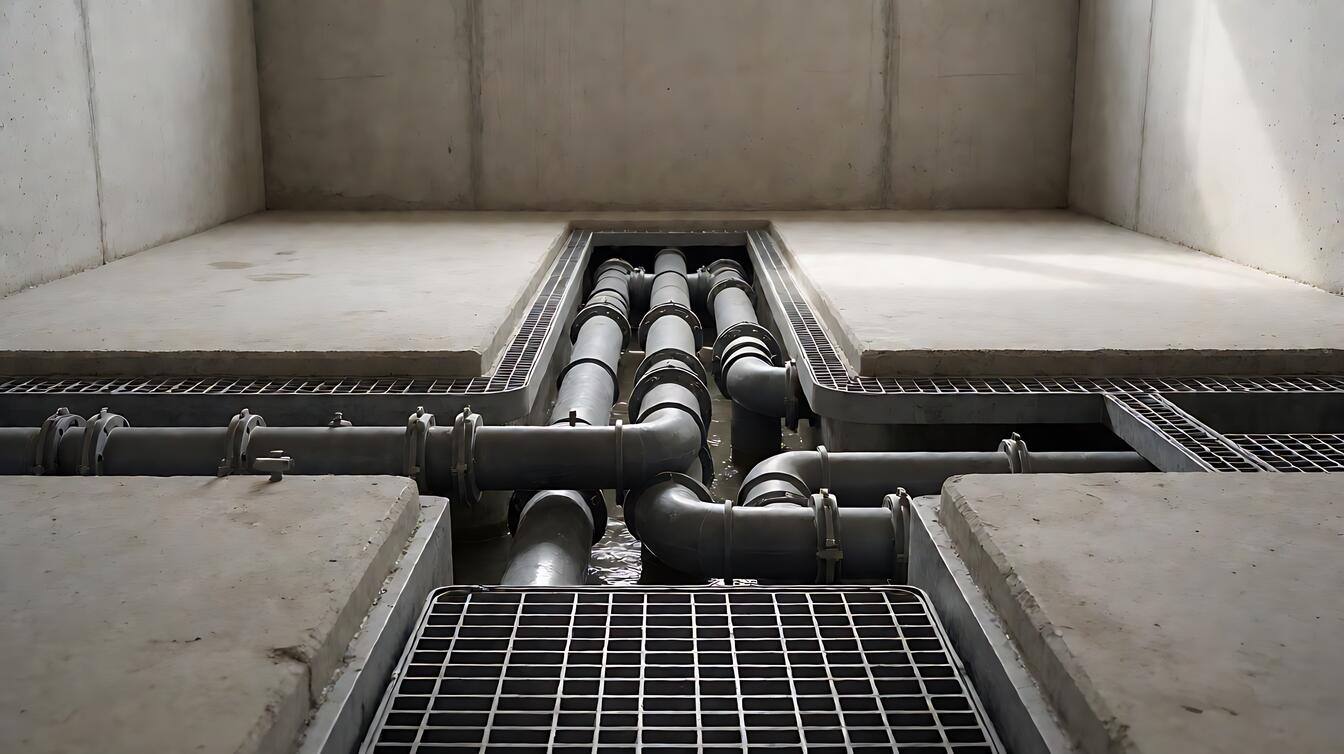
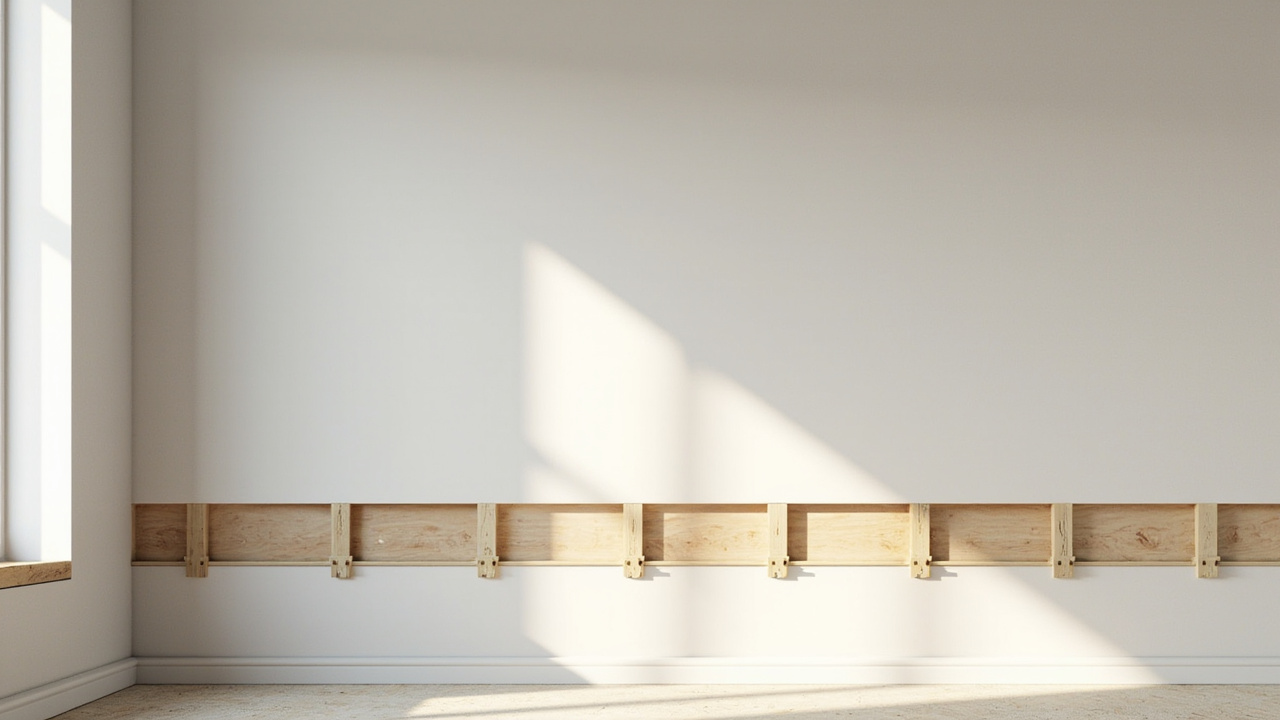
What is rainscreen wall drainage? It is the ventilated space behind exterior cladding that lets rainwater drain and air dry instead of trapping moisture against the wall. The decisive detail is the cavity: keep it at least 3/8 inch wide, or use a product with a documented capillary break, then connect the space to drainage and flashing that carry water out.
Rainscreen Wall Drainage: The Direct Answer
Rainscreen wall drainage works best when a continuous drainage plane sits behind the cladding, with its lower edge able to discharge water safely. That arrangement reduces the chance that wind-driven rain will remain trapped against the exterior wall assembly.
The cavity depth and width determine how the wall handles water and air. A 3/8 inch cavity is the key planning dimension because Building Science Consulting recommends maintaining that space to reduce capillary bridging, although some hydrophobic materials can interrupt capillary action in a smaller cavity.
Do not confuse a flat drainage plane with a channel. A plane has a gap of 3/8 inch or less, while a channel has a gap greater than 3/8 inch. For a foundation or retaining-wall project, compare this wall-scale assembly with retaining wall construction drainage before assuming the same details fit below grade.
How Rainscreen Drainage Works, With Useful Measurements
Drainage plane depth controls how much liquid can travel behind the cladding before it reaches the exit path. A 3/16 inch depth has been demonstrated as sufficient for drainage and airflow, but the broader 3/8 inch cavity recommendation gives the wall more separation from the drainage plane.
That separation matters because water can move through small gaps through capillary action. Keeping a 3/8 inch cavity provides the recommended capillary break in the cited guidance, so the mechanism is simple: water drains downward while air moves through the open space.
The available rainscreen thicknesses affect installation choices. Driwall products include 1/8 inch, 1/4 inch, 10 mm, and 3/4 inch versions, with the 10 mm product identified as suitable for commercial and residential exterior walls.
Material choice should follow the exposure and load. A thinner, drainage-oriented product may suit a protected wall, while a deeper assembly can support brick and natural stone cladding. For wet areas or sun-exposed walls, verify the complete wall assembly rather than treating product thickness as a cure-all.
Choosing a Rainscreen Material and Thickness
Material variants matter when drainage performance, fastening, and cladding weight must work together. Choose a 10 mm rainscreen when its documented thickness meets the project requirement, and use a 3/4 inch product for brick or natural stone applications.
For exposed walls, confirm that the product has the approvals required by the project. The cited Driwall information lists ASTM 2273 approval and NFPA 285 among its performance references, while its 10 mm version is described as meeting a Canadian 10 mm rainscreen code requirement.
Durability is a system property, not a free-standing product claim. A drainage plane protects the cavity, but fastening, flashing, sealant transitions, and the cladding above still affect long-term performance. Consult a professional when the wall includes structural support, complex openings, or water-management details that may affect loads or water entry.
| Option | Documented thickness | Best fit |
|---|---|---|
| Thin drainage product | 1/8 inch | Protected applications where the full assembly confirms drainage performance |
| Intermediate product | 1/4 inch | Projects needing a different cavity dimension |
| 10 mm product | 10 mm | Commercial and residential exterior walls, subject to project requirements |
| Deep product | 3/4 inch | Brick and natural stone walls |
Choose a deeper assembly when cladding weight, fastening demands, or the documented product use case calls for it. Do not add depth merely for appearance; the cavity must drain, drain at the base, and remain compatible with the cladding attachment design.
Job-Site Reality: Where Drainage Details Go Wrong
Wall drainage fails most visibly when the cavity looks continuous but cannot discharge water. A contractor may install a product at the top of the wall, then stop it at a window return or change the plane at a lower corner without providing a continuous path out.
Watch the bottom edge first. Water that reaches the base of the rainscreen needs a flashing detail and a discharge route; otherwise the cavity can collect water instead of removing it. If the wall sits beside a slab or paved surface, coordinate the outlet with the broader foundation drainage and grading details.
Moisture measurement gives you a useful warning. The cited wood moisture equivalent guidance gives a normal range of 8 to 13 percent, with fungal growth beginning at 16 percent and 20 percent sufficient to promote wood rot. These figures make elevated moisture a meaningful clue, not proof of one specific defect.
Another common trap is treating overlap as the whole drainage strategy. Overlap helps manage water at joints, but it cannot replace a cavity that drains and dries. Check the corners, penetrations, transitions, and base conditions before judging the main field of the wall.
Limits, Failure Modes, and the Next Decision
Rain drainage cannot compensate for every wall problem. A cavity that is blocked, poorly flashed, or disconnected from an outlet may remain wet even when the product thickness is correct. Likewise, sunlight can heat exposed surfaces, while wet areas can keep the assembly persistently damp, so the surrounding conditions affect performance.
Choose a 3/8 inch cavity when the assembly can maintain that space and provide a continuous drainage path. Choose a smaller, hydrophobic material only when its documented capillary break and installation details support the design, and choose a deeper product when the cladding system requires the added space.
Before installation, mark the drainage path from top to bottom, verify the base flashing, inspect the product’s fastening requirements, and confirm that every transition returns to a continuous plane. If the design involves structural loads, complex waterproofing, or below-grade drainage, consult a professional rather than relying on a generic cavity detail.
Your next decision depends on the wall, not the product brochure. If the wall sits near the foundation or grade, use foundation types and drainage conditions to resolve the base detail; if a crack or leakage is already visible, distinguish that symptom through foundation crack repair guidance.
Decision guidance: Choose a drainage-plane rainscreen when you need a ventilated, drainable cavity behind cladding. Choose the 10 mm product when its documentation suits the wall assembly, and choose the 3/4 inch product for brick or natural stone cladding. Choose a professional review when waterproofing, structure, or foundation drainage is involved.