You’re standing in a damp, bare concrete basement, wondering whether to finish it yourself or hand it to a contractor, and the real fear isn’t the work itself but the hidden moisture and musty smell that wrecks everything six months later. Here’s the direct answer: basement finishing is the process of converting raw below-grade space into livable rooms, and it only works when moisture control comes first, framing second, insulation third. Skip that order and you risk mold, warped drywall, and wasted budget. Let’s walk through the plan that actually holds up.
What Basement Finishing Actually Means
Finishing a basement isn’t just hanging drywall over concrete and calling it done. The work converts an unfinished below-grade space into rooms that meet code for ceiling height, egress windows, and moisture control.
In practice, three layers decide whether the room feels dry for the next 20 years or starts smelling musty by spring. A vapor barrier (typically 6-mil polyethylene sheeting) blocks ground moisture from migrating through concrete walls. Proper insulation with closed-cell spray foam at R-10 to R-15 on walls prevents condensation on cold surfaces. A working dehumidifier sized at 50 pints per day for 1,000 square feet keeps relative humidity below 60% year-round.
These layers matter because concrete is porous. Water vapor passes through it constantly, and when that vapor hits a cold surface, it condenses. That condensation feeds mold, swells baseboards, and rusts electrical boxes. Finishing without addressing this sequence is the single most common reason remodels fail within two years.
Tools and Materials You Need Before Day One
Get the materials wrong and the project stalls. Here’s what actually shows up on the job site, with the specs that matter and the ranges that hold up in real conditions.
- Closed-cell spray foam or XPS rigid foam board (R-10 minimum, 2-inch thickness) for direct concrete contact
- Pressure-treated 2×4 lumber for the bottom plate (regular lumber rots against concrete within 3 years)
- 6-mil polyethylene vapor barrier or Class I vapor retarder paint as an alternative
- Galvanized steel studs as a rot-proof alternative to wood framing in wet zones
- Moisture meter for testing concrete (readings above 4% mean wait longer before framing)
- Dehumidifier rated 50 pints/day per 1,000 sq ft, with continuous drain to a sump
- Concrete sealant (silicate-based penetrating sealer) for hairline cracks before framing
Budget ranges per square foot for materials run $15 to $25 for a basic DIY finish and $35 to $55 if you hire out the moisture-control layer. Skipping the moisture work saves about $3 per square foot upfront and costs $8 to $12 per square foot to fix later when drywall has to come down. That’s the trade-off nobody mentions in the glossy renovation shows.
The Step-by-Step Sequence That Actually Works
The order matters as much as the materials. Framing before waterproofing is the classic mistake that traps moisture behind drywall where it can’t dry out.
Step 1: Test and Dry the Concrete
Run a moisture meter on multiple wall spots and the floor. Readings under 4% mean you can proceed. Above 4%, run a dehumidifier for 7 to 14 days and retest. Rushing this step is why DIY basements smell like a locker room by the second winter.
Step 2: Seal and Insulate the Walls
Apply penetrating concrete sealant to bare walls, then attach 2-inch XPS foam board directly with construction adhesive. Spray foam goes in after that for a continuous thermal envelope. Expect R-13 to R-15 on walls when both layers are in place. Comparing basement insulation options helps when you’re choosing between XPS, spray foam, and batts.
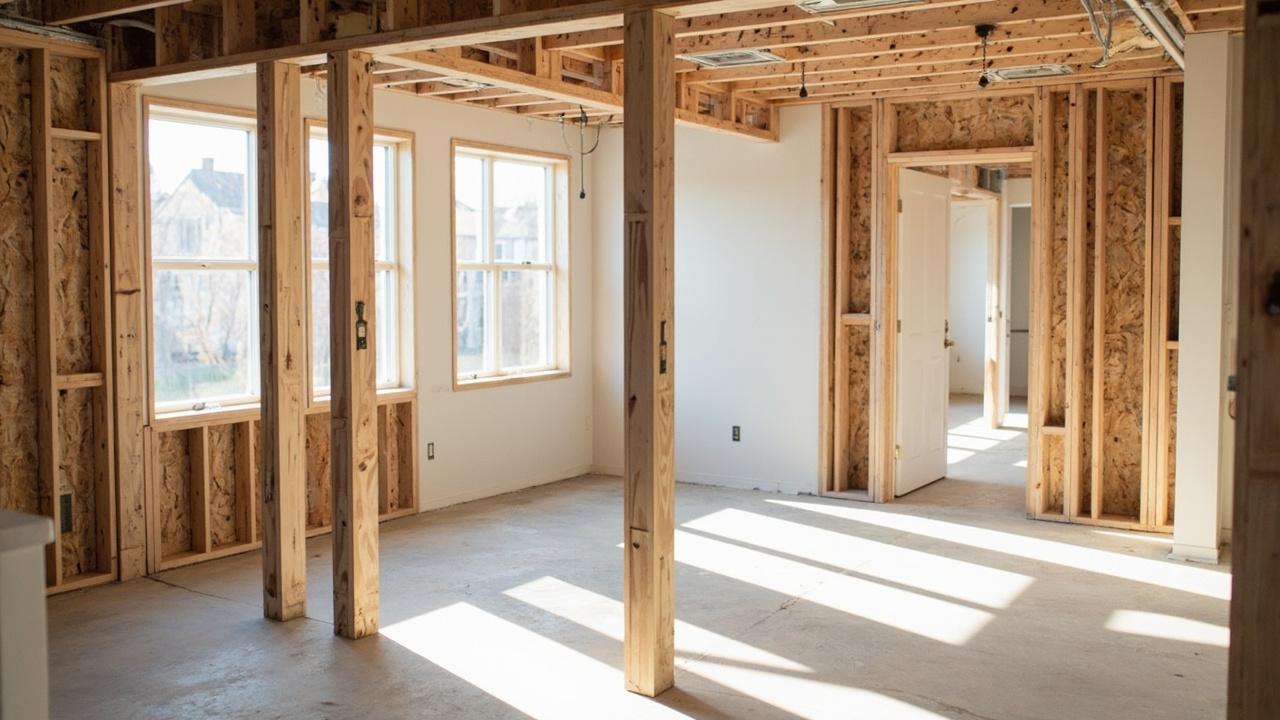
Step 3: Frame with a Gap from Concrete
Build the wall framing using pressure-treated bottom plates, then standard 2x4s for studs at 16 inches on center. Keep a 1-inch gap between the framed wall and the foam board so air can circulate. This gap is the drying plane. Without it, any moisture that gets behind the wall stays there.
Step 4: Run Mechanical Systems
Electrical, plumbing, and HVAC go in now, before drywall. Hire a licensed electrician for any new circuit, especially if the panel needs a sub-panel added. For plumbing rough-ins, especially if you’re adding a bathroom, consult a licensed plumber. Code requires GFCI outlets every 12 feet in finished basements, and a separate circuit for the dehumidifier.
Step 5: Hang, Tape, and Finish Drywall
Use mold-resistant drywall (paperless or fiberglass-mat faced) for below-grade walls. Standard drywall feeds mold in any basement that ever hits 70% humidity, which is most of them in summer. Tape, mud, prime with a stain-blocking sealer, and paint with semi-gloss for easier wipe-down if moisture ever shows up.
Common Mistakes and How to Avoid Them
Most basement finishing failures trace back to five predictable mistakes. Knowing them upfront saves you the learning curve that contractors pay for in callbacks.
- Framing tight against concrete walls: No drying plane means trapped moisture and mold within 18 months
- Using standard fiberglass batts: They absorb moisture, compress against walls, and lose R-value when damp
- Skipping the vapor barrier on the warm side: Warm indoor air pushes into wall cavities, condenses on cold concrete, and rots framing
- No egress window or escape route: Code requires an egress window in any bedroom; finishing without one fails inspection and voids insurance
- Venting the dryer into the basement: Adds 5 to 15 gallons of water vapor per load directly into the space
Each mistake shows up in the first two years. A smoke test or thermal camera scan after the first heating season reveals cold spots where moisture is condensing. Fix the source, not the symptom. Replacing drywall without addressing the moisture layer just resets the clock.
Limits, Edge Cases, and When to Call a Pro
Some basement conditions push beyond DIY scope. Standing water, active foundation cracks wider than 1/8 inch, or hydrostatic pressure pushing through the floor all signal problems that need structural or waterproofing expertise before any finishing begins.
If you see efflorescence (white powdery deposits) on walls, the concrete is wicking moisture from outside. That means exterior grading, gutters, or drainage tile need attention first. A French drain or exterior waterproofing membrane runs $8,000 to $15,000, and finishing over the symptom guarantees a callback. In these cases, consult a foundation waterproofing specialist before any interior work.
Choose DIY finishing if the basement is currently dry, the budget is under $25 per square foot for materials, and you have experience with framing and drywall. The moisture-control layer is forgiving if you follow the sequence.
Hire a professional if you see active water intrusion, the space needs an egress window cut through concrete, or you’re adding a bathroom with plumbing rough-ins. A full basement renovation cost breakdown shows where contractor labor earns its keep versus where you’re paying for convenience.
For most homeowners, the honest answer is this: the planning takes longer than the work. Spend a week on moisture testing and layout before buying a single 2×4, and the actual framing goes up in a weekend. Rush the planning and the framing takes three weekends plus a mold remediation crew.