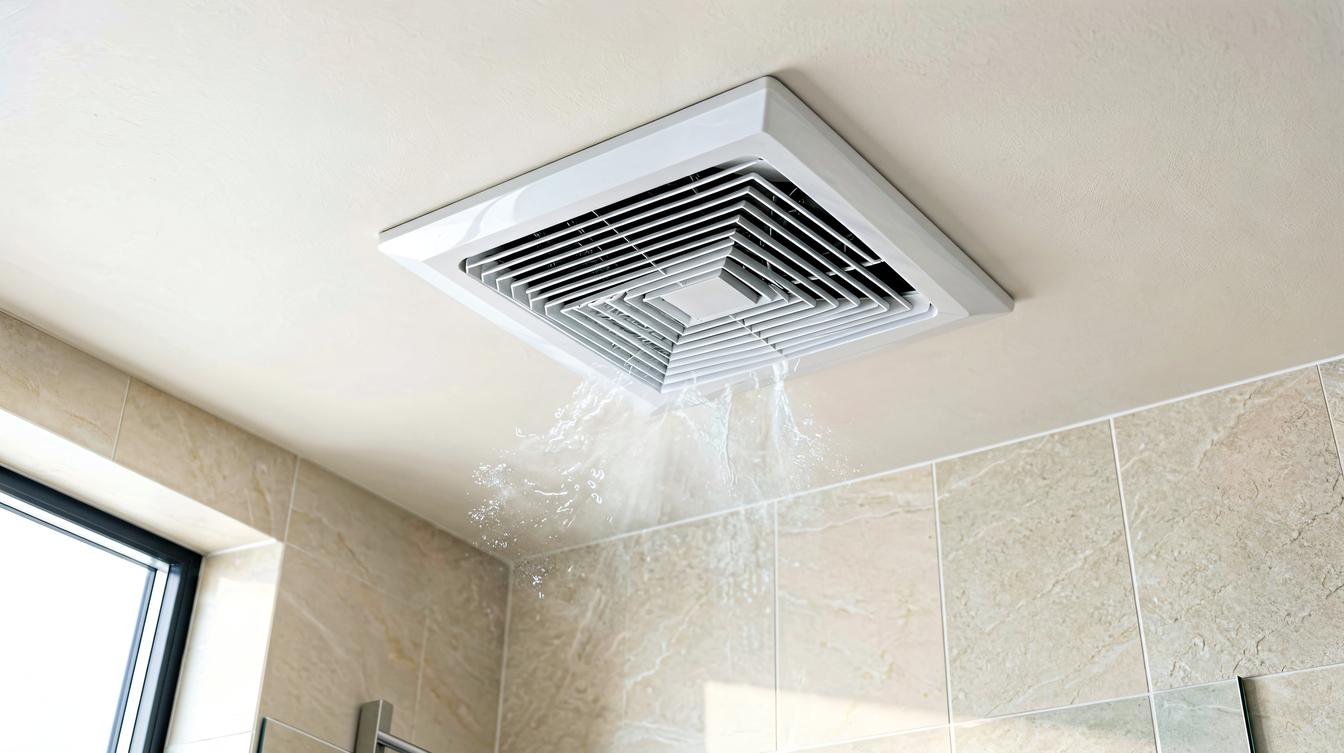
Scrubbed the black spots off the grout last month and they are already back? Recurring bathroom mold signals a moisture source that cleaning never touches, usually weak ventilation, a failed seal, or water wicking inside the wall. Bathroom mold remediation is a moisture diagnosis first and a cleaning job second, and prevention means removing the damp conditions mold needs.
Read the Stain Pattern Before Touching a Scrub Brush
Bathroom renovation mold investigations start with location, because each moisture source stains a different place. Ceiling mold above shower points to humid air condensing on a cool surface, the classic weak exhaust signature. Surface dots here wipe off easily yet return within weeks while the fan stays undersized.
Blackened grout lines and caulk edges tell a different story about standing water. Grout mold at floor corners means water pools where slope fails or sealant gaps let spray behind the tile edge. This mold resists surface cleaners because roots sit inside porous grout and failed caulk beds.
Musty odor with no visible stain is the warning that matters most. Hidden mold behind tile walls grows on damp backer board fed by membrane breaches or plumbing drips, invisible until tiles loosen or paint bubbles nearby. Odor without stain deserves investigation behind surfaces, not stronger surface chemicals.
Separate the Six Moisture Sources by Their Distinct Clues
Bathroom renovation moisture comes from six repeatable sources, each with a fingerprint. Inadequate exhaust leaves ceiling spots plus fogged mirrors long after showers, since humid air never exchanges. Exhaust fan 50 CFM minimum for small baths and 1 CFM per square foot generally moves enough air, and short duct runs vented outdoors beat long flex duct sags that trap condensate.
Failed perimeter seals admit spray water behind surfaces at tub rims, shower curbs, and fixture penetrations. Cracked or missing caulk at these joints shows as stained lines that darken after each shower. Failed caulk at tub rim joints lets gallons per month migrate invisibly into wall cavities, where it feeds mold far from the visible stain.
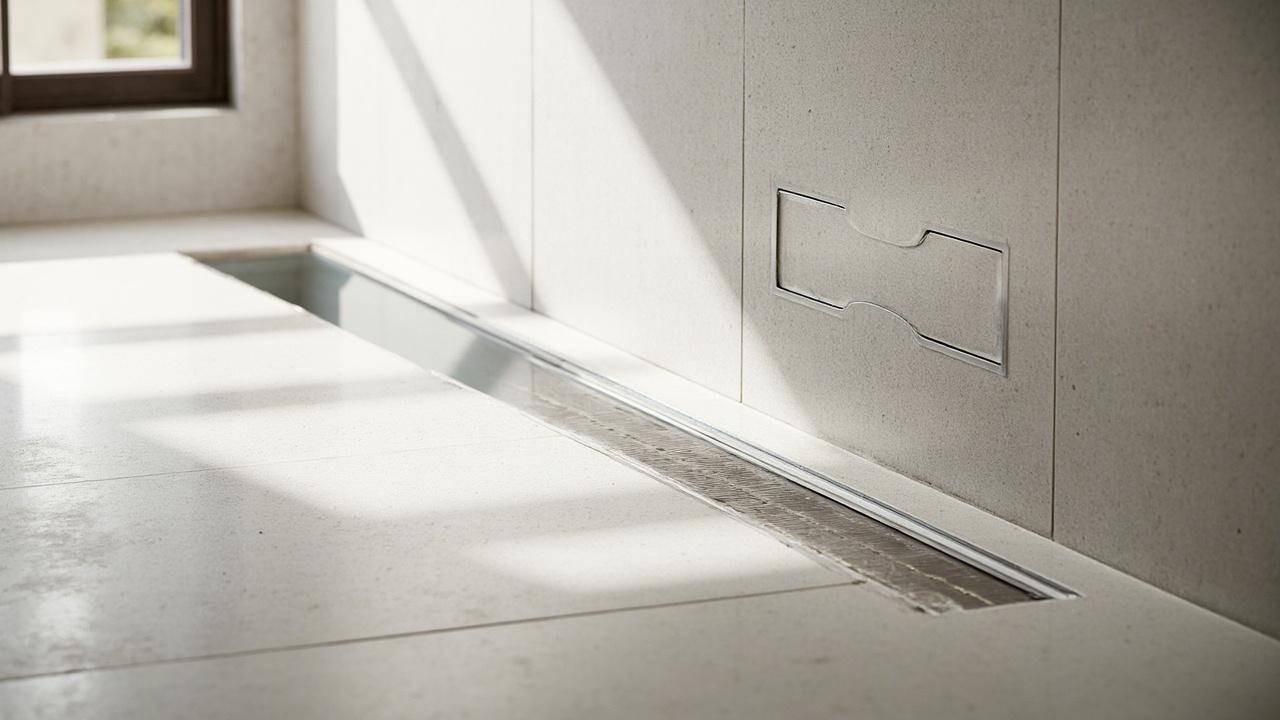
Plumbing drips, membrane breaches, and poor drainage complete the set with their own clues. A supply or drain drip shows as a stain that grows without shower use, membrane failure as loose tiles over soft spots, and flat floors as puddles that never reach the drain. Our bathroom drainage ventilation slope drains airflow guide maps how slope 1-2 percent to drain eliminates the standing water that grout mold colonizes.
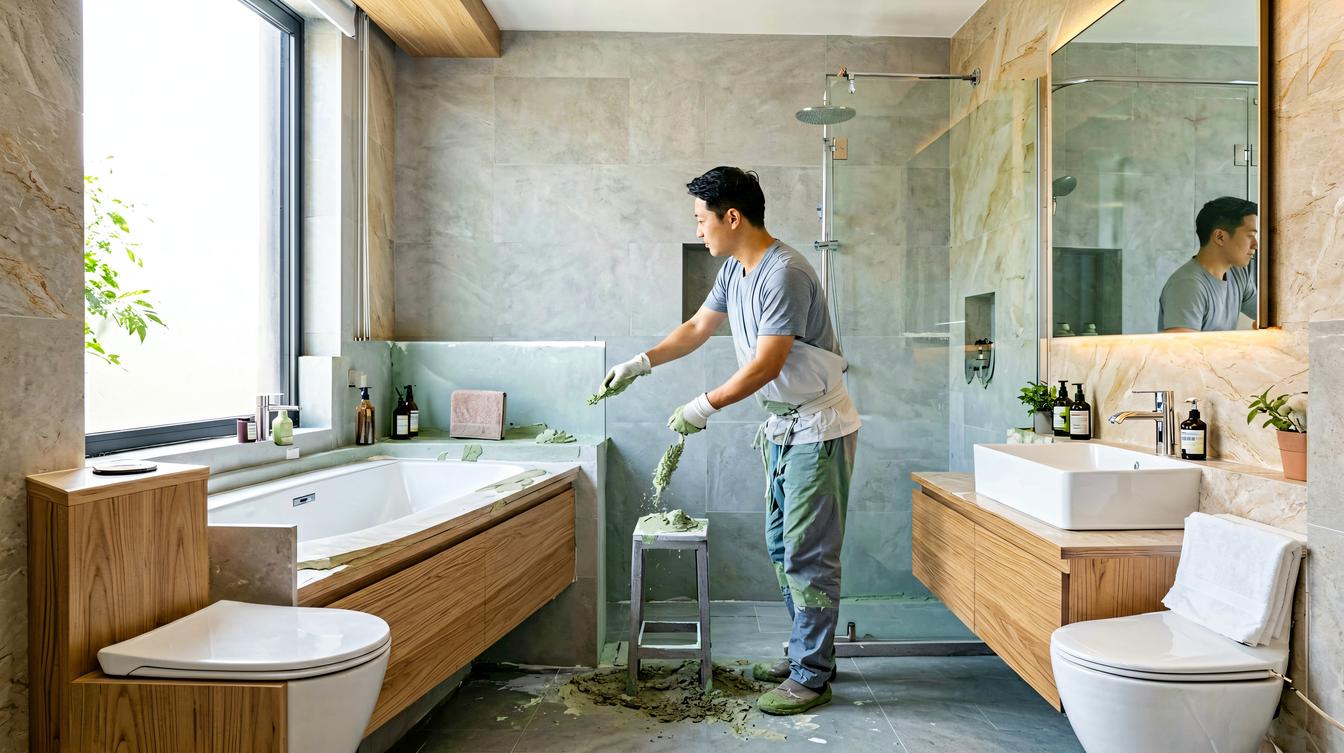
Clean Safely Inside DIY Limits and Stop at the Right Line
Bathroom renovation surface mold under 10 square feet generally suits DIY cleanup with the right precautions. Wear an N95 respirator, gloves, and eye protection, ventilate the room, and scrub hard surfaces with detergent before drying them completely. Surface mold under 10 sq ft on tile, glass, and tub surrounds responds to this mechanical removal, since smooth surfaces give roots nowhere to anchor.
Porous materials change the rule entirely, because mold roots penetrate what surface scrubbing cannot reach. Stained drywall, insulation, and carpeted bath mats hold colonies inside their fibers after any cleaning. Porous drywall must be cut out at least 12 inches beyond visible growth and replaced with moisture resistant board, since dead mold left inside still triggers allergies.
Stop DIY and call a professional when growth exceeds 10 square feet, when HVAC registers show mold, or when anyone shows respiratory symptoms. Hidden colonies inside walls need containment and negative air that household cleanup cannot provide. Bleach on porous surfaces whitens without killing roots, so bleach fails on porous materials while detergent plus physical removal wins on hard ones. Our bathroom grout epoxy vs cement stain resistance breakdown shows which grout chemistry resists recolonization after cleanup.
Rebuild the Assembly So Moisture Cannot Return
Bathroom renovation prevention works at three layers: air, surface, and substrate. Ventilation dries the room between uses, so size the fan to the room, run it 20 minutes after showers on a timer or humidistat, and keep the door undercut for makeup air. Confirm sizing with our bathroom exhaust fan sizing mold prevention guide, because an undersized fan running longer still leaves ceiling corners damp.
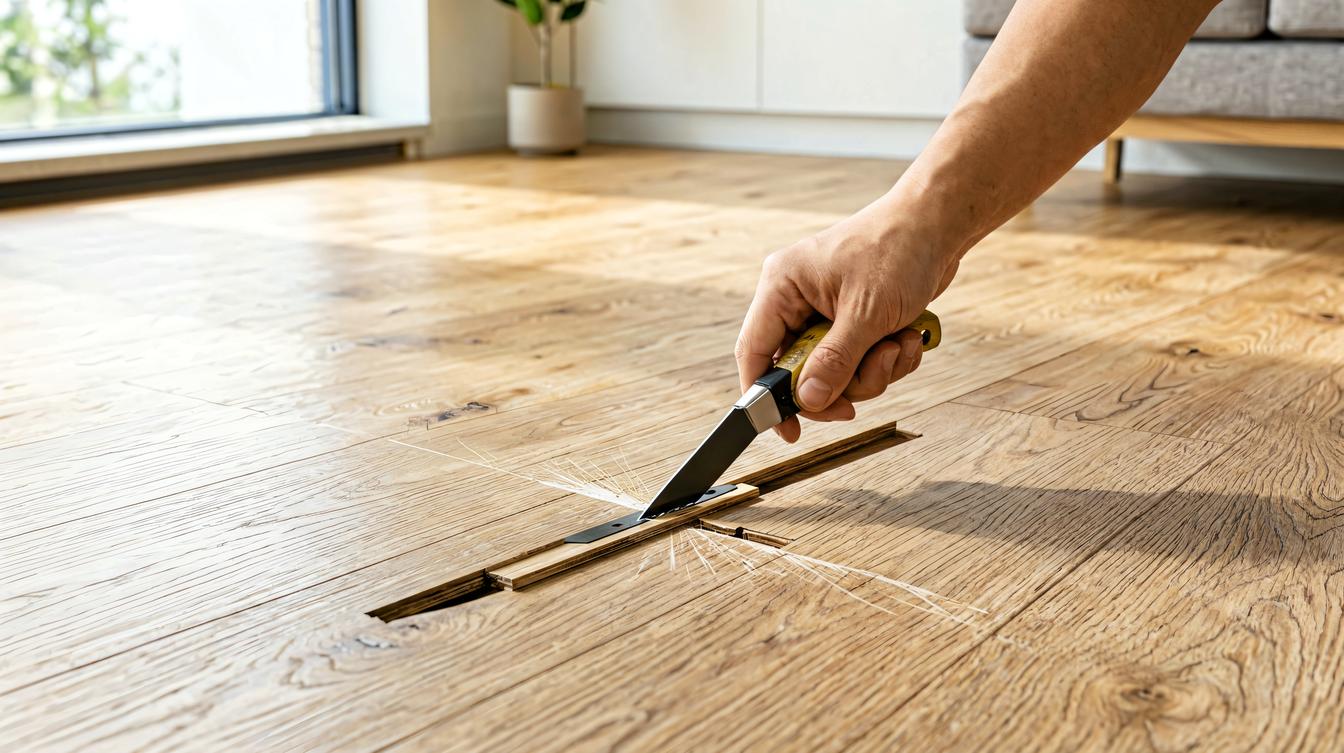
Surface detailing sheds water into drains instead of joints. Reseal tub rims, curb tops, and fixture penetrations with 100 percent silicone, replacing old caulk fully rather than layering over it. Waterproof membrane 0.8-1.2mm continuity behind shower tile decides whether a future seal failure becomes a stain or a wall rebuild, since membrane carries leaked water to the drain instead of the framing.
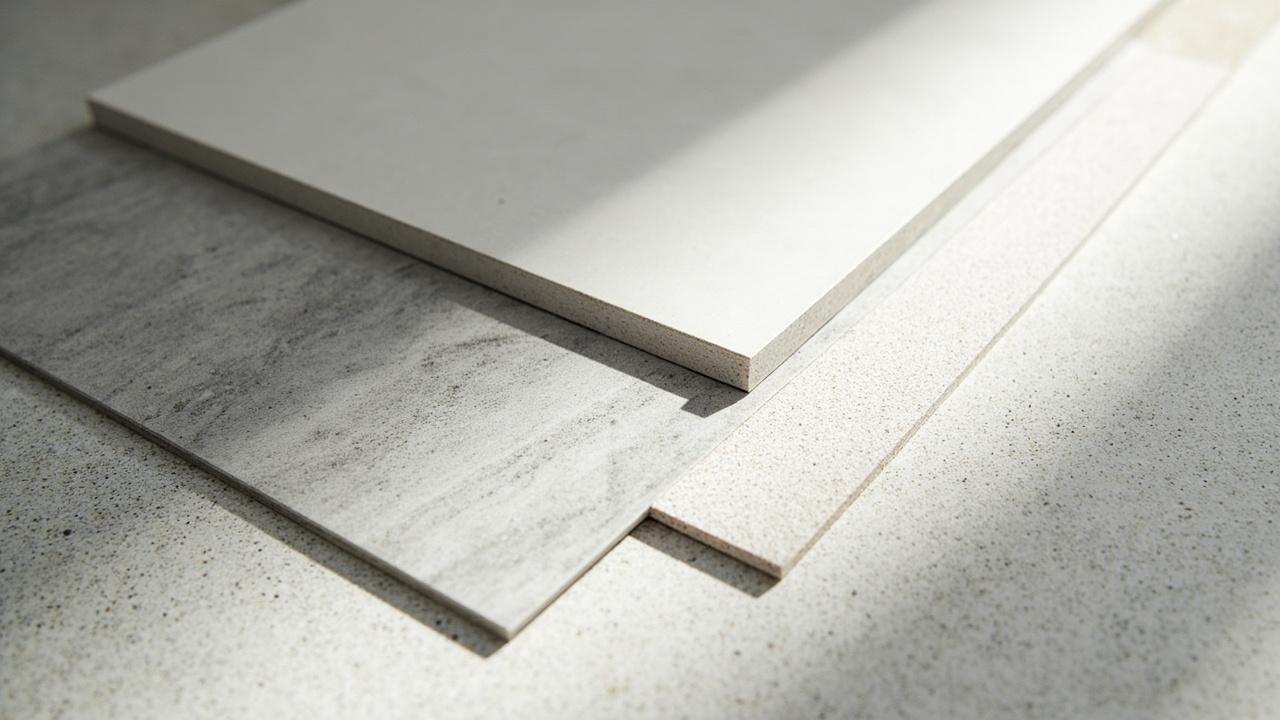
Substrate selection removes the food source that mold colonies eat. Cement board, foam tile backer, and mold resistant drywall deny the paper facing that standard drywall offers. Material choices compound, and our bathroom renovation materials tile board membrane guide ranks which combinations survive chronic humidity. Specify the full stack, not just the visible tile.
Decide Your Next Step From the Symptom You Have Today
Bathroom renovation mold decisions branch on one question: does moisture still enter? If stains wipe off and the fan runs strong with dry mirrors after showers, schedule quarterly grout sealing and annual caulk inspection. Maintenance suffices when the moisture source is already controlled.
If stains return within a month of cleaning, diagnose before scrubbing again. Test the fan with tissue suction, probe caulk lines for gaps, and check whether puddles linger after draining. Overlap 100mm membrane seams and intact seals mark assemblies worth keeping, while soft tile spots and persistent odor mark assemblies needing opened walls.
Choose targeted repair if one seal or one fan explains everything, because replacing a fan or recaulking a tub costs little and solves the true cause. Choose partial rebuild if backer board softened or membrane breached, since surface treatments over rotted substrate waste every dollar. Either way, verify dryness with a moisture meter reading under 17 percent on framing before closing walls, because dry assembly is the only prevention that lasts.