Why does water still reach the fascia when the gutter looks sealed? The answer is that waterproofing for roof gutters and downspouts is a complete drainage system, not simply a layer of sealant. Check the joints, outlet, penetrations, and discharge point before choosing a material. This waterproofing is the controlled shedding of roof water through sealed gutters, downspouts, outlets, and supports.
The practical goal is simple: every part must either carry water, seal a joint, or direct water to a safe discharge point. A strong membrane cannot compensate for a blocked outlet, a loose seam, or a downspout discharging at the foundation.
Waterproofing for Roof Gutters and Downspouts: The Direct Answer
Waterproofing for roof gutters and downspouts means a coordinated system that contains runoff and carries it away from the roof edge. It works when membrane thickness and joint detailing match the exposure, while outlets and downspouts remain open enough to carry the water.
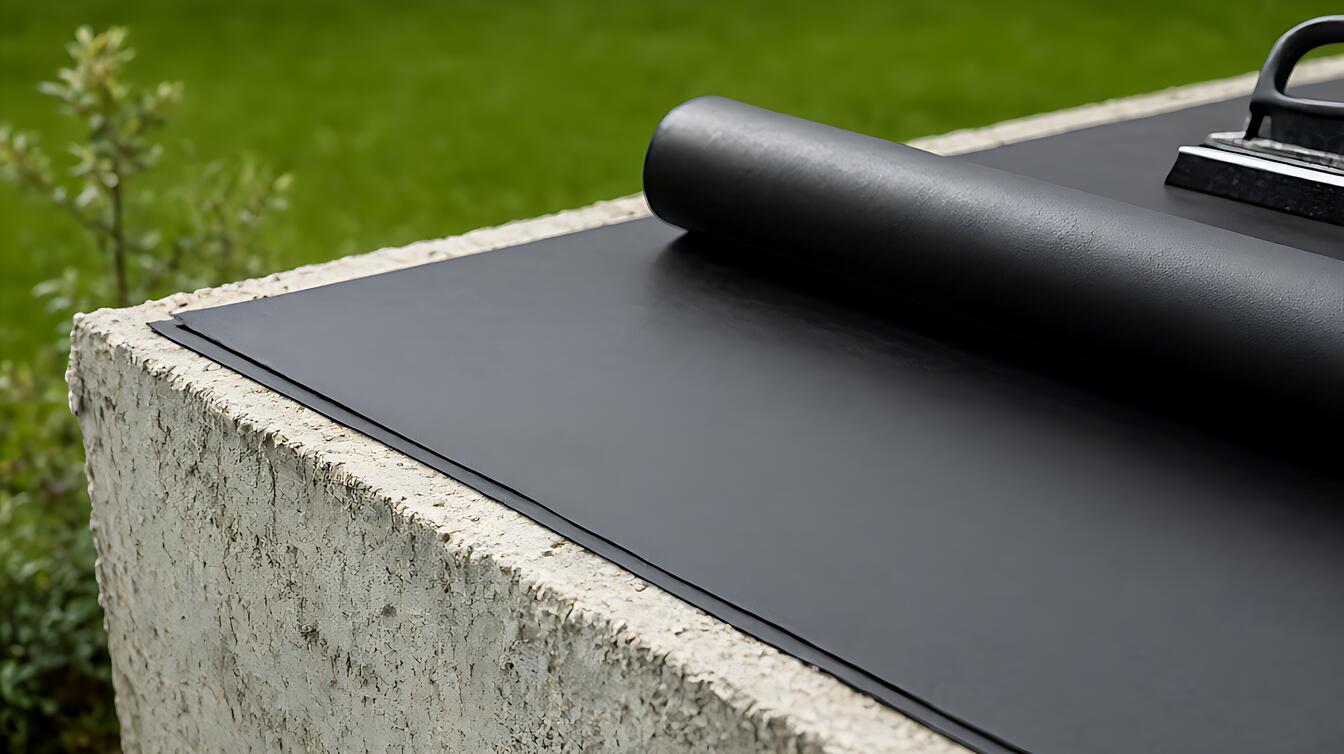
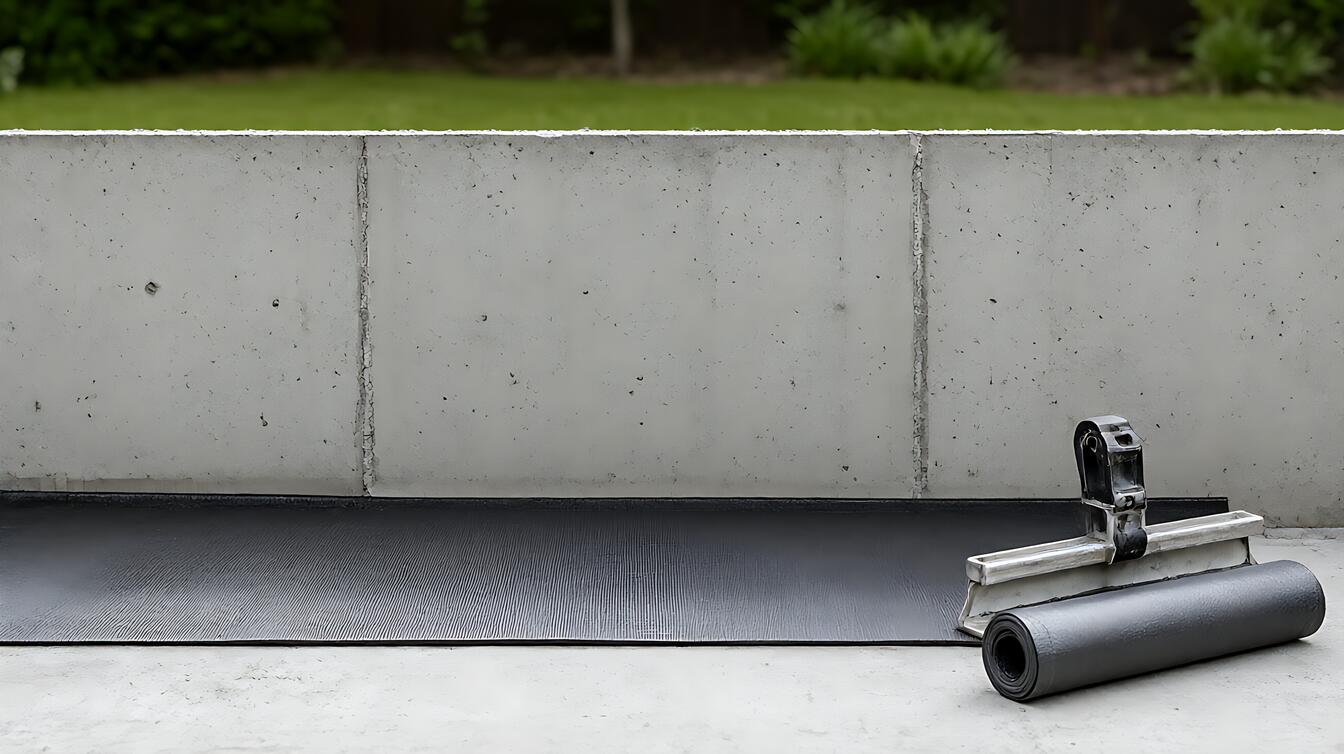
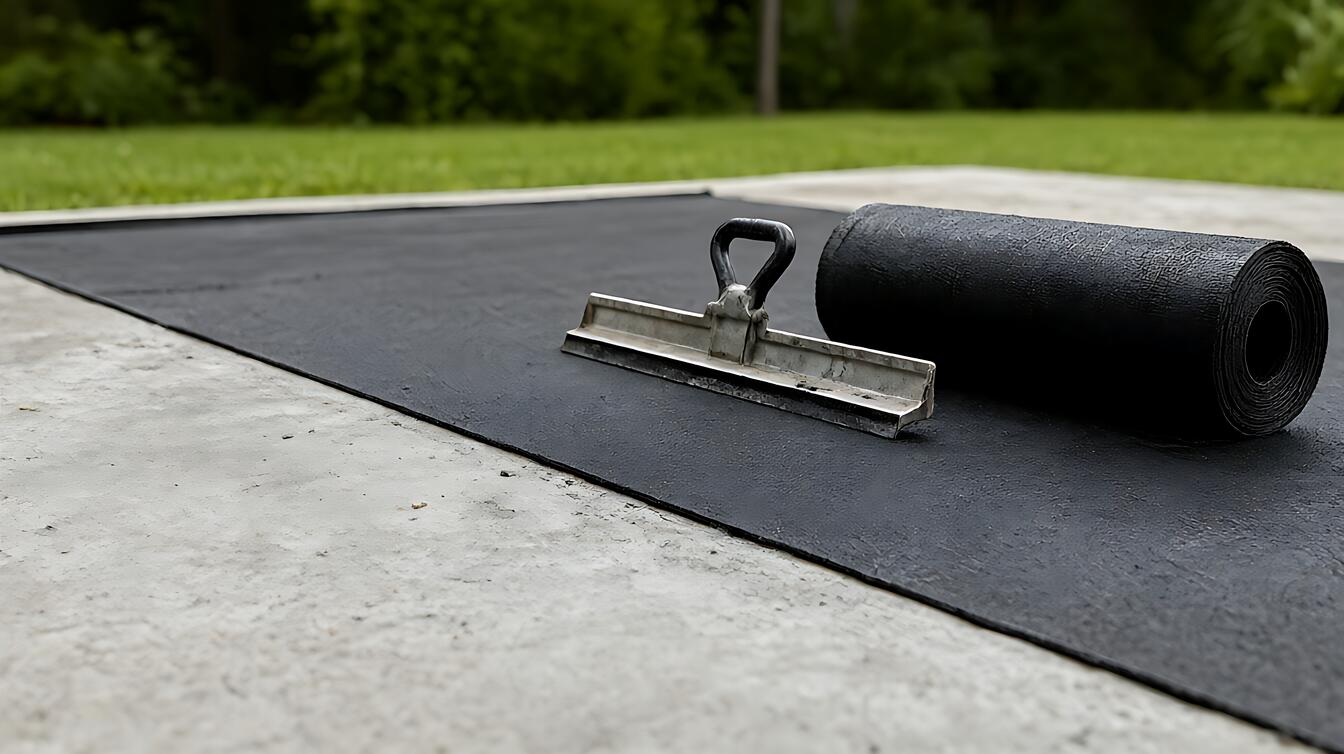
Choose membrane torch 3 – 4mm when the detail is formed from compatible waterproofing membrane and installed with the manufacturer’s approved heat – fixing process. The thickness identifies the membrane build – up; it does not guarantee performance if seams, corners, or terminations are poorly prepared.
That distinction matters. A roof – edge assembly may look complete while the vulnerable point is a seam, wall junction, or outlet connection. Understanding the whole waterproofing system helps you inspect those interfaces before focusing on the product label.
How Gutter and Downspout Waterproofing Works
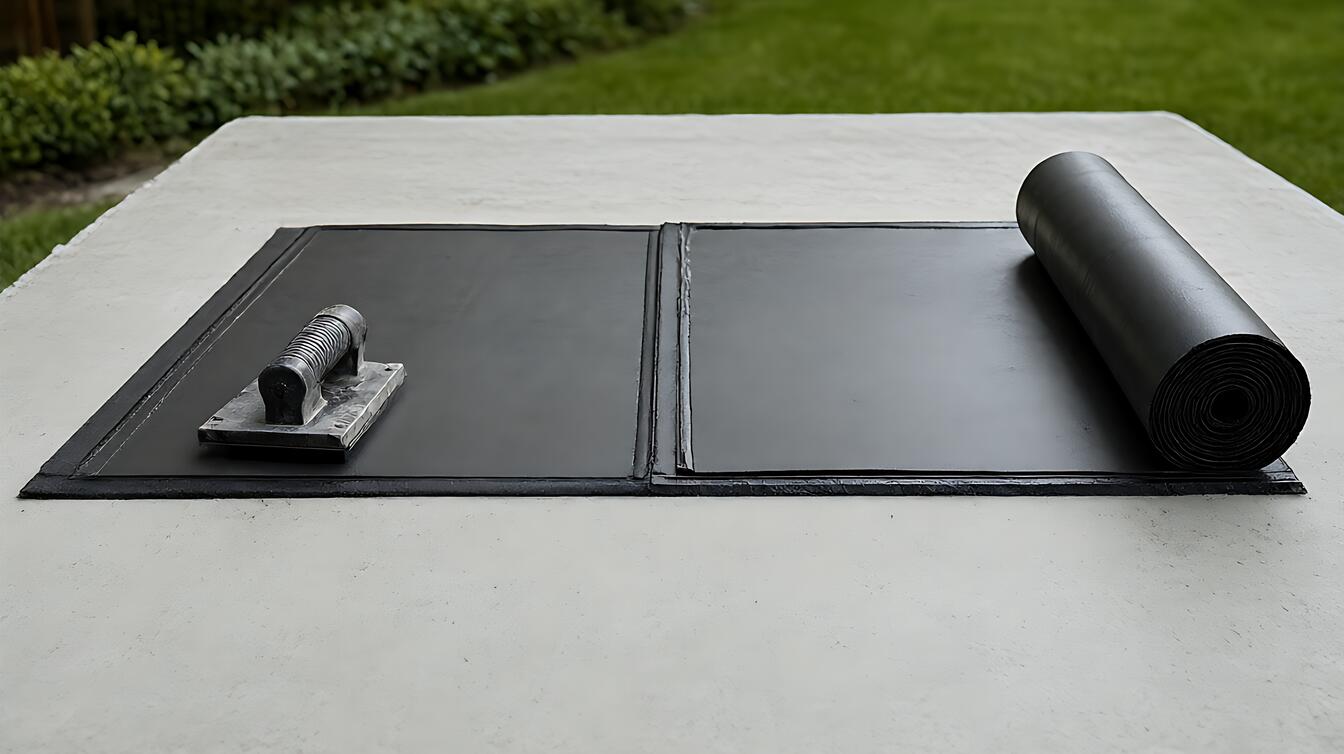
Waterproofing mechanics depend on four linked features: surface preparation, membrane continuity, sealed joints, and unobstructed drainage. For a torch – applied membrane, the 3 – 4mm thickness provides the installed layer specified by the system; each adjoining sheet must also be joined as specified.
At seams and terminations, use the required overlap 100mm where the product instructions call for it. This overlap gives the joining area room to resist lateral movement, but it must sit on clean, prepared surfaces. Otherwise, extra width does not remove trapped moisture or poor adhesion.
For a wet area or a detailed junction, coating acrylic can serve as a compatible protective or waterproofing layer when the manufacturer permits that combination. It is not a universal patch. Selection depends on substrate, exposure, movement, and the coating’s own compatibility requirements.
Here is the mechanism in plain English: water reaches a prepared detail, the waterproofing layer interrupts that path, and the gutter carries runoff toward the outlet. If preparation, joining, or drainage fails, water follows the easier path. For a broader view of application details, see our guide to waterproofing membrane thickness and overlap.
When to Choose Each Waterproofing Option
Material selection changes with the installation condition. Choose a compatible torch – applied membrane system when it suits the detail geometry, substrate preparation, and safe heat application; choose liquid or cementitious products when forming complexity, substrate compatibility, or access favors them.
The key distinction is not that one material is always stronger. It is that each has installation conditions. A cementitious coating needs a suitable substrate and curing conditions. A liquid membrane needs compatible preparation, controlled thickness, and proper curing. A torch – applied sheet needs sound adhesion and safe heat application.
| Installation condition | Preferred approach | Decision limit |
|---|---|---|
| Straight, prepared membrane detail | Compatible torch – applied membrane | Heat application must be safe and approved |
| Complex wet – area junctions | Compatible liquid membrane or coating system | Substrate, curing, and thickness requirements apply |
| Masonry or cementitious substrate | Compatible cementitious waterproofing | Moisture and movement must be assessed first |
Choose liquid or cementitious systems when their preparation and curing requirements suit the detail, not simply because a torch membrane feels heavier. A complete comparison of sheet, liquid, and cementitious waterproofing can help narrow the system before you inspect the roof edge.
Real Job – Site Reality: The Leak Appears at the Junction
Job – site diagnosis often starts with a recurring damp ceiling edge or a water stain directly below a gutter outlet. The stain may sit below the roof rather than beside it, so the first useful check is whether runoff is overflowing, backing up, or escaping at an outlet connection.
Water follows gravity, but leaks rarely explain themselves. A blocked downspout can leave water in the gutter. An oversized outlet can overflow during heavy flow. An unsealed transition can admit water when wind drives rain against the roof edge. Each symptom points to a different repair, so diagnosis comes before coating.
Use a controlled test when the product instructions and site conditions allow it. A ponding test 24h can reveal whether water remains in a prepared waterproofing area, but only if the test boundary, discharge, weather, and substrate conditions are safe. A failed test identifies a remaining path; it does not reveal whether the cause is a seam, outlet, or substrate.
The trade – off is that a successful test improves confidence, but it cannot replace correct detailing. If the evidence points to structural movement, damaged framing, recurring overflow, or uncertain substrate condition, consult a roofing or waterproofing professional rather than selecting a material by guesswork.
Limits, Edge Cases, and the Next Decision
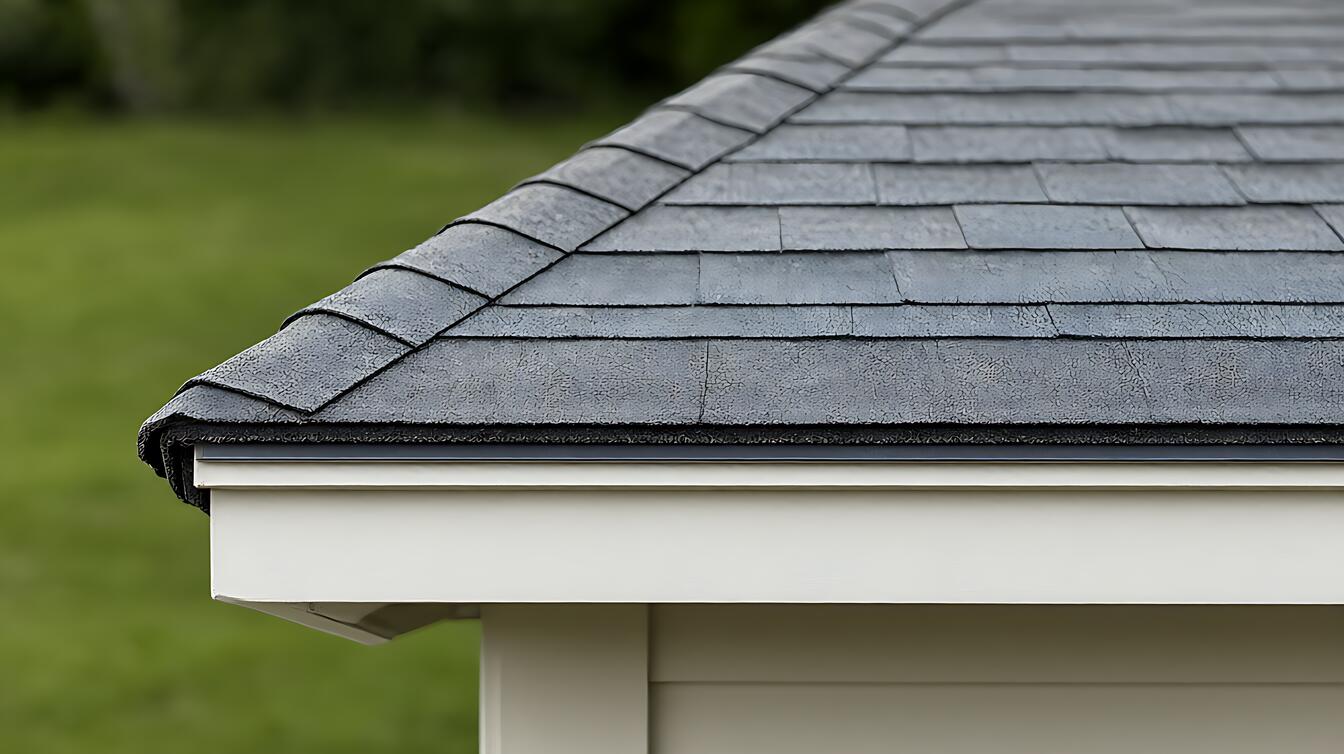
Waterproofing limits are clearest when one condition changes the answer: heavy flow, wet – area exposure, sun exposure, or a tight budget can shift the preferred approach. Choose a heavier – duty, compatible system when exposure is severe, but do not treat added thickness as permission to ignore outlets, falls, or joints.
Sun exposure matters because a coating that remains flexible and adherent in one environment may behave differently under ultraviolet exposure and temperature movement. A wet area demands attention to preparation and continuity. Heavy flow demands clear drainage. A tight budget favors correcting an obvious source, such as a failed outlet connection, before buying a broader system.
Before ordering, inspect five points: gutter drainage, outlet attachment, downspout alignment, joint continuity, and water discharge. If you cannot identify where water enters or whether the assembly overflows, use our waterproofing leak diagnosis guide before comparing products.
Decision guidance is conditional. Choose a 3 – 4mm torch – applied membrane if the detail, substrate, and application method fit the manufacturer’s system. Choose a compatible liquid or cementitious coating when its preparation and curing requirements fit the location better. Repair drainage first whenever blockage, overflow, or discharge is the dominant problem.
For roofing, structural, electrical, or extensive plumbing concerns, consult a qualified professional. The safest choice is the one that addresses the actual leak path without creating a new hazard around the roof edge.