You’re standing under a skylight, trying to tell whether a damp patch comes from the covering, the flashing, or the roof drain. The useful answer is not a generic list of sealants. It is a continuous waterproofing system that sheds water, joins its seams, and directs any intrusion to a drain. Waterproofing for skylights is a system, not a single product.
The decisive attribute is continuity. A skylight can have the right covering, correct slope, and generous overlaps, yet still leak if one transition is left open. Understanding where water travels helps you judge a system before it fails.
What Waterproofing for Skylights Means and the Direct Answer
Waterproofing for skylights combines a water – shedding membrane, sealed roof penetrations, and controlled drainage. It works when each layer connects without gaps. The membrane’s main job is not to block every drop forever, but to move water predictably toward the roof drain.
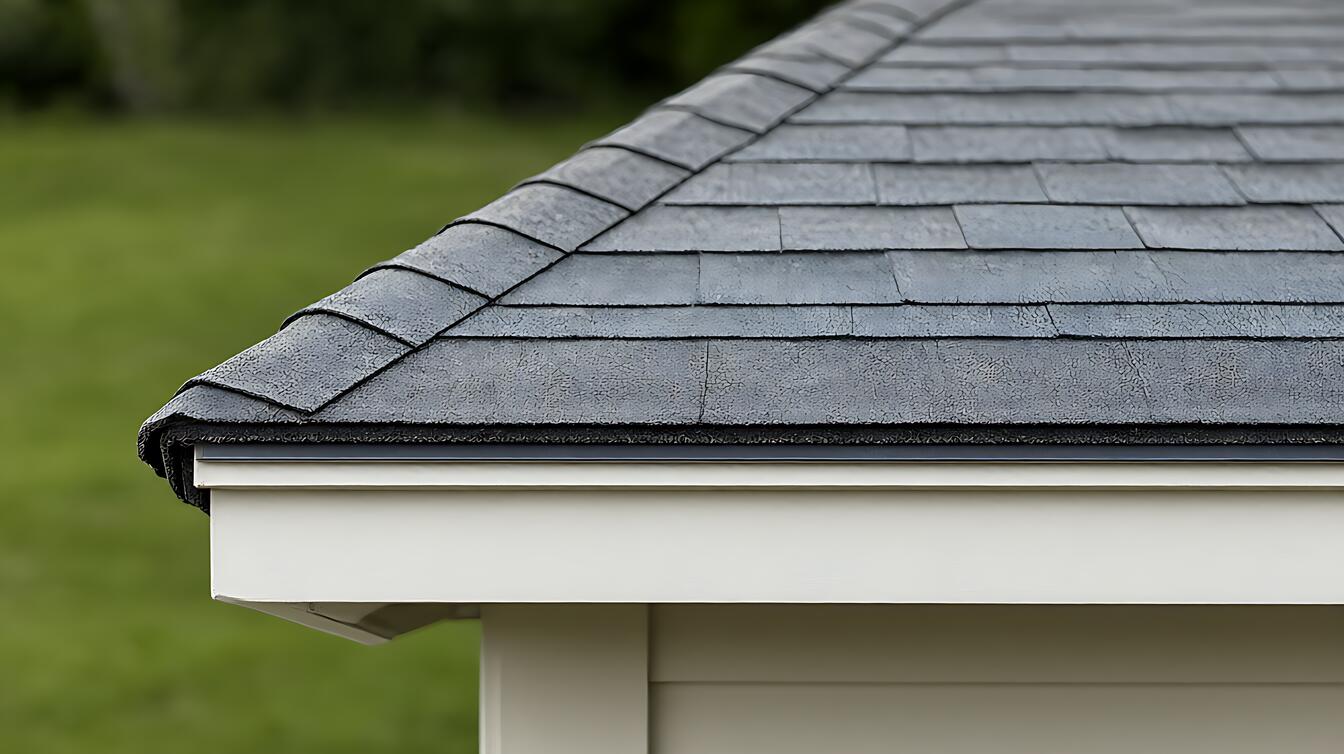
That distinction matters because a skylight sits inside a larger roof assembly. Its curb, fasteners, sidewalls, head flashing, and cover form several potential leak paths. A complete waterproofing system treats those as connected details rather than isolated pieces.
For a broader view of how the layers work together, start with the main waterproofing system components. Then check the membrane thickness and overlap guide before accepting a specified detail.
How the Membrane Works, With the Numbers That Matter
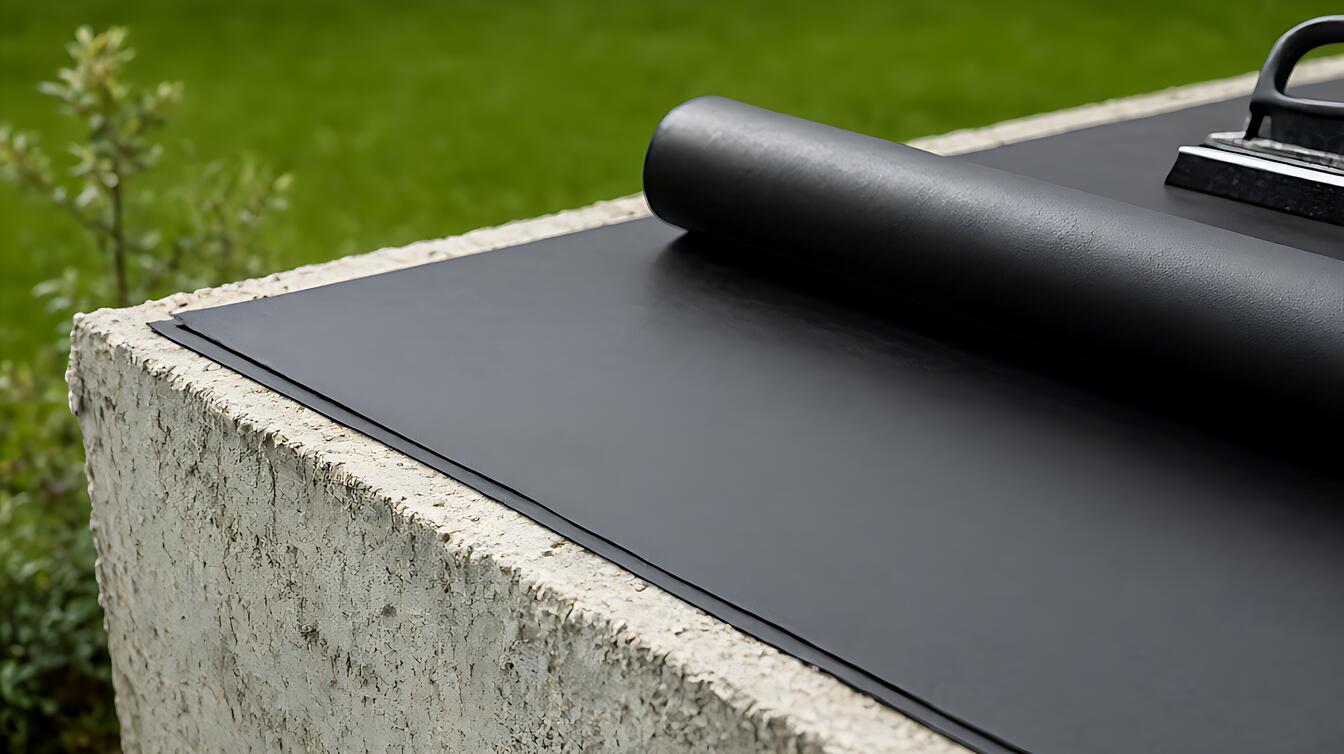
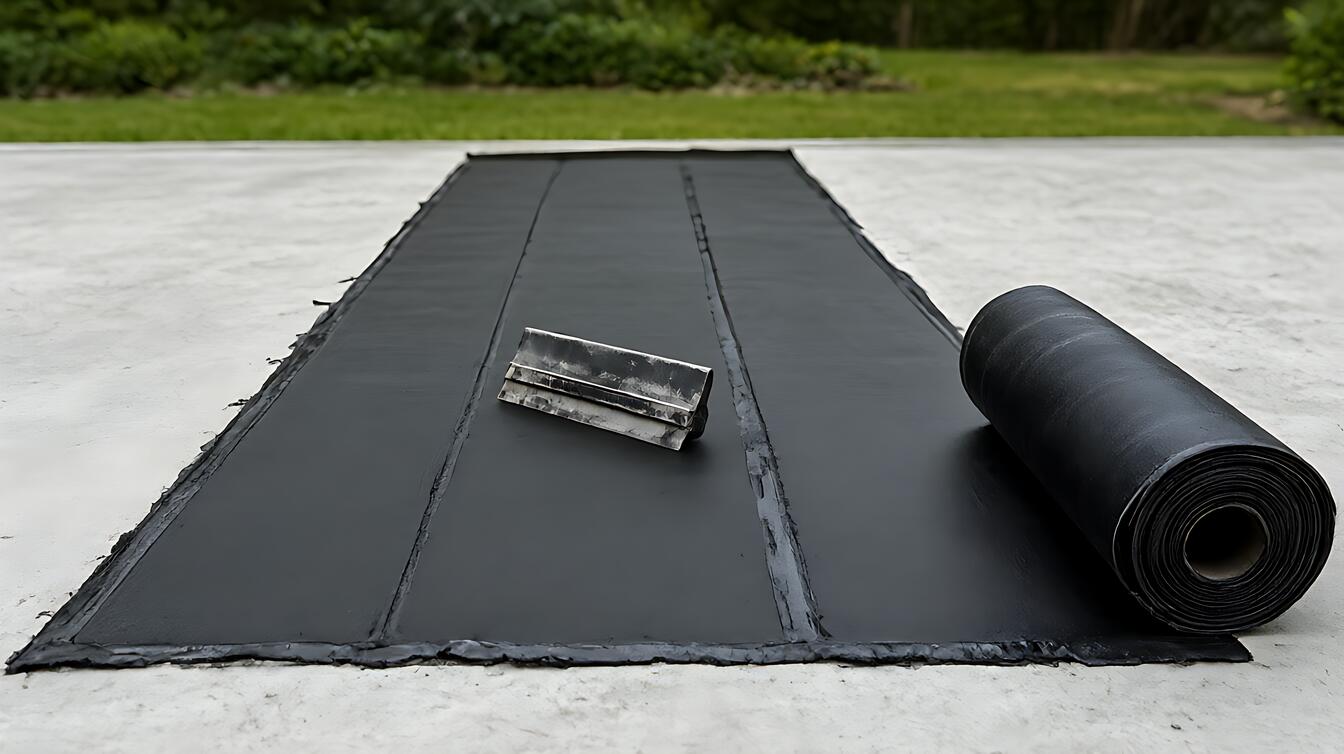
Torch – applied membrane at 3 – 4mm creates a continuous waterproof layer when its seams are properly fused and its edges terminate correctly. Its thickness describes the membrane itself, not the complete roof build – up. The installation condition is what turns that material into a reliable water path.
Water entering the assembly can travel sideways before it appears below. For example, moisture beside the skylight curb may first show up along an adjacent ceiling joint. The visible stain therefore identifies the route imperfectly; it does not always identify the failed connection.
Seam geometry controls continuity. An overlap of 100mm gives adjacent membrane sheets a bonded or sealed joining area. Seams must also be clean, dry, and prepared as the manufacturer requires. A correct overlap cannot compensate for contamination, poor adhesion, or an unfinished edge.
An acrylic coating can provide a protective finish where the specified system calls for one. Its usefulness depends on compatibility with the membrane, exposure, and surface preparation. More coat does not automatically mean better waterproofing if the coating is incompatible or applied over a damp substrate.
When to Choose Sheet, Liquid, or Cementitious Systems
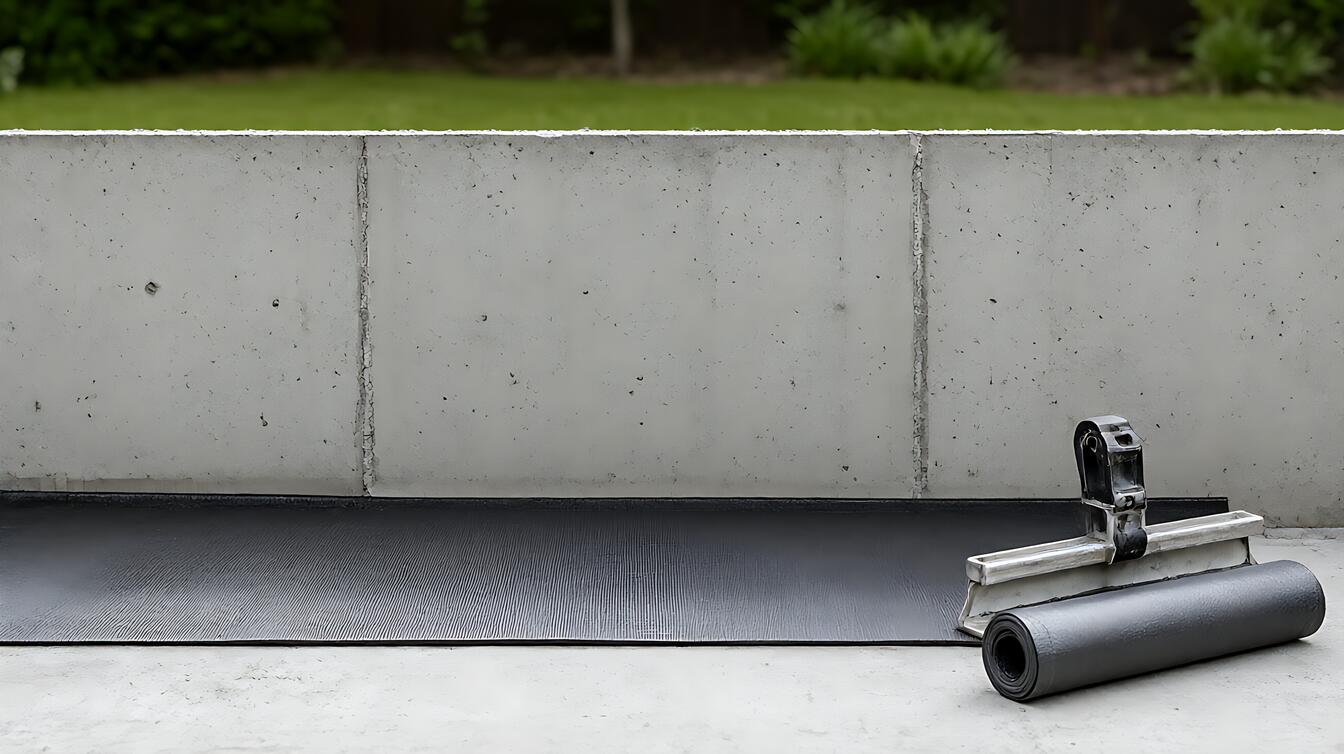
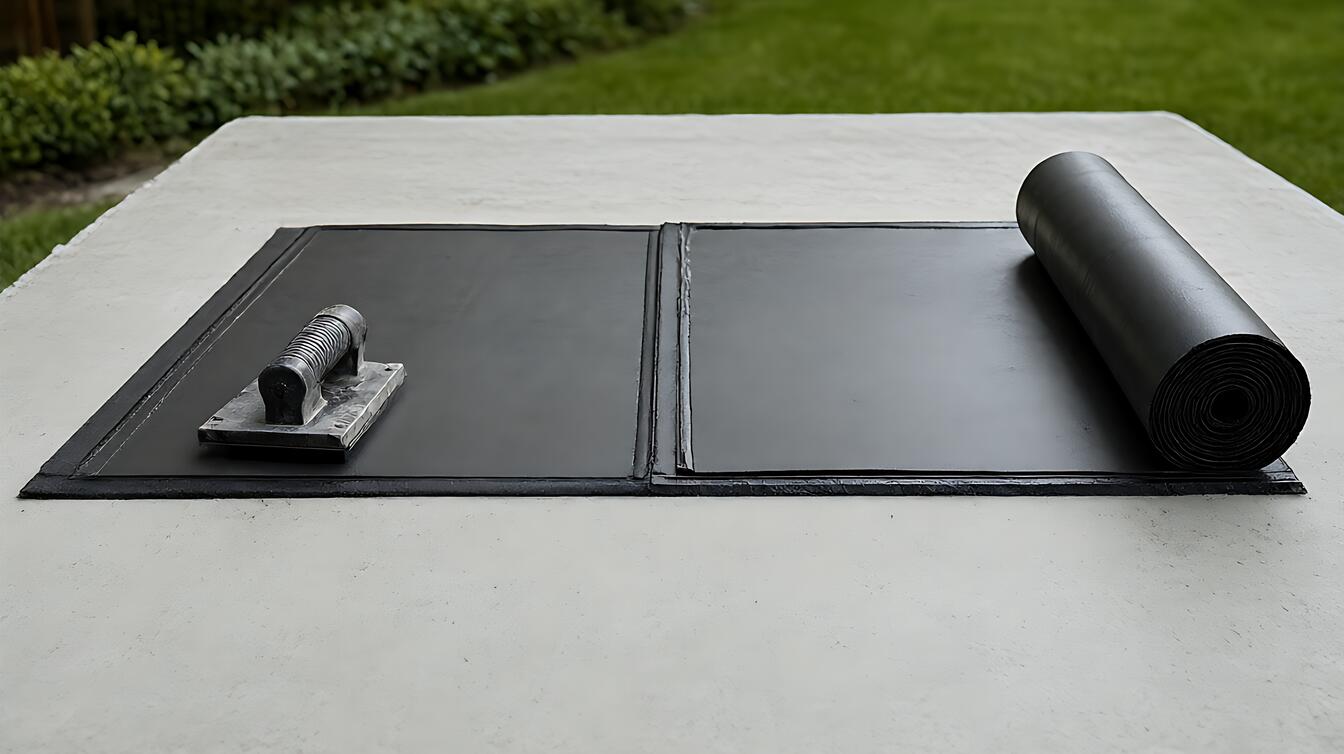
Sheet membrane suits larger roof areas where factory – controlled material and consistent heat – fused seams help installers create a continuous layer. It becomes less forgiving around complex details, tight curves, or areas where access and preparation are difficult.
A liquid membrane is often more practical for irregular geometry because it can form around curbs and penetrations without the same sheet – to – sheet joins. That convenience carries a trade – off: the finished thickness and cured condition depend heavily on application, so a thin or poorly cured area can become the weak point.
Choose cementitious waterproofing when the manufacturer specifies it for a compatible substrate and the location is suitable for that system. It is not a universal coating for every skylight detail. Its suitability depends on movement, exposure, substrate condition, and the complete installation design.
Choose a sheet system when large, regular fields favor predictable membrane placement. Choose a liquid system when complex transitions justify careful surface preparation and controlled curing. If the substrate, exposure, or terminal details remain unclear, consult a professional rather than treating product labels as a complete specification.
Real Job – Site Reality: Where the Water Actually Goes
Imagine a damp ceiling directly beneath a bathroom skylight. The stain may point toward the skylight, but the first responsible check is still the roof above it. Water can enter around a cover, pass the flashing, travel through insulation, and appear along a ceiling joint.
The roof drainage path determines whether water can escape without entering the building. A roof drainage slope of 1 – 2% helps carry water toward the outlet. Standing water still creates risk because it keeps seams and terminations wetted longer, making defects easier to miss.
That is why a 24 – hour ponding test matters during verification. The test checks whether the roof assembly holds water under the specified test conditions before the finish is concealed. It does not replace a detailed inspection of curbs, flashings, and transitions, but it can expose drainage or penetration problems while access remains available.
Common traps sit at the interfaces: a membrane stopping short of the flashing, a seam left without the required preparation, or a curb that blocks drainage. The waterproofing leak diagnosis guide helps separate a visible symptom from the probable failure path.
Limits, Edge Cases, and the Next Decision
Skylight waterproofing has firm limits: it cannot compensate for a cracked cover, a blocked drain, an unsealed curb, or a roof that holds standing water. Each component must meet the system design. Fixing the visible symptom with a larger bead of sealant rarely addresses that wider chain.
Substrate moisture, movement around the opening, difficult access, and severe exposure all change the decision. Product choice matters, but preparation, detailing, drainage, and workmanship usually decide whether the assembly performs as intended.
For broader limits and suitable applications, compare sheet, liquid, and cementitious waterproofing systems. If the task has shifted to comparing choices rather than understanding the skylight attribute, use the waterproofing types comparison instead.
Decision guidance: Choose a torch – applied sheet membrane when the roof field is regular and heat – fused seams fit the detailing plan. Choose a liquid membrane when irregular geometry makes continuous application more practical. Choose any system only when its approved details match the substrate, exposure, drainage, and skylight configuration.
Before installation, verify the specified membrane thickness, a 100mm overlap where applicable, a 1 – 2% drainage slope, and a 24 – hour ponding test before concealment. For structural changes, recurring leaks, complex wet – area detailing, or uncertain substrate condition, consult a qualified waterproofing professional.