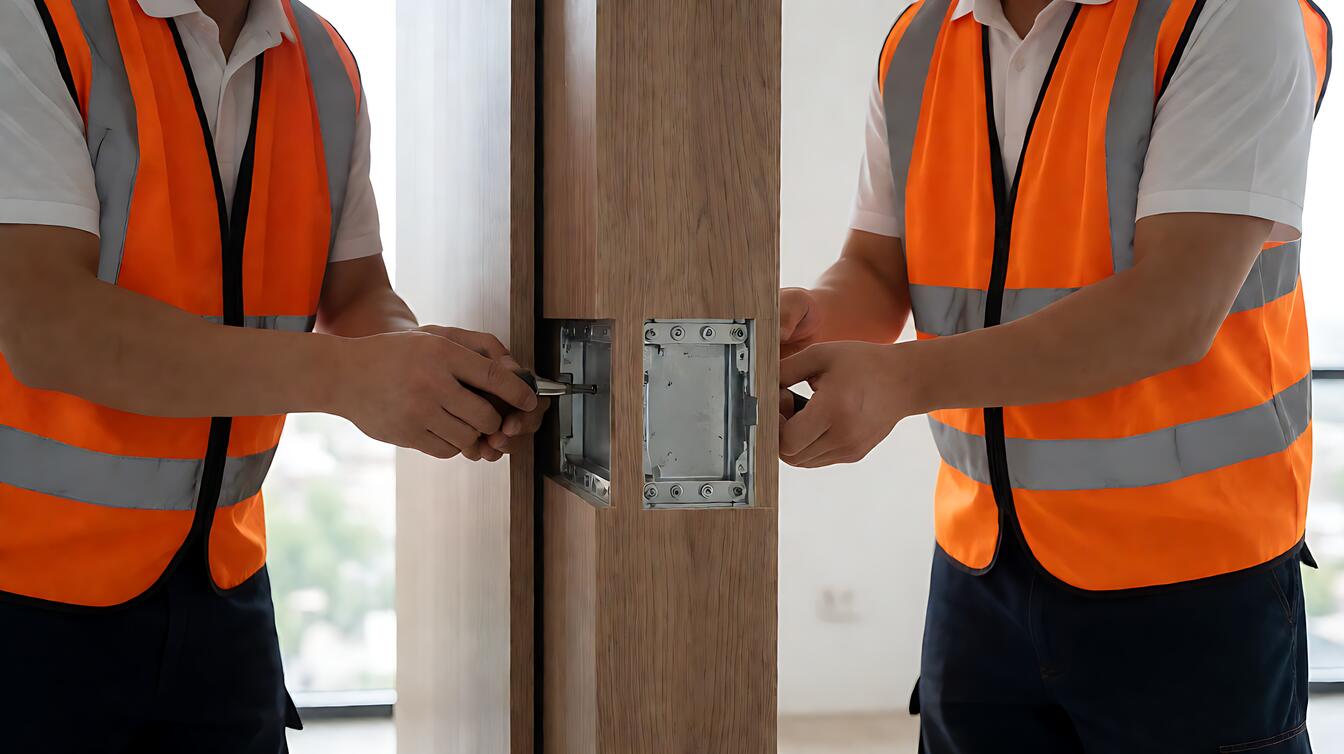
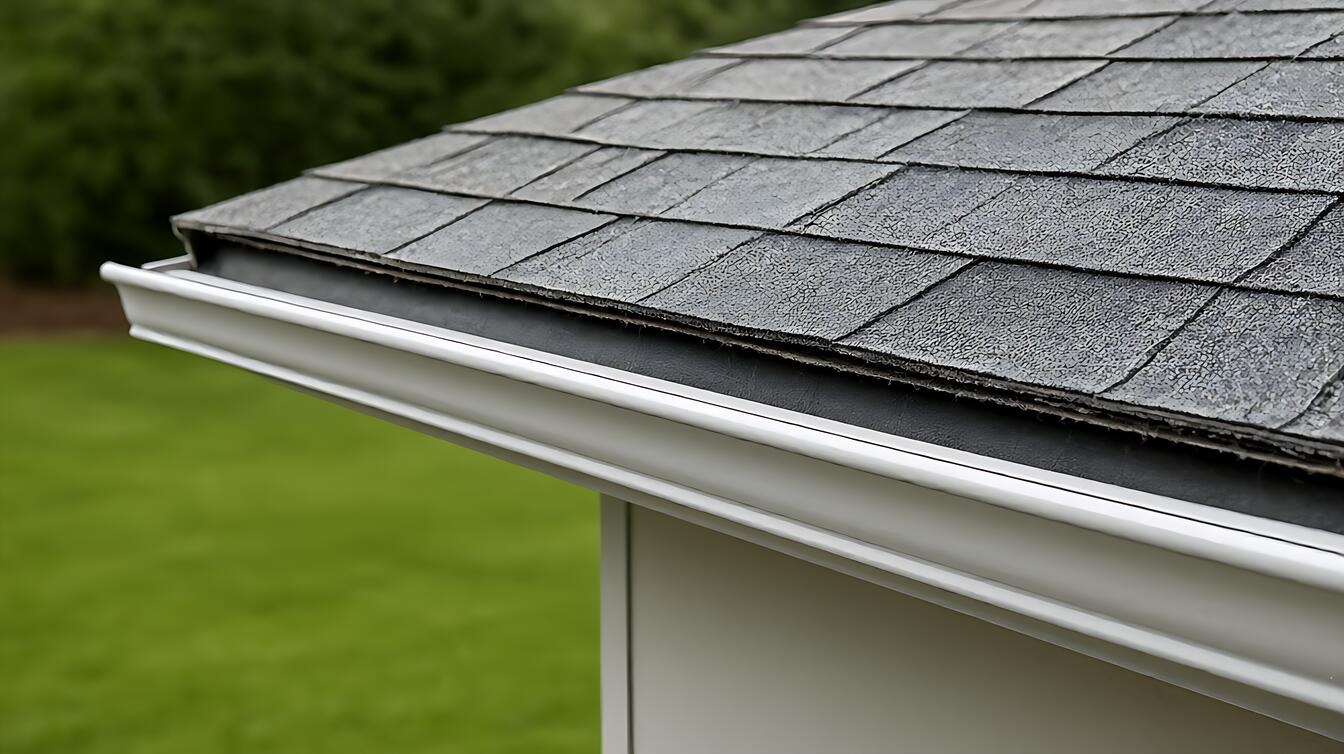
You may be staring at a pipe emerging from a roof, bathroom wall, or shower floor and wondering whether caulk is enough. The direct answer is no. A sealed vent pipe penetration needs a continuous waterproof system, correct surface preparation, and a compatible membrane or coating; waterproofing for vent pipes and penetrations is the treatment that stops water traveling around a pipe or along its joint into the building.
That distinction matters because a neat bead can hide a failed detail without stopping the deeper leak. The right system depends on the surface, exposure, movement, and drainage conditions, so the decision starts with the penetration rather than the product label.
What Waterproofing for Vent Pipes and Penetrations Actually Means
Waterproofing for vent pipes and penetrations is a continuous, sealed treatment around a pipe where it passes through a roof membrane, wall coating, or wet – area floor. It must bond to the substrate, bridge the pipe, and shed water without leaving a path beneath the visible finish.
For example, a bathroom exhaust duct rising through a flat roof needs its pipe base, flange, and surrounding membrane treated as one connected assembly. The pipe itself may be sound, but the roof – to – pipe transition still leaks if water can enter from the side or travel beneath the membrane.
The decisive attribute is continuity across the interface. A material can cover the pipe perfectly and still fail if its edge, corner, or substrate preparation remains open. That is why waterproofing systems are judged at transitions, not simply by their coverage area.
How the Waterproofing Detail Works
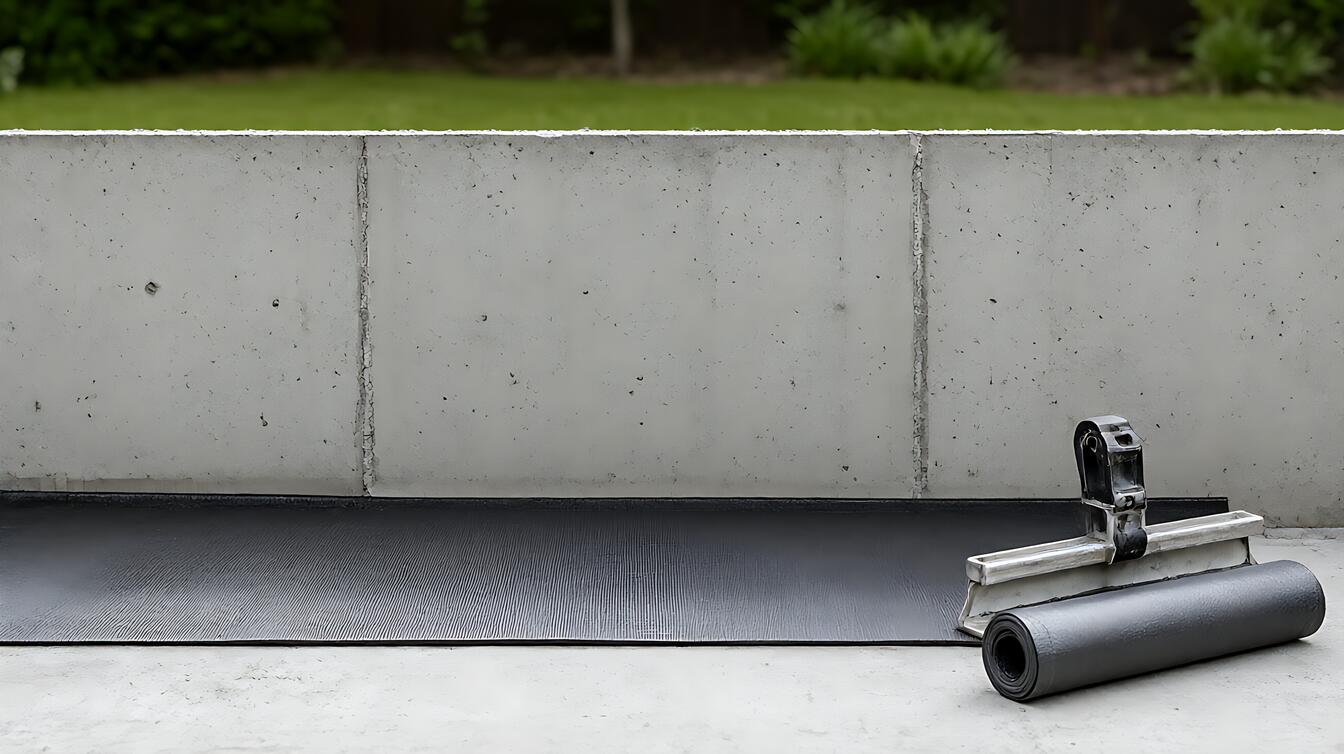
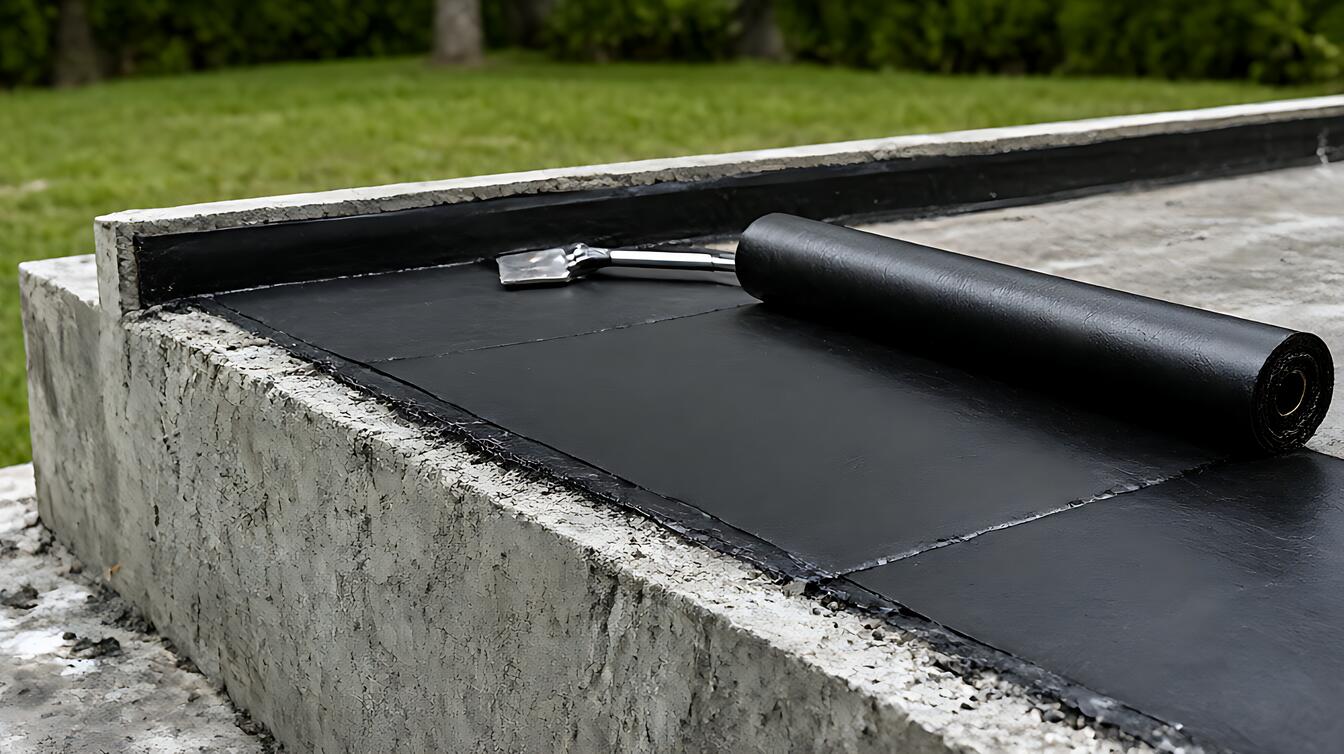
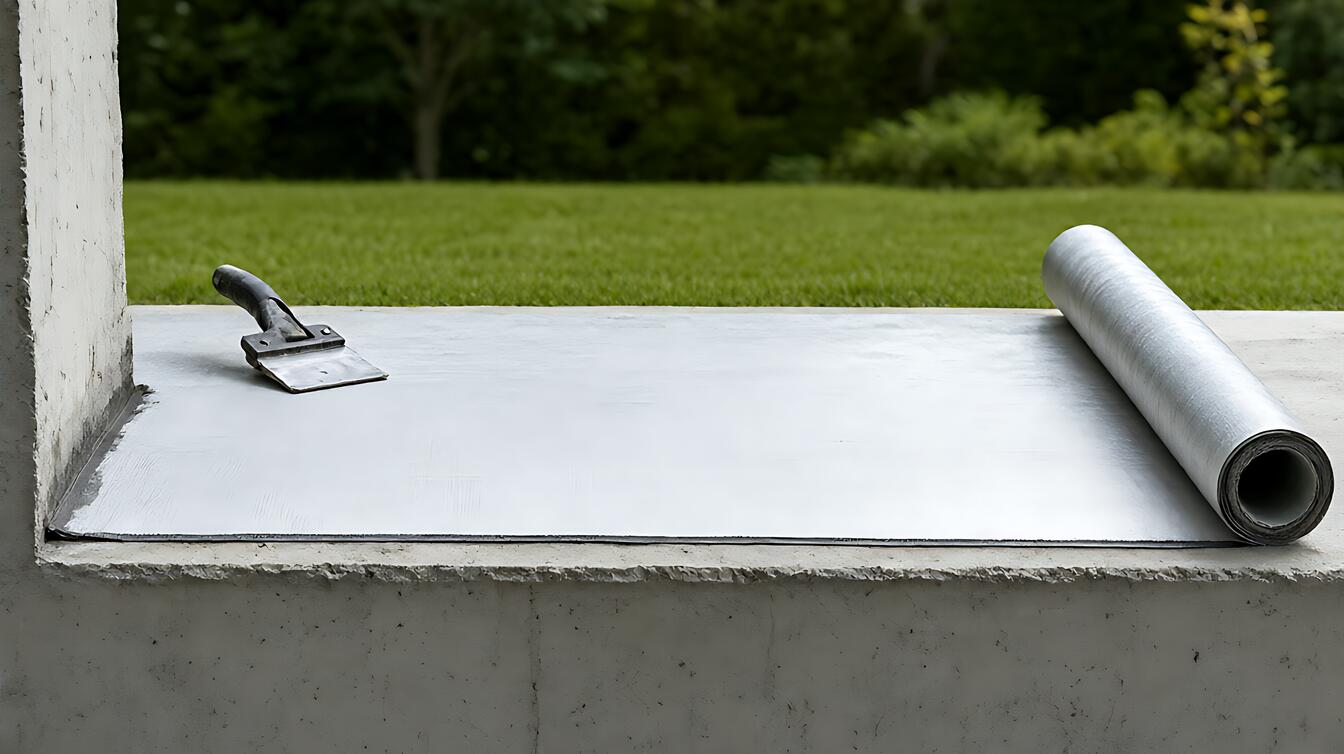
Membrane torch 3 – 4mm describes a torch – applied waterproof membrane detail whose thickness changes how the material forms around a pipe and its flange. It must be shaped so there is no open edge where water can travel under the waterproof layer.
That thickness alone does not guarantee performance. The pipe surface must be clean and prepared, while the waterproofing must be compatible with the pipe material and the membrane being detailed. Otherwise, the bond or welded seam can fail even when the specified thickness was applied.
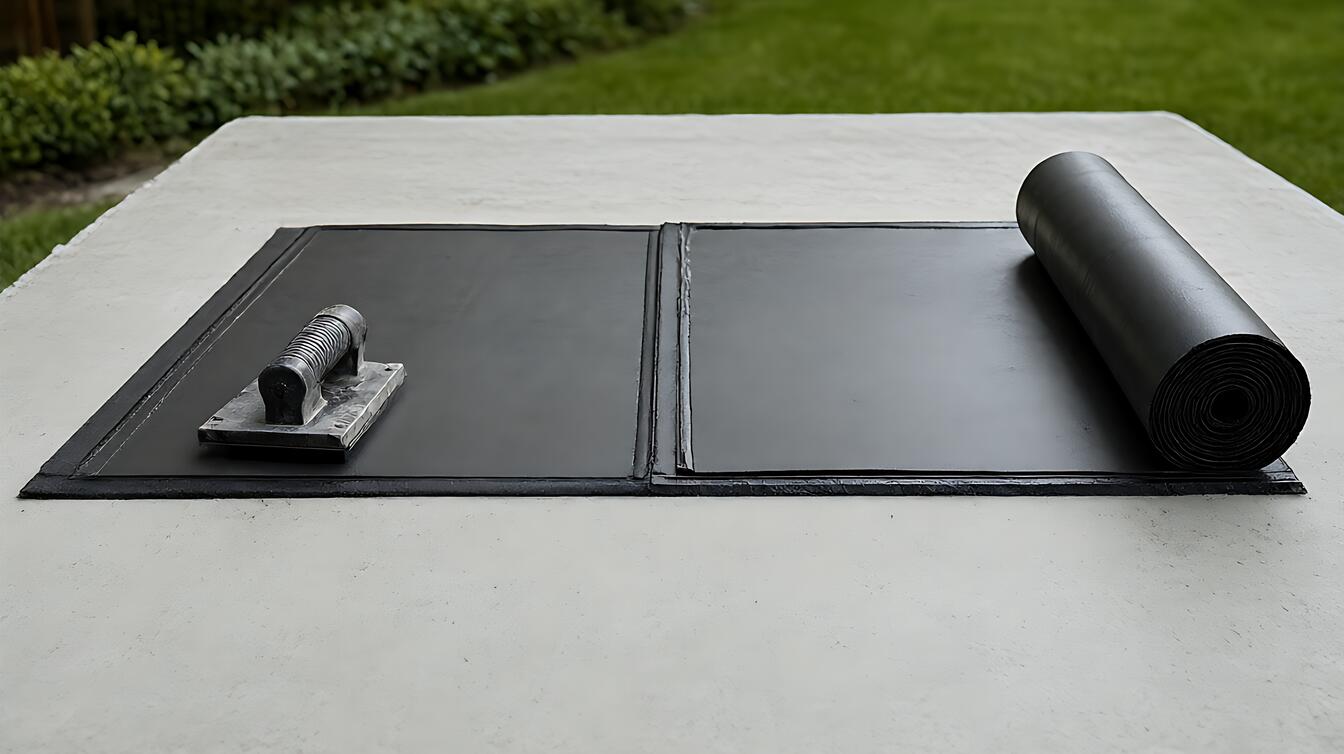
For lapped membranes, an overlap 100mm provides the stated side – lap coverage in the detail. The width matters because a narrow lap leaves less bonded or welded area than intended, especially when the membrane must turn up a pipe and form corners.
An acrylic coating can serve as a protective coating over a compatible waterproofing layer. It is not automatically a substitute for the membrane or waterproofing beneath it, so the layer order should match the selected system rather than the appearance of the final coat.
This mechanism explains why the whole assembly matters. Water follows available paths, and a discontinuity in preparation, lapping, termination, or flashing can send it back toward the pipe instead of over it. Learn more about waterproofing membrane thickness and overlap before treating hidden layers as decorative extras.
When to Choose Which Waterproofing Detail
Cementitious waterproofing, sheet waterproofing, liquid membranes, and torch – applied membranes differ in how they are installed and where they tend to perform well. Choose the system whose installation method suits the substrate, detail complexity, and site conditions rather than the one with the broadest product description.
Choose a cementitious or coating – based detail when the substrate and surrounding waterproofing are compatible with that system and the area can be prepared and cured as required. Choose sheet or torch – applied membrane work when the detail calls for formed laps and a continuous connection into the adjacent waterproofing layer.
The site condition changes the answer. A pipe surrounded by complex trim, fasteners, or tight geometry may require careful sequencing and reinforcement, while a straightforward pipe in a wet area may fit a simpler compatible system. Structural movement, sun exposure, and heavy load create different service demands that the product alone cannot resolve.
Here is the practical distinction to keep in mind:
| System | Best fit | Main limitation |
|---|---|---|
| Cementitious coating | Compatible substrates with manageable preparation and cure conditions | Depends on sound preparation and correct curing |
| Sheet or torch – applied membrane | Details requiring formed laps and integration with adjacent membrane | Requires careful heat application and compatible detailing |
| Liquid – applied membrane | Irregular shapes and penetrations that need a formed application | Cure, thickness, and surface preparation remain critical |
Do not mix systems simply because the containers are nearby. Compatibility matters at every transition, and a complete comparison of waterproofing sheet, liquid, and cementitious options can help narrow the decision before detailing begins.
Real Job – Site Reality
A common roof failure appears as a damp stain around a bathroom or kitchen vent pipe, even though the pipe joint above the roof looks dry. The stain may be tracking back along the underside of the roof membrane rather than entering through the visible pipe opening.
That possibility changes the inspection. Water can travel a considerable distance beneath overlapping layers before it becomes visible, so the stain does not identify the failed point by itself. A professional should inspect the pipe boot, clamps, terminations, and adjacent laps before anyone adds another sealant bead.
For a wet – area floor, the same principle applies with another consequence. If the pipe passes through a shower or bathroom floor, the waterproofing must connect cleanly with the surrounding membrane and remain continuous around the pipe. A local patch may look tidy while leaving a path beneath the finish.
Installation sequence prevents many of these problems. The surface is prepared and dry, the base and pipe are treated, reinforcement is formed where the design requires it, and the waterproofing is connected into the adjacent layer. Extra caulk is not a substitute for a missing waterproofing step.
After installation, a ponding test 24h can check whether the completed assembly retains water where ponding is appropriate. The test must follow the specified wetting and observation procedure; a brief hose check cannot reproduce the same sustained condition.
If leaks remain, trace the water path before replacing finishes. The waterproofing failure and leak diagnosis guide explains why the visible stain may sit far from the actual entry point.
Limits, Edge Cases, and the Next Decision
Waterproofing systems can fail at edges, penetrations, terminations, and incompatible interfaces, even when the membrane thickness is correct. The first question is therefore not which product is best. It is whether the pipe, substrate, waterproofing layer, and protective finish form one compatible assembly.
Choose a cementitious or coating – based approach when its preparation and curing requirements suit the surface. Choose a torch – applied membrane when the detail needs formed laps and a welded connection into compatible roofing waterproofing. Choose a liquid membrane when the geometry benefits from a continuous application around irregular shapes.
Call a qualified waterproofing professional when the penetration sits on a structural roof, near electrical equipment, within a structural wall, or where a leak could damage occupied space. Vent piping can also connect to mechanical equipment, so confirming the intended function before cutting or sealing anything matters.
Your practical checklist is short. Confirm the substrate, check product compatibility, protect pipe and surface edges, form the required overlap or reinforcement, connect the detail into adjacent waterproofing, and verify the finished work with the specified test. After that, use the complete waterproofing systems guide for system – level context.
The right choice is the one that manages the actual path of water. If the pipe is simple and the substrate supports the specified system, use the simplest compatible detail that satisfies the design. If the geometry, exposure, or consequence of failure is complex, prioritize continuity and professional review over a fast sealant fix.