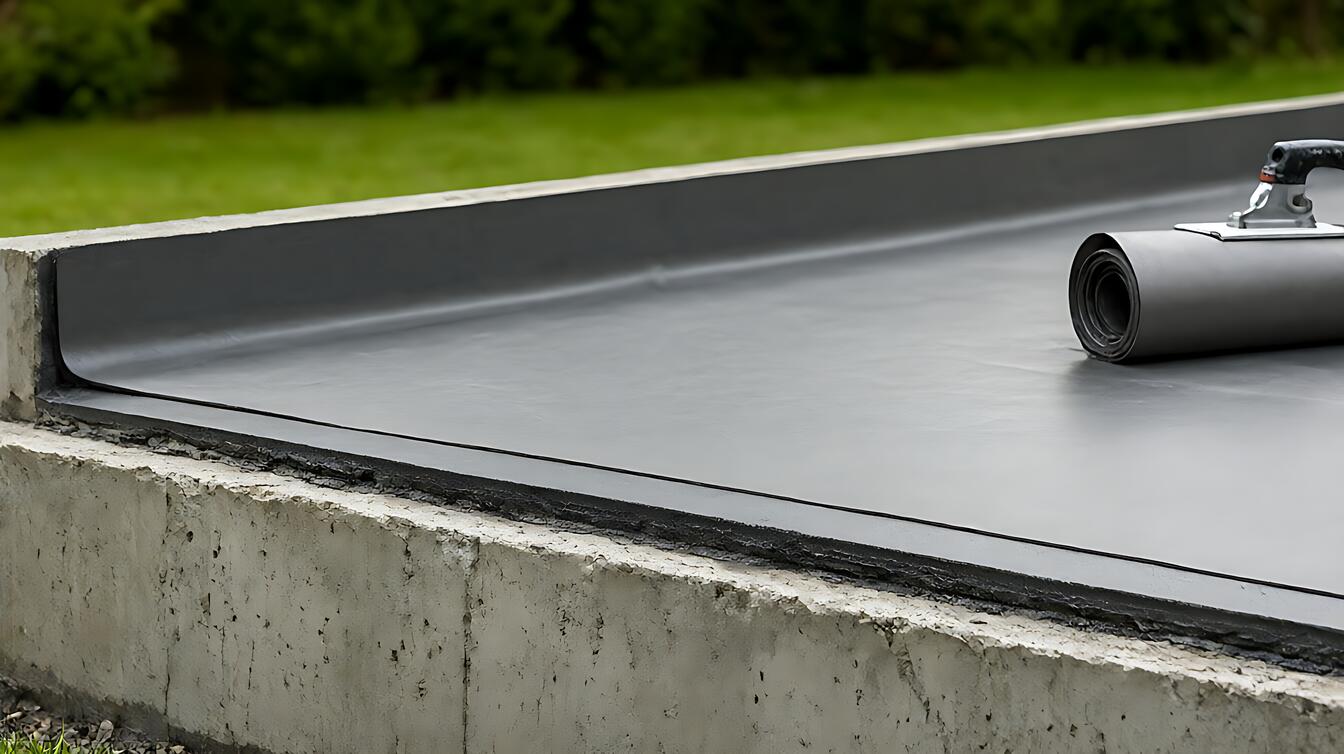
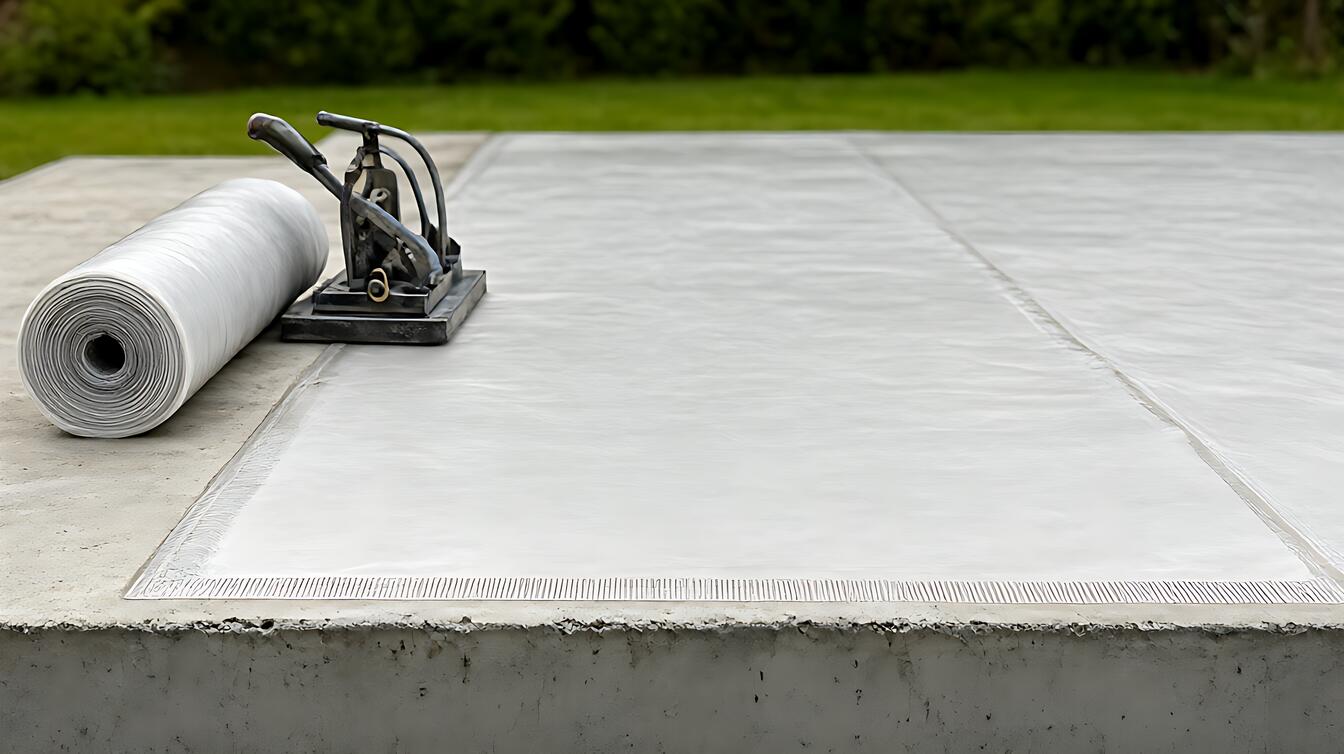
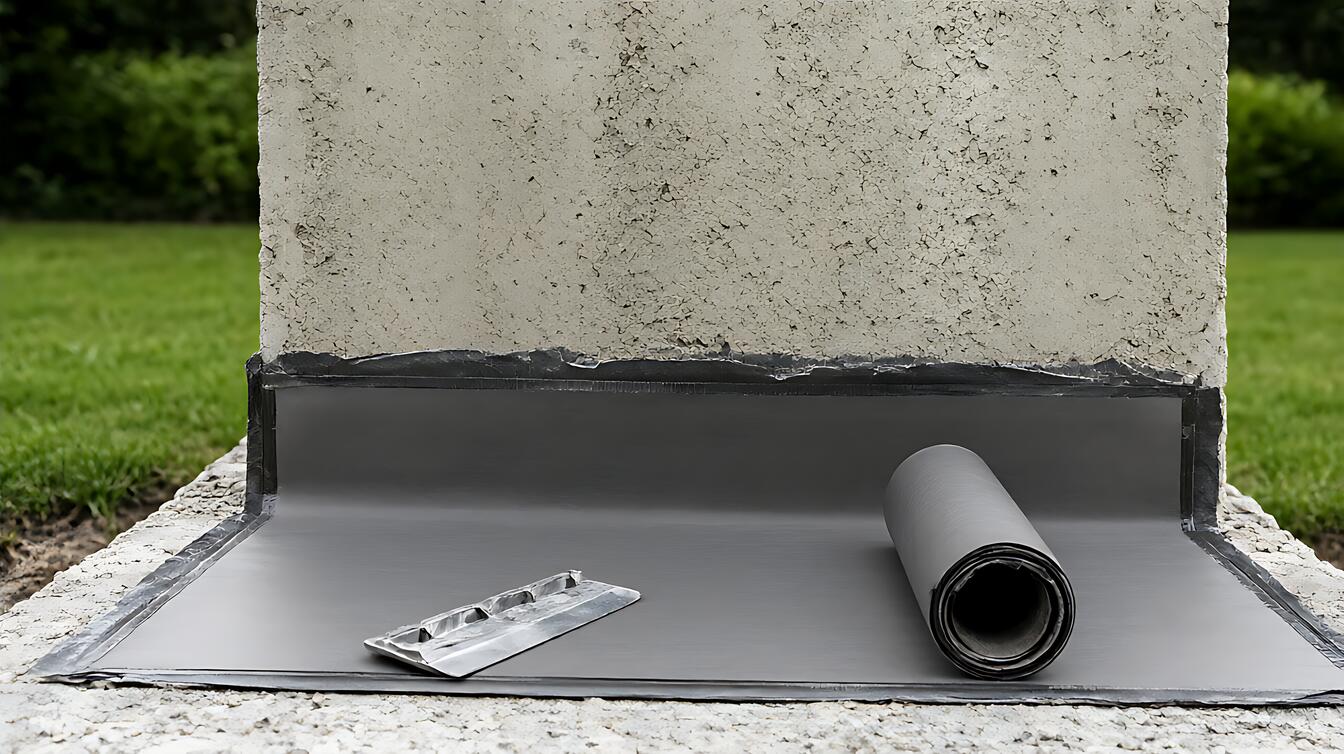
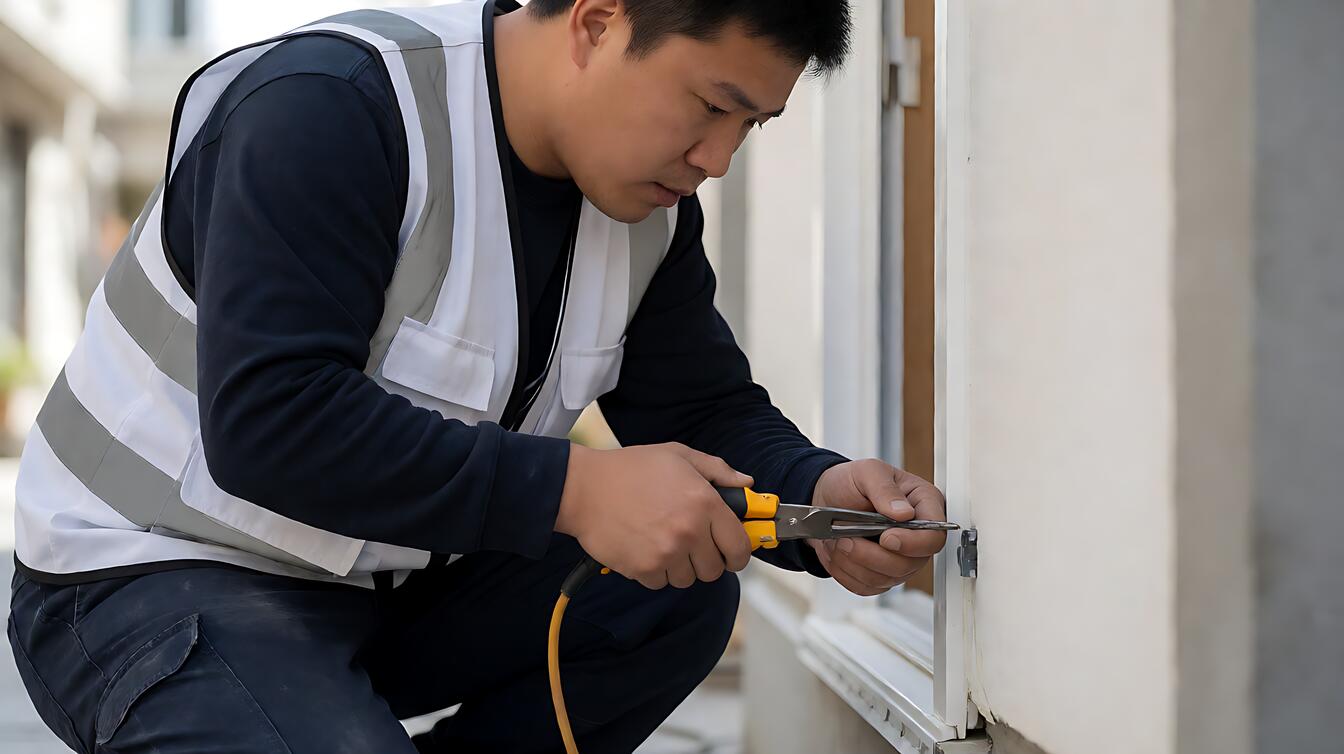
The hard part is knowing whether a leak is a small surface defect or a sign that water is moving through the structure. Check the area, penetrations, drainage, warranty, and budget before choosing DIY or professional work. DIY vs professional waterproofing is the decision between applying a compatible system yourself and hiring trained installers to diagnose, detail, install, and verify it.
DIY vs Professional Waterproofing: The Decisive Difference Is System Control
DIY waterproofing can suit a small, accessible area without flooding history, while professional waterproofing becomes safer when the diagnosis or detailing is complex. The decisive attribute is control of the complete system, not simply who mixes the material.
Surface coatings routinely fail in vulnerable zones within 12 to 18 months, according to the grounding research. That figure does not make every coating a bad choice. It shows why preparation, detailing, and water management determine whether a material keeps water out.
Choose a professional when the project exceeds five penetrations, involves negative pressure, or requires a warranty. Choose DIY work when the area is under 8 square meters, the leak mechanism is clear, and you can prepare and coat the surface properly.
Before comparing products, understand how waterproofing systems work together. A coating may resist surface water while drainage, seams, and penetrations still provide an open route.
What to Gather Before Choosing DIY or Professional Waterproofing
Surface preparation tools determine whether a coating bonds, while protection equipment limits exposure during cleaning and application. Gather tools for the existing surface rather than buying a generic kit before identifying the coating and detail requirements.
Aggressive preparation may require wire brushing to remove efflorescence, etching with muriatic acid, and application of two coats 24 hours apart. For a small bathroom wall, that means protecting the floor, checking ventilation, and keeping the work area clear of moisture.
Acrylic coating can serve as a surface treatment when compatible with the substrate and exposure conditions. Its usefulness still depends on preparation, coverage, curing, and the absence of a continuing structural leak.
Budget changes the decision as much as technique. The research places typical DIY waterproofing at $100 to $1,500 and professional work at $3,000 to $10,000, with exterior work reaching $30,000. A budget under $10 per square meter favors diagnosis and a limited repair over attempting a complete installation.
Use the waterproofing cost and budget guide to compare quotes and ask whether drainage, excavation, permits, and warranty work are included.
Installation Steps: Where DIY Work Usually Breaks Down
Surface preparation, seam detailing, coating application, and verification form the working sequence. Each stage has a tolerance, so skipping preparation creates a failure point that extra product cannot reliably repair.
The process divides into inspection, preparation, detailing, application, and testing. The result matters because a dry surface after rain does not prove that the system handles the water path that caused the original leak.
- Identify the leak path by checking seams, penetrations, wet basement conditions, and evidence of drainage problems before opening the wall or floor.
- Remove loose material and efflorescence with the wire brush, then etch the surface with muriatic acid where the product and substrate allow it.
- Protect adjacent surfaces and apply details around penetrations, joints, and transitions before treating the broad field area.
- Apply the first acrylic coating layer, then wait 24 hours before applying the second coat under suitable temperature and moisture conditions.
- Check for missed areas, pinholes, blocked drains, and standing water after the system has cured and been exposed to normal water conditions.
Typical installation takes 2 to 4 days, depending on basement size. The trade – off is obvious: DIY offers control of labor and schedule, but professional work adds diagnostic equipment, permit handling, and longer warranty coverage.
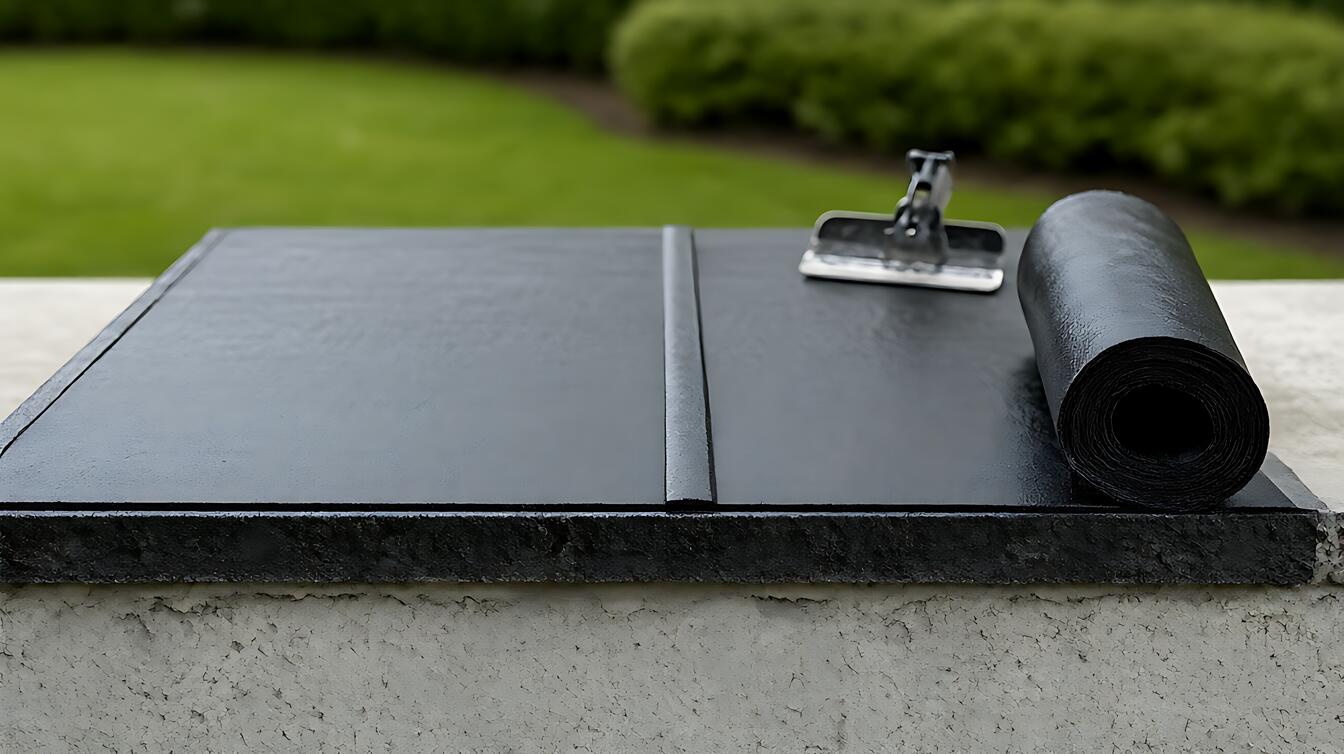
Common Waterproofing Mistakes That Skip the Important Detail
Missed preparation is a common failure because dirt, efflorescence, and moisture prevent uniform adhesion. A smooth – looking coat can still sit over a weak surface that later separates.
Another common mistake is treating a drainage problem as a coating problem. Surface coatings may stop water crossing a wall, but they do not replace functioning drainage. Excavation can account for 40 to 50 percent of project cost because labor and access drive much of the expense.
Seam and penetration details are where small areas become critical. The research identifies more than five penetrations as a practical point to involve a professional, especially when penetrations sit near wet areas, corners, drains, or changes in plane.
UV exposure also changes the selection. Choose a system specifically approved for sun – exposed conditions, and check its compatibility with the rest of the assembly. For a broader method comparison, see waterproofing types compared.
Limits, Edge Cases, and the Point to Hire a Professional
Professional waterproofing is the stronger choice when hidden leaks, structural movement, or unclear water pressure makes diagnosis uncertain. The trade – off is a higher initial cost in exchange for diagnosis, code compliance, permit handling, and warranties that DIY work generally does not include.
Choose a professional when negative pressure is present, the area has more than five penetrations, or a warranty is required. Those conditions raise the cost of an incorrect detail and make independent inspection less reliable than a contractor accountable for the complete installation.
Choose DIY work for a contained repair under 8 square meters when there is no flooding history, the surface is accessible, and you can complete both preparation coats. Stop and reassess if water returns, a leak reappears elsewhere, or standing water remains after cleaning.
For recurring or difficult leaks, use the waterproofing failure and leak diagnosis guide before buying more material. Persistent moisture may reveal a drainage, plumbing, or structural problem that a coating cannot solve.
Decision Guidance: Make the Call Before Buying
DIY waterproofing makes sense when the job is small, the cause is visible, and the installer can prepare the surface, complete both coating passes, and inspect the result. Professional waterproofing makes sense when the water path is uncertain, the detailing is complex, or a warranty carries real value.
- Choose DIY when the area is under 8 square meters, there are no more than five penetrations, and you can allow 24 hours between coating applications.
- Choose a professional when negative pressure, flooding history, structural movement, complex penetrations, or warranty requirements complicate the installation.
- Choose a different approach when UV exposure, drainage failure, plumbing, or electrical work is present, because those conditions require compatible design and professional review.
Ask the contractor to explain where water enters, which system controls it, how penetrations and seams are detailed, and what acceptance test applies. Clear answers turn a broad price comparison into a decision you can inspect.