You need a waterproofing plan that fits the room, not a product list that treats your bathroom and basement like the same problem. Start by matching each area to its water exposure, substrate, and drainage, then verify the work with a controlled test. A home waterproofing by area checklist is a decision map that links each room to the right system, required preparation, and pass – or – fail acceptance test. Here is how to build one.
Home Waterproofing by Area Checklist: The System Behind Each Choice
A waterproofing systems checklist works by matching each area to the water load it receives and the failure mode you must prevent. Bathrooms face repeated splash and temporary ponding, while basements face sustained water pressure against walls and floors. Because those loads differ, the same membrane specification cannot cover both spaces.
Each area entry needs four parts: the surface condition, the selected membrane, the detailing at edges and penetrations, and the test that proves the installation works. That last part matters. Without an acceptance test, even a neatly finished waterproofing job offers no evidence that it will hold.
Start with the system overview if you are still comparing the main categories. Our guide to waterproofing system types explains how sheets, liquids, and cementitious coatings differ before you match them to a room.
How Waterproofing Works: The Mechanism and Its Measurable Limits
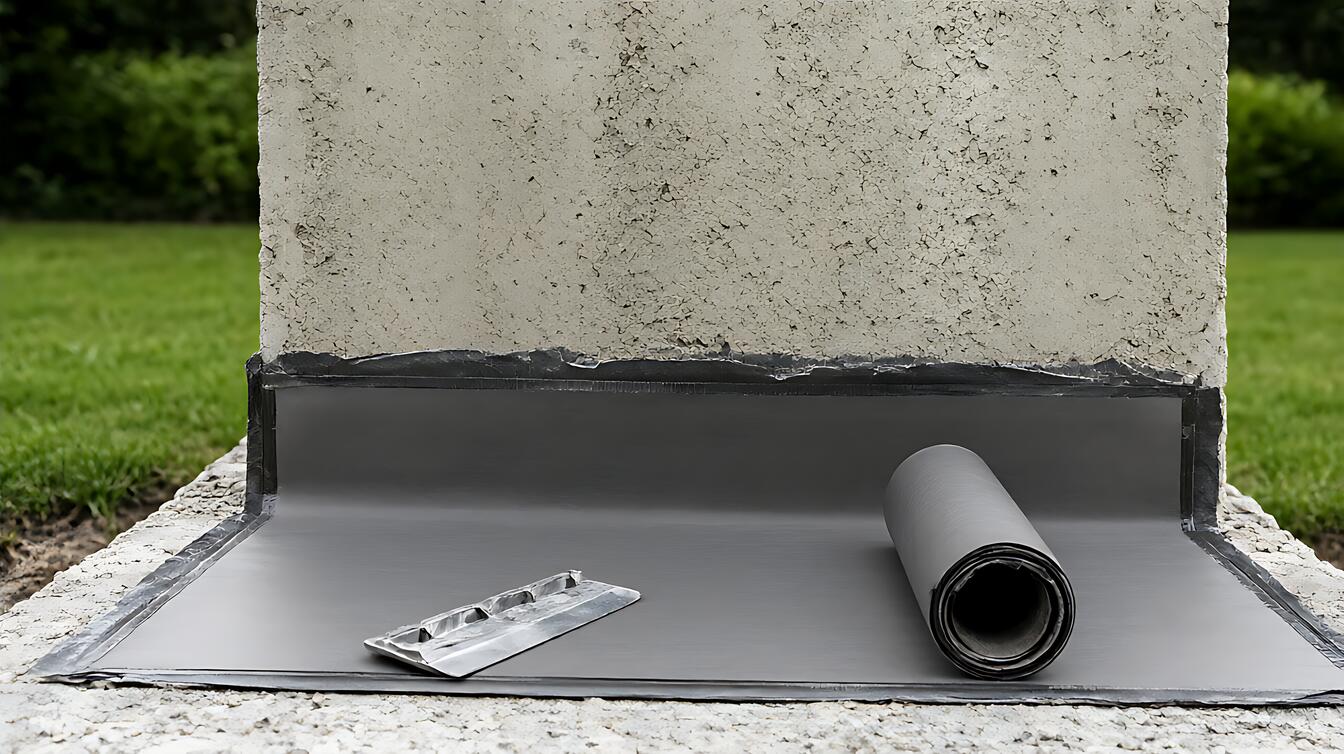
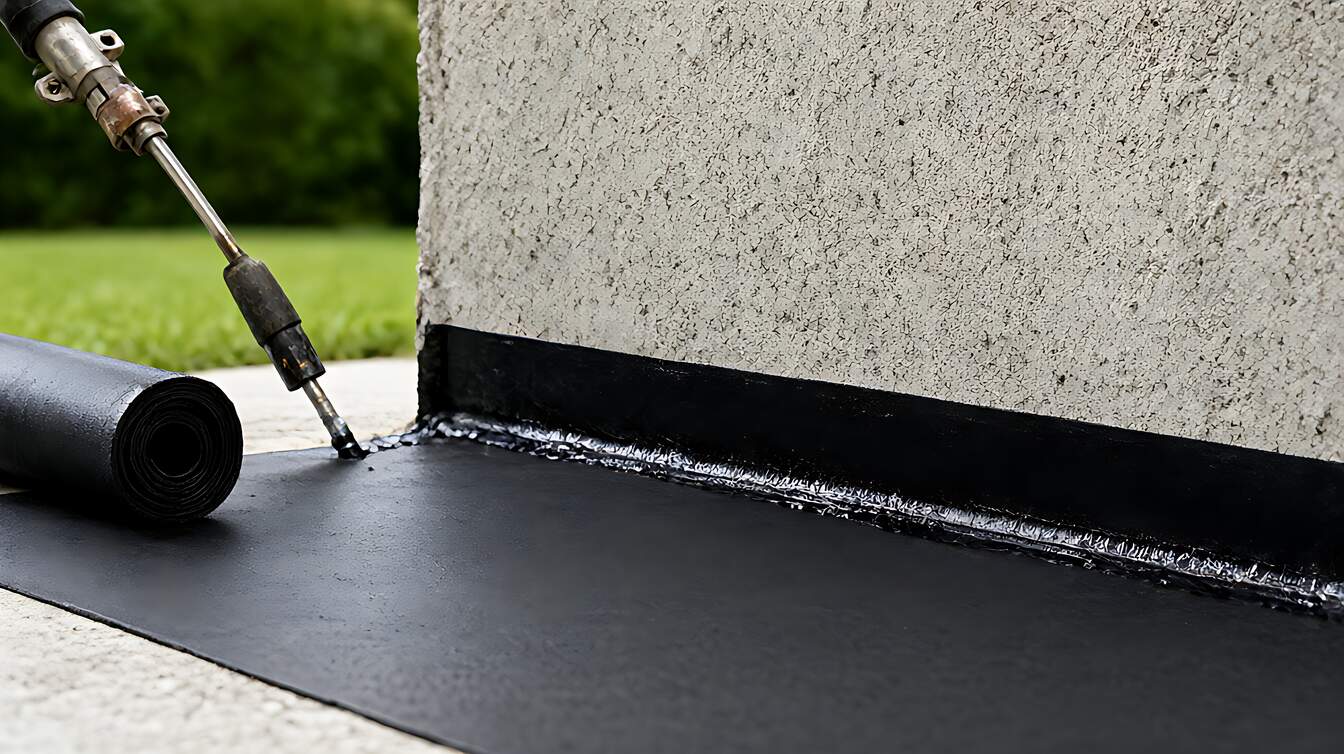
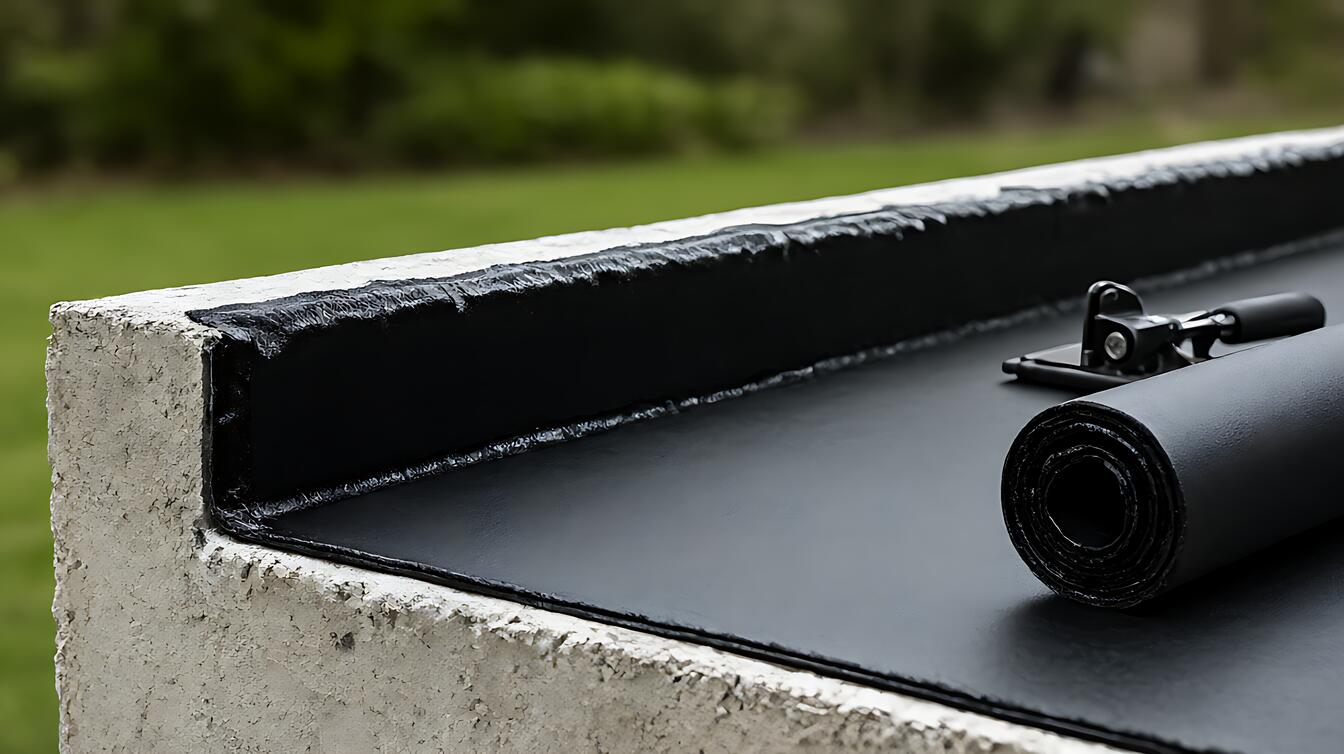
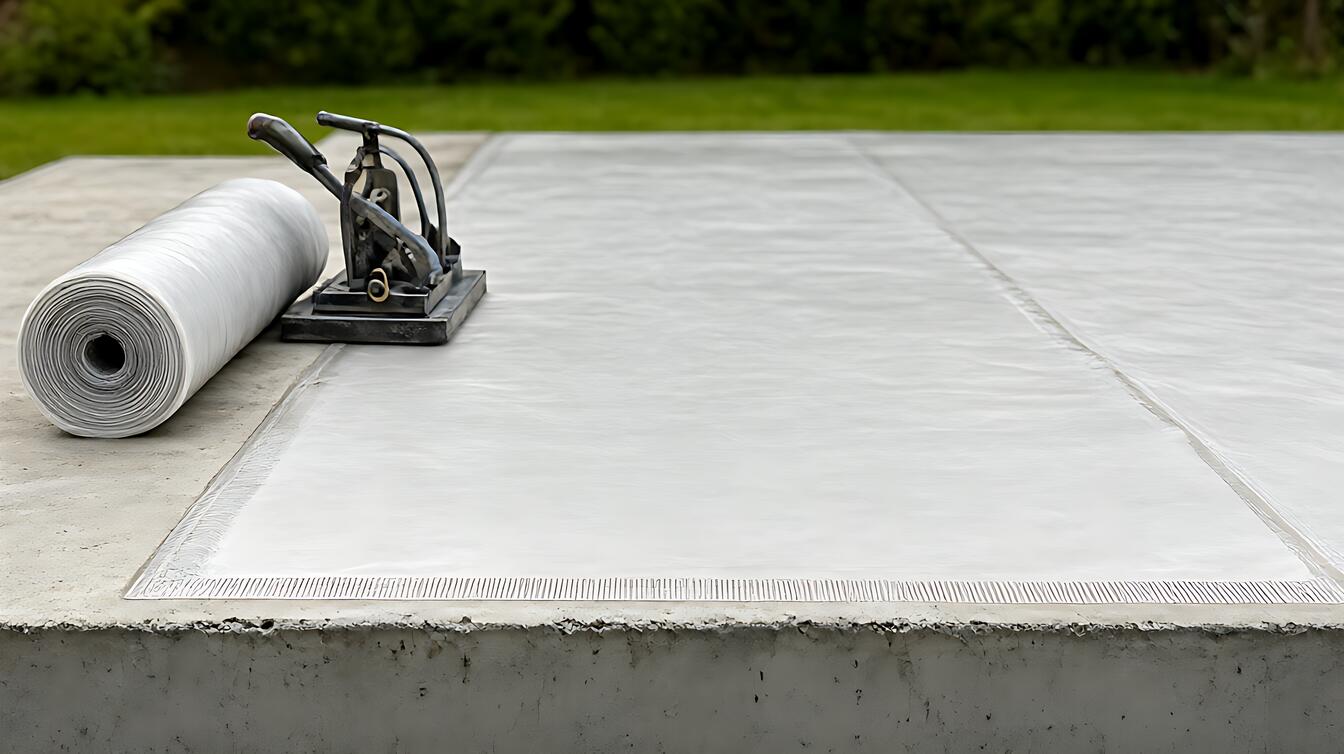
Membrane torch 3 – 4mm describes modified bitumen membrane applied by torch, where heat bonds the sheet to the substrate and forms a continuous waterproof layer. This matters on roofs and decks because a membrane that is not fully bonded can let water travel beneath the sheet and appear as a leak somewhere else.
The system begins with preparation. ZDSpoxy’s lab observations connect skipped grinding and dust removal with more than 70% of early delamination cases, which means cleaning determines whether the bond lasts. Once applied, epoxy curing time governs when the area can take traffic or water, commonly 8 to 24 hours for foot traffic and up to 72 hours for heavy loads or water exposure.
Cure time is not the same as acceptance. The ponding test places water on the finished surface, often for 24 to 72 hours, so any leakage becomes visible before finishes go on. For concrete below – grade work, the substrate itself needs curing first, typically a minimum of 28 days before waterproofing begins.
That sequence explains why a strong product can still fail. A membrane needs a clean substrate, enough time to cure, and a controlled test. Miss one step and the system cannot prove its own performance.
When to Choose Each Waterproofing Option by Area
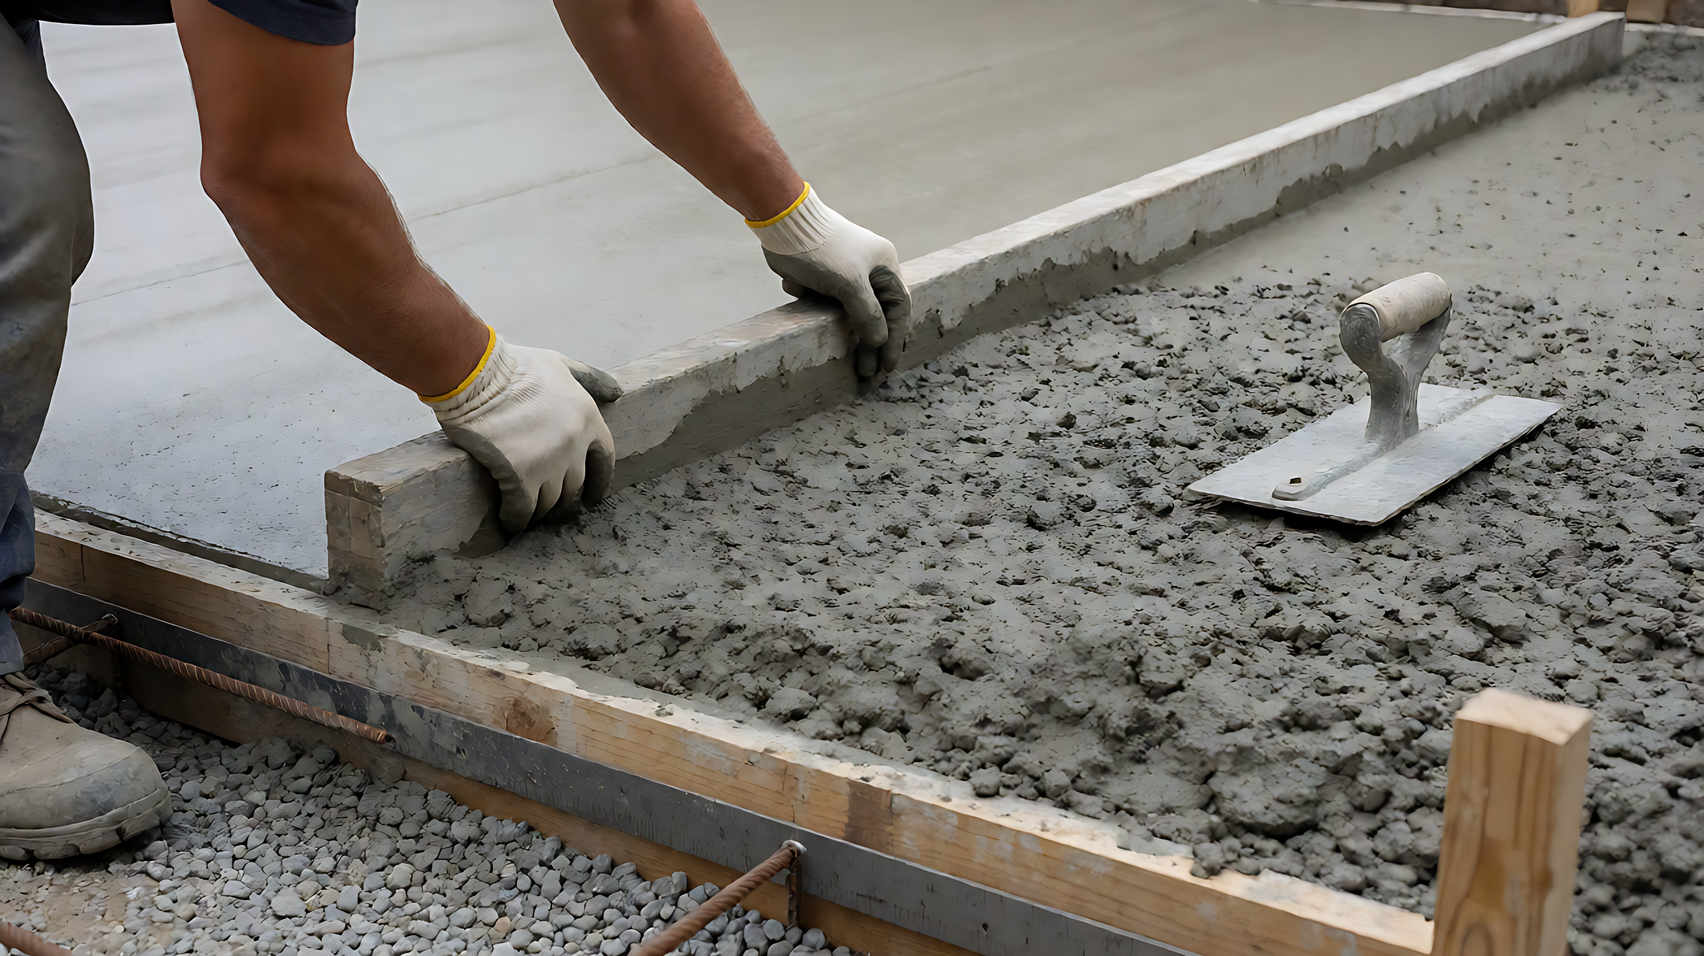
Choose cementitious coating when the substrate is concrete and the area has light water exposure, because the coating bonds to cement – based surfaces. Choose a torch – applied sheet membrane where continuous adhesion and detailing around penetrations drive the decision. The trade – off is labor, since sheet membrane overlaps at 100mm require careful heat welding.
For a wet area with tight detailing, an acrylic coating can simplify application, but it needs a sound, prepared substrate and adequate cure time before the room returns to service. For larger areas where movement matters, the choice shifts toward a sheet membrane because its seams become part of the intended waterproofing path.
| Area | Main water load | System decision | Acceptance check |
|---|---|---|---|
| Bathroom | Splash and temporary ponding | Acrylic coating or liquid membrane | 24 – hour ponding test |
| Basement | Water pressure against concrete | Cementitious coating with compatible detailing | Dry interior inspection during ponding |
| Kitchen | Splash zones near sink and appliances | Targeted coating at splash zones | Visual check of seams and edges |
| Roof | Rain and standing water | Torch – applied membrane with 100mm overlaps | Ponding test before finishes |
For a full breakdown of these material differences, see our sheet, liquid, and cementitious comparison. It helps you narrow the choice before the area checklist does.
Real Job – Site Reality: Where Checklists Earn Their Keep
Picture a basement where the walls were coated, but the coating stopped at the floor joint. Water enters through the foundation and travels along that untreated path. The system looks complete from a distance, yet the area where the membrane was interrupted becomes the entry point.
Here is the job – site sequence that catches that problem before finishes are installed:
- Confirm that new concrete has cured for the required minimum of 28 – day concrete cure before any waterproofing begins.
- Inspect edges, corners, and penetrations, where the protection usually ends rather than the middle of a wall.
- Verify material thicknesses and overlaps during application, including 100mm overlaps where sheet membrane is specified.
- Allow the coating to cure according to product specifications before exposing it to foot traffic or water.
- Flood the area for the specified ponding period, often 24 to 72 hours, and inspect the interior for leakage.
After a passing test, keep the record. A foundation specialist can inspect the system every 3 to 5 years, which helps catch deterioration before it becomes a finished – room problem. The membrane thickness and overlap reference gives you the installation details to record.
Limits, Edge Cases, and Your Next Decision
Waterproofing systems have honest limits. Curing times vary with site temperature and product, so a fixed schedule can be wrong. If the substrate is damp, contaminated, or too new, additional preparation changes the timeline. No checklist can make an unsuitable surface suitable.
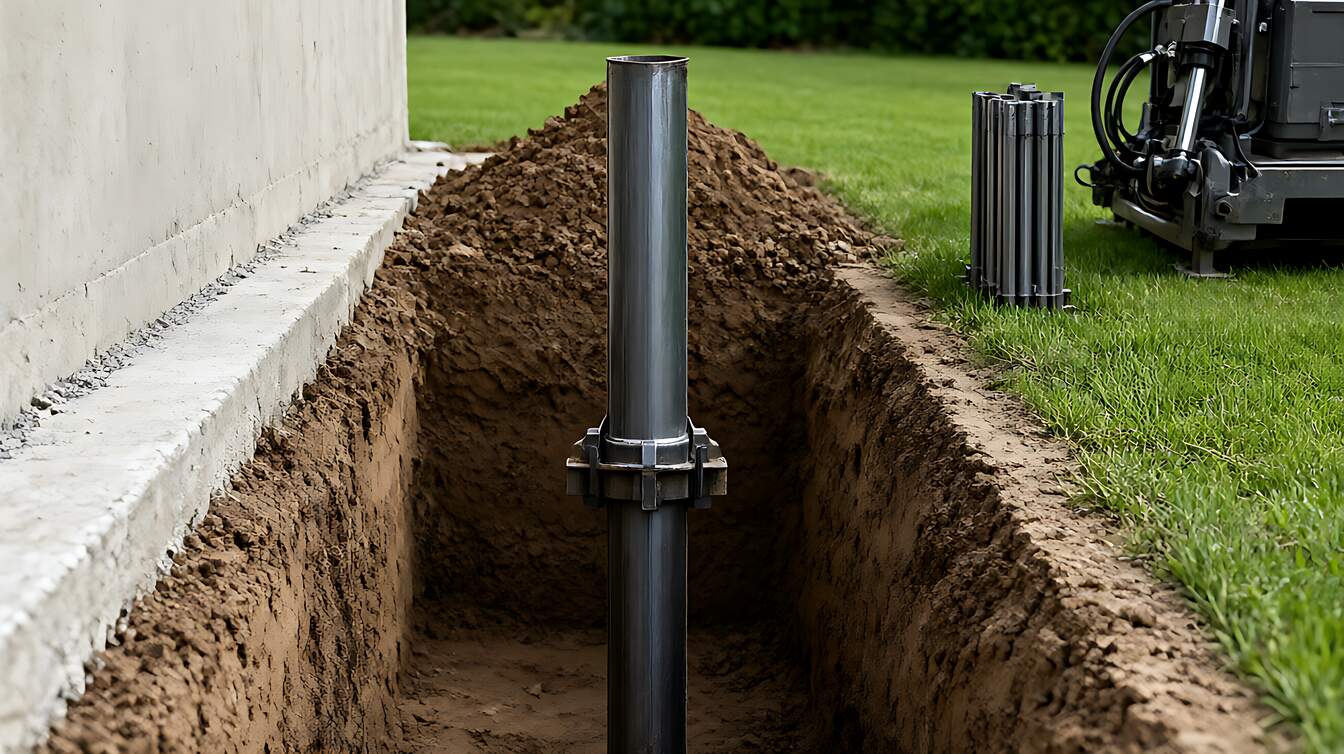
Choose a sheet membrane where continuous bonding and seam control matter. Choose an acrylic coating where simpler application suits a wet area and the substrate can be prepared properly. For foundation cracks, a crack around 0.3mm foundation crack warrants professional assessment rather than a generic patch, especially where hydrostatic pressure is present.
For below – grade work, structural movement, or active water pressure, consult a professional before specifying materials. Products and building codes govern which repairs are acceptable, and a failed foundation waterproofing job can damage everything installed above it.
Before purchasing materials, review the waterproofing cost and budget guide, or compare the approaches in waterproofing types compared. Then build your room – by – room checklist around preparation, detailing, cure time, and testing, in that order.