You need a number you can trust, not a vague “it depends” from a contractor’s inbox. Here’s the direct answer: home waterproofing materials typically cost $8 – 45 per m2, while labor makes up 40 – 60% of the total project cost. Multiply that by area, then add primer, accessories, and repair work. A waterproofing budget is the combined material, labor, and preparation cost needed to stop water entering a home, adjusted for area, condition, and exposure.
What a Home Waterproofing Budget Actually Covers
A waterproofing budget is the money reserved for materials, labor, and preparation across a defined area. The material portion usually runs $8 – 45 per m2, but that figure excludes most labor, which commonly accounts for 40 – 60% of the final bill. A basement wall of 50 m2 tells you the material number, not the whole story.
That gap is where budgets get surprising. Primer alone may need 0.15 L per m2, and every pipe, drain, and vent becomes a termination detail that needs its own material and labor. Treat the square – meter price as a baseline, never as a quote.
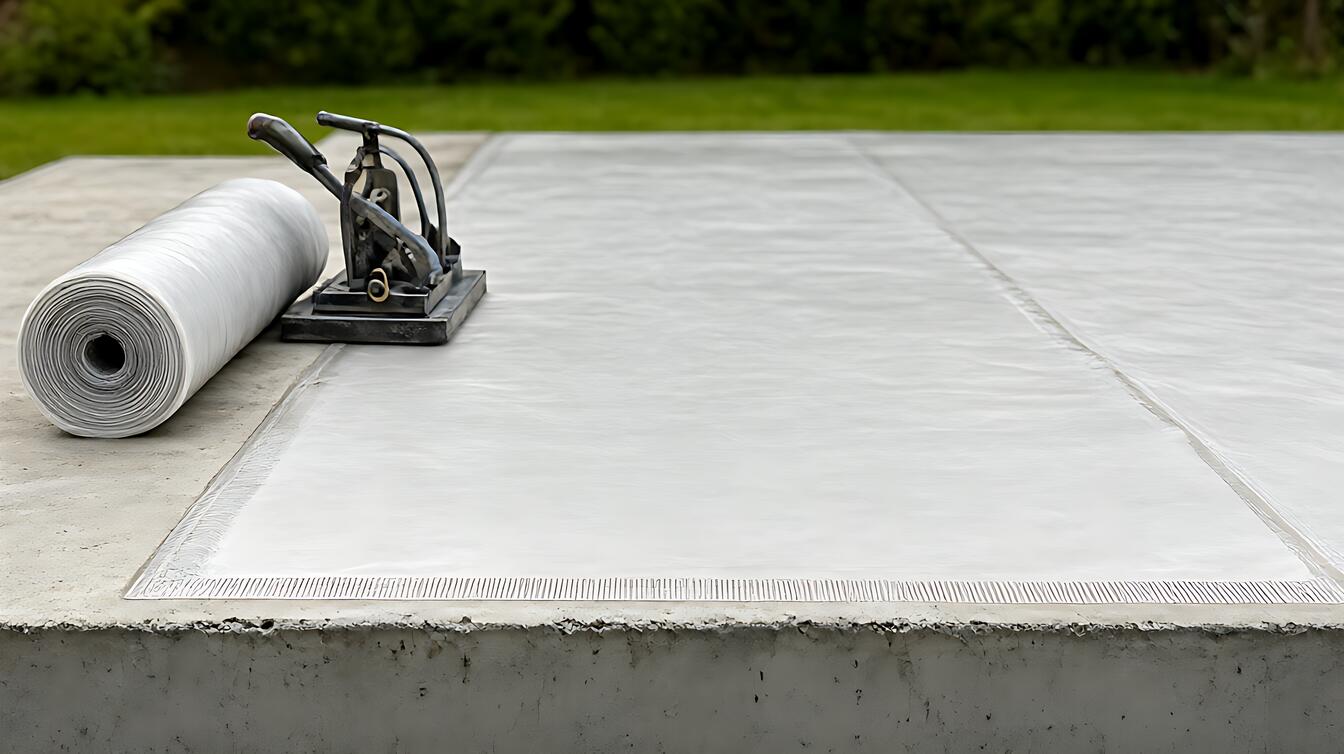
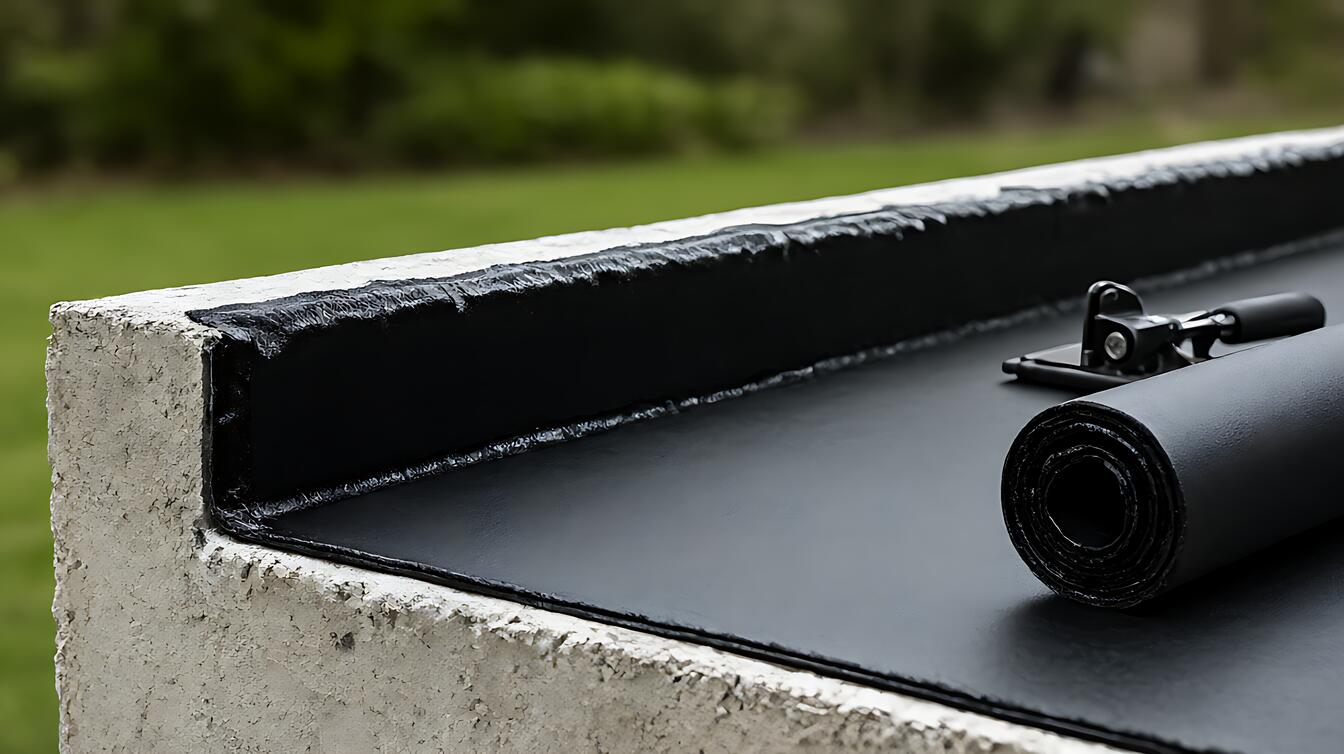
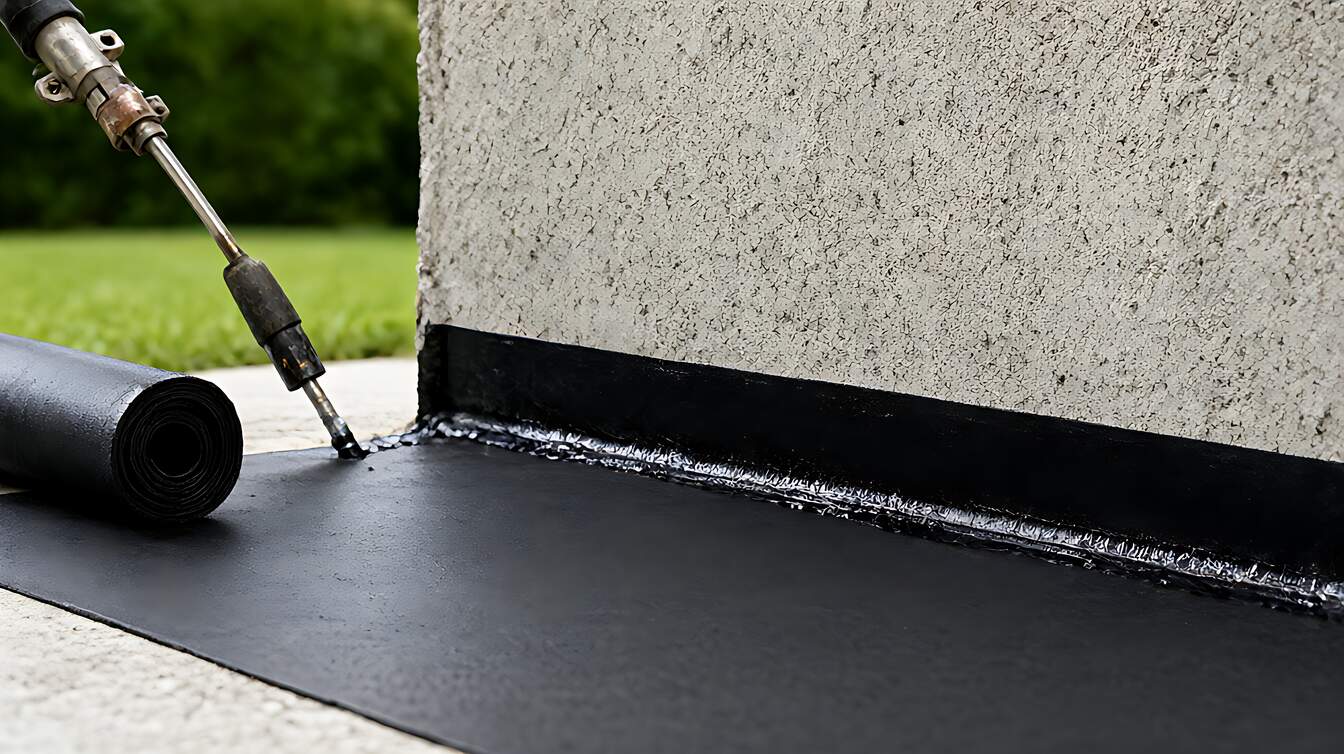
System selection changes those numbers. A membrane torch 3 – 4mm system uses a thicker, torch – applied sheet that forms a continuous barrier when seams and details are handled correctly. An acrylic coating approach is a different product with different surface preparation and application needs. For the broader system landscape, start with waterproofing system types.
Realistic Material and Labor Costs
Home waterproofing material costs land at $8 – 45 per m2 before labor. Low figures suit simpler applications and accessible surfaces. Higher figures reflect more demanding conditions, specialized products, or surfaces that need more preparation before the membrane can bond properly.
Most projects take 3 to 5 days, though larger or more complex work can stretch to a week or more. That timeline matters because access, drying time, and repeated detail work influence labor, and labor is the larger share of many totals.
Here is how the main cost components behave:
| Cost component | What it means | Budget effect |
|---|---|---|
| Materials | $8 – 45 per m2 | Baseline only |
| Labor | 40 – 60% of total | Often the larger share |
| Primer | 0.15 L per m2 | Small line, easy to forget |
| Application rate | 1.5 – 2.0 kg per m2 | Sets material quantity |
The quantities matter because contractors and homeowners often measure area but forget to calculate consumption. Primer quantity and coverage rate together determine how much product you actually buy. Getting this wrong leaves you short on material or paying for excess.
What Changes the Price of Waterproofing Work
Waterproofing cost rises when the surface is harder to prepare, the exposure is harsher, or the details multiply. A flat wall and a wall full of penetrations are not the same job, even at identical square footage.
Choose professional waterproofing when the area is under 8 m2 but has more than 5 penetrations. Small areas with many pipes and drains carry a high detail – to – surface ratio, so labor hours climb faster than the material bill. Most of the money goes into careful sealing, not covering surface.
Conditions change material choice too. Exposed UV and ponding water both push you toward a system designed for that exposure. Negative pressure in a basement creates a different problem, because water is pushed toward the structure from outside rather than simply running down toward it.
Before quoting, ask what surface preparation includes. Cleaning, patching, crack repair, and removing failed coatings can each add cost. If water is already reaching interior finishes, identifying the cause first avoids paying for a membrane that treats the wrong problem. That diagnostic step is covered in leak diagnosis methods.
When the Cheapest Option Costs More
The lowest material price often creates the largest total cost. A tight budget under $10 per m2 buys a basic product, but labor still applies, and the result may need replacement sooner than a system specified for the actual exposure.
Waterproofing systems commonly carry 5 – 10 years of service life. That range makes cost per year more useful than sticker price. A cheaper membrane that fails early can cost more once you add removal, surface preparation, and a second installation, especially when interior finishes were already damaged.
Hidden costs also hide in the small items. Penetrations, corners, transitions, and terminations consume more material than flat field areas. Sealants, fasteners, and protection layers add up. A project that treats only visible damp patches often misses the underlying water path, which means paying twice.
Here is the trade – off in plain terms. Choose a membrane torch 3 – 4mm system when you want a thick, continuous barrier and the surface is suitable for heat – applied installation. Choose an acrylic coating when the substrate and application conditions suit a coating approach. Both need correct preparation, and both fail when applied over damp or unprepared surfaces.
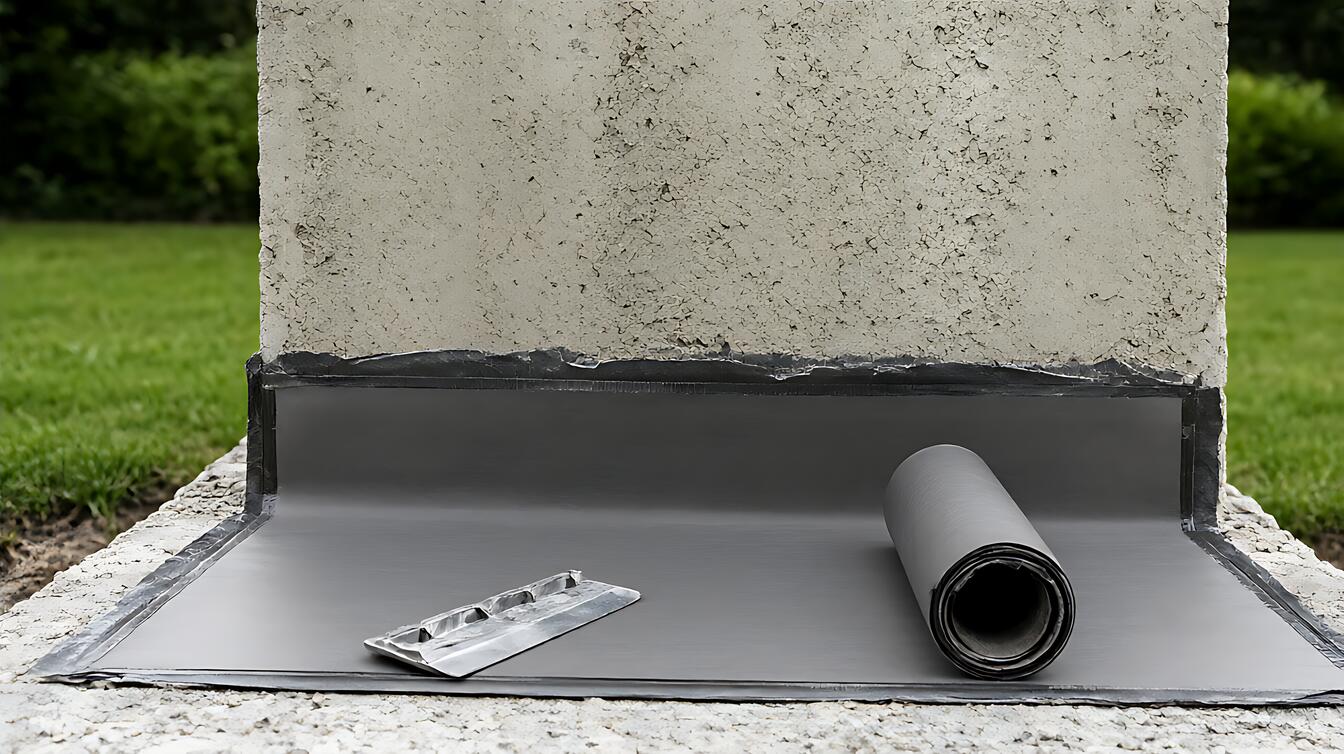
For seam and termination details, the overlap 100mm standard helps maintain continuity where sheets meet. Detail work matters more than most people expect because most leaks eventually begin near an edge, joint, or penetration. Installation technique is covered in membrane thickness and overlap guidance.
Limits, Edge Cases, and Your Next Step
A budget number has limits. It does not tell you whether the substrate is sound, whether water is coming from groundwater or a failed gutter, or whether the structure can tolerate the system being applied. A flood test 24h check helps confirm performance after installation, but passing a test does not replace diagnosis of an active water source.
Choose a professional contractor when there is negative basement pressure, more than 5 penetrations, or an expectation of ponding water. These conditions exceed what a simple product selection can resolve. Consult a waterproofing professional before excavating around a foundation, because excavation can affect soil stability and the structure above.
Your next step depends on the job rather than the headline price. Get a written scope that names the membrane, primer quantity, coverage rate, area, surface preparation, and warranty. A warranty 5 – 10 years is common, but any requirement for coverage beyond 10 years needs written confirmation and may restrict system choice.
Here is the decision guide:
- Choose DIY – friendly work when the area is small, surfaces are accessible, and the project involves fewer than 5 penetrations.
- Choose professional waterproofing when surfaces are wet, heavily loaded, exposed to UV, or subject to negative pressure.
- Choose a higher – grade system when ponding water is present or a warranty beyond 10 years is required.
- Choose to pause and diagnose first when water is already reaching drywall or flooring, since the visible dampness may not be the source.
For a broader look at how these systems differ, compare waterproofing types compared. And for a room – specific budget, see how bathroom waterproofing kit costs break down differently from whole – home work.