
“`html
You’re standing in your kitchen, and something feels off. Maybe a cabinet base looks darker than usual, or the water meter is still spinning with every faucet closed. You suspect a leak, but you don’t know if it’s urgent, where the shutoff valve sits, or whether this is a today-call-a-plumber situation. Here’s the direct answer: a kitchen plumbing leak is any uncontrolled water escape from your sink supply lines, drain trap, dishwasher hose, or refrigerator water line, and your first job is figuring out whether the water is actively flowing or just leaving residue. If it’s flowing, find the shutoff now. If it’s residue, you have a few hours to diagnose.
What a Kitchen Plumbing Leak Actually Looks Like and Why It Matters
A kitchen plumbing leak is water escaping where it shouldn’t, from a supply line under pressure or a drain line carrying waste. The difference matters because pressure leaks worsen every minute the valve stays open, while drain leaks only show up when water runs through them.
Supply leaks come from pressurized lines feeding your faucet, dishwasher, or refrigerator. A pinhole in a copper supply pipe at 40-60 PSI can release hundreds of gallons in a day. Drain leaks come from the P-trap under the sink, slip joints, or a degraded basket strainer, and they only drip when water passes through.
Why this distinction is your first decision point: a supply leak on a 3/8-inch line can pour out roughly 1-2 gallons per minute once a fitting fails. A drain leak might lose a few tablespoons per use. Same cabinet, very different urgency. Knowing which one you have determines whether you’re grabbing towels or grabbing the phone.
Leak Signs and How to Tell Supply From Drain
Diagnosis starts with where you see water, when it appears, and whether it’s constant or intermittent. The pattern tells you almost everything.
Five reliable signs point to an active or recent kitchen plumbing leak: water stains on the cabinet floor or back panel, a musty odor that doesn’t match the room’s humidity, visibly warped or swollen cabinet base material, a water meter that keeps turning with all fixtures closed, and unexplained warm or damp spots on the floor in front of the sink or dishwasher.
The simplest test for an active leak is the meter check. Turn off every faucet, dishwasher, and refrigerator ice maker, then watch the smallest dial on your water meter for 10 minutes. Any movement means water is flowing somewhere. A slow drip of 1 drop per second wastes about 3000 gallons per year, so even “barely moving” dials add up fast.
To separate supply from drain, run a quick scenario test. Fill the sink, then open the drain while watching the trap and supply connections. If water appears only during draining, the leak is on the drain side. If water appears constantly or when you turn on the faucet, it’s supply. In a 3x4m kitchen with a dishwasher beside the sink, this test usually isolates the culprit in one attempt.
Where the Shutoff Valve Is and When to Use Each One
Every kitchen has at least two shutoff points: a local valve under the sink and the main valve where water enters the house. Knowing which to turn, and when, keeps you from shutting off the whole house for a dripping trap.
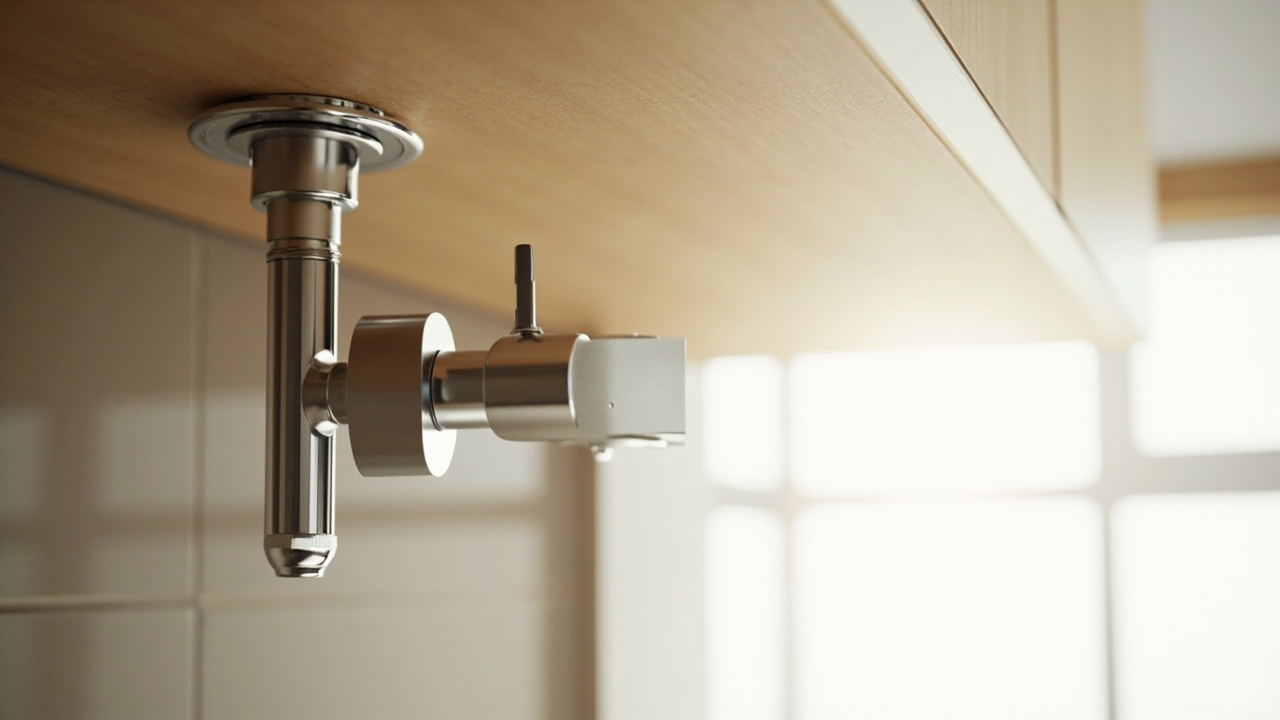
The local shutoff valve sits on the supply lines coming out of the wall under the sink, typically quarter-turn ball valves (lever handle) or older multi-turn knob styles. Turn the lever 90 degrees, or twist the knob clockwise until it stops, and that sink’s water is off. Use this when the leak is clearly at the faucet, supply line, or angle stop under the sink.
The main shutoff valve is usually near the water meter, in the basement, crawlspace, garage, or outside in a meter box. Turn it off when the local valve is stuck, inaccessible behind a full cabinet, or when the leak is downstream of it (dishwasher, refrigerator, or a burst pipe in the wall). Closing the main stops all water to the house, so coordinate with anyone else home before you turn it.
Three practical rules: if water is actively pooling and you can reach the local valve in under 30 seconds, use it. If the local valve is corroded, painted shut, or won’t budge, go straight to the main. If the leak is in a wall, ceiling, or you can’t see the source, the main is your safest move while you wait for help. Old multi-turn valves that haven’t been moved in years may not fully close, so test by trying to run the faucet after turning.
DIY Repair vs Calling a Plumber: The Decision Framework
Some kitchen leaks are a 20-minute fix with a wrench and a $6 part. Others hide inside walls or involve the dishwasher supply line or refrigerator ice maker line, where a small mistake turns into a big bill. Here’s how to tell which kind you’re facing.
You can usually handle it yourself when the leak is visible, the valve is accessible, and the part is a standard repair: a loose slip nut on the P-trap, a worn rubber washer in an angle stop, a cracked supply line you can swap with a braided stainless replacement, or a fresh bead of plumber’s putty under the sink basket. These repairs cost $5-25 in parts and need basic hand tools.
Call a professional when you see any of these conditions: water inside a wall or under a floor you can’t access, a leak at the dishwasher or refrigerator connection that requires moving the appliance, any sign of electrical fixtures or outlets near standing water, a copper pipe showing green corrosion or pinhole spray, or a main shutoff that won’t close. Mold risk begins within 24-48 hours of damp materials, so timing matters; if you’ve already passed the 48-hour mark and the area is still wet, bring in water damage help alongside the plumber.
Honest trade-off: DIY saves $100-300 on a simple trap or supply line swap, but a misdiagnosis on a hidden leak can mean cutting into drywall later. Plumbers charge a diagnostic fee (often $80-150) but bring the right tools for slab leaks, wall pinholes, and main-line issues. If you’re unsure which side you’re on, a plumber’s diagnostic fee is cheaper than a missed hidden leak.

Water Damage Timeline and What to Do Next
Time is the hidden cost of a kitchen leak. Water damage compounds quickly, and the first 48 hours decide whether you’re dealing with a dry cabinet or a mold remediation project.
The damage timeline runs in clear stages: in the first 1-6 hours, water spreads through cabinet bases, underlayment, and drywall, often far from the visible drip. Between 6-24 hours, wood swells, plywood delaminates, and metal fittings begin to corrode. At 24-48 hours, mold colonies can establish on damp paper-faced drywall, MDF, and organic debris, especially in warm kitchens. After 48 hours, what was a leak becomes a renovation. Drying equipment and antimicrobial treatment shift the outcome back, but only if started early.
Next steps depend on severity. For a minor supply line drip caught early, replace the line, dry the cabinet with a fan for 24 hours, and check the meter again. For a leak that soaked the subfloor or ran for over a day, pull the affected baseboard, run a dehumidifier, and have a restoration company inspect for hidden moisture with a meter before closing anything up. For water near any electrical outlet, switch, or under an appliance, kill the relevant breaker and call both a plumber and an electrician; water and current are a serious combination.
Choose the local shutoff if the leak is at the sink and you can reach the valve in under 30 seconds. Choose the main shutoff if the local valve is stuck, inaccessible, or the leak is downstream in a wall or appliance line. Call a professional if the leak is hidden, the water reached electrical areas, or the meter still spins after both valves are closed.
For related decisions on supply lines, valve upgrades, and what to budget for a plumber visit, the kitchen plumbing maintenance guide walks through prevention and part selection. If your leak came from a failing dishwasher hose, the dishwasher installation cost breakdown covers when replacement beats repair. For a broader view of kitchen systems beyond plumbing, the kitchen renovation planning guide shows how plumbing fits into a full remodel scope.
“`