Standing water around the drain, soft drywall behind the shower, or a fan that never clears steam? Those failures come from sub-systems, not tile choice. Bathroom renovation depends on drain assembly, wall board, and ventilation duct whose material composition and spacing determine whether moisture leaves the room or stays trapped for years.
What Bathroom Sub-Systems Include and Why They Matter
Bathroom renovation at the sub-system level covers the linear drain or point drain, the cement board or coated render behind tiles, and the exhaust fan with its duct and damper. Unlike finish layers, these elements are hidden after tiling but carry all water movement and air exchange that keep grout and sealer intact.
Drains split into two families. A point drain at 100 mm diameter needs four-way fall and suits small showers under 900 by 900 mm. A linear drain at 600 to 800 mm length needs single-plane slope and suits large-format porcelain where cutting small tiles around a center point wastes time and breaks the pattern.
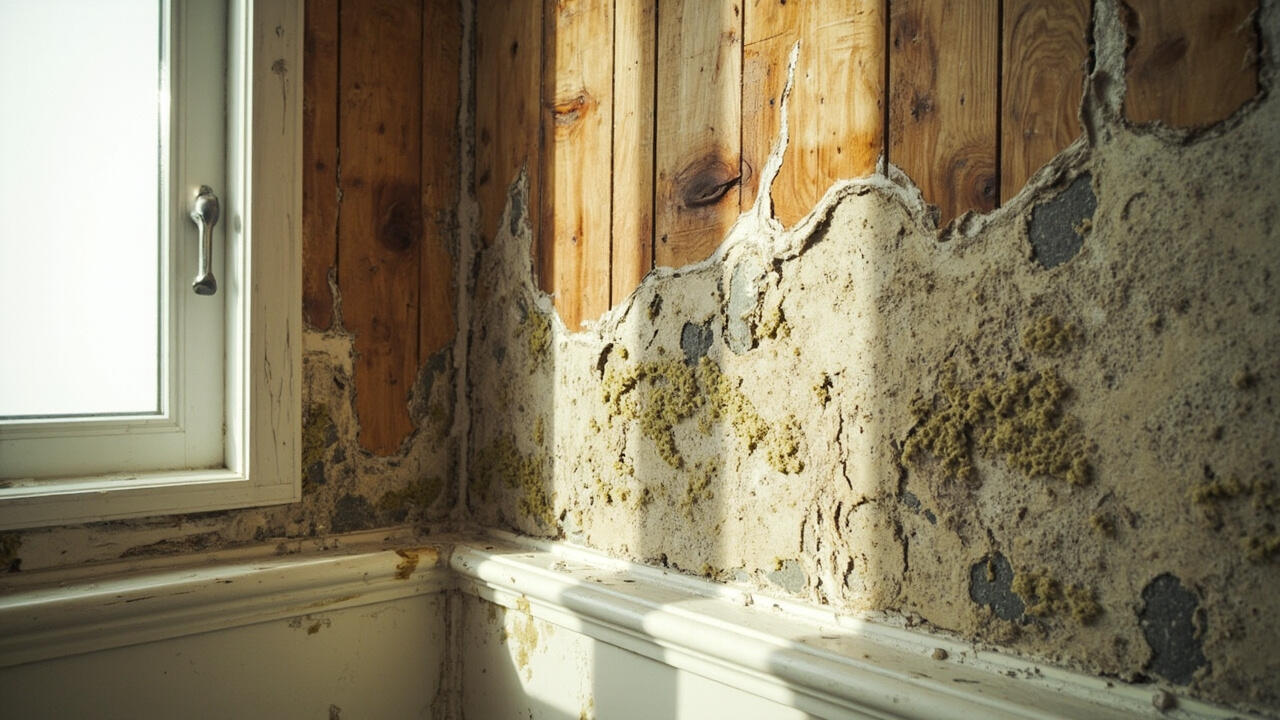
Wall boards split by moisture load. Fiber cement board at 6 to 12 mm handles direct spray and supports waterproof membrane well. Coated moisture-resistant board works for dry vanity zones but softens if the membrane lap is short. Standard gypsum board without treatment swells even under sealed tiles.
Ventilation splits by routing. A wall-mounted exhaust fan vented straight through the exterior wall is shortest and most reliable. A ceiling ducted fan needs rigid duct, correct fall to outside, and a backdraft damper to stop humid air returning at night.
How Drains, Boards, and Airflow Work Together
Drain assembly works as a clamping ring that locks the waterproof membrane between two flanges so water entering grout flows into the waste line, not under the screed. Without that clamp, water tracks under the bed and appears as a damp line at the door threshold.
That is why screed height around the drain is critical. The tile bed must sit 8 to 12 mm below the drain grate for porcelain plus adhesive. Too high and water rims the grate and never clears. Too low and the grate lip traps hair and soap within a week.
Cement board handles cycles differently than render. Boards expand less than 0.3 mm per meter between wet and dry states, while sand-cement render can move 0.5 to 0.8 mm if curing was short. That 0.5 mm gap opens a hairline at board joints unless taped with alkali-resistant mesh and coated as part of the membrane.
Airflow completes the cycle. A shower releases 0.6 to 1.0 liter of water vapor in 10 minutes. Without an exhaust fan moving 90 to 150 cubic meters per hour, that vapor condenses on the PVC ceiling panel and drips back onto the vanity. A duct that rises then falls without a low-point drain traps condensate and blocks flow.
For ceilings above 3.5 m or any connection near mains wiring, consult a professional. Slope and electrical clearances both need verification before closing.
Choosing the Right Combination for Your Bathroom
For a small shower under 1.2 square meters with 300 by 300 mm tiles, a point drain with four-way fall and fiber cement board at 6 mm keeps cost and height low. Budget $45 to $70 per square meter for drain, board, and tape before waterproofing coating. The four-way cut is fast on small tiles.
For a wide walk-in shower with 600 by 600 mm porcelain, choose a linear drain at the wall, single fall at 18 to 22 mm per meter, and 12 mm cement board for stiffness. This keeps grout lines straight and cuts waste by 15 to 20 percent versus diagonal cuts to a center point.
In apartments where the slab cannot be cut deep, a low-profile linear drain with a 60 mm trap saves height. Verify the trap seal depth is at least 50 mm to block sewer gas. Shallow traps under 40 mm dry out in 48 hours without use.
| Criteria | Point Drain + 6 mm Board | Linear Drain + 12 mm Board | Render + Standard Board |
|---|---|---|---|
| Best Tile Size | 300×300 mm, easy four-way cut | 600×600 mm+, single plane | Any, but movement higher |
| Height Build-Up | Low, 55 to 65 mm total | Medium, 70 to 85 mm total | Variable, 60 to 90 mm |
| Drainage Speed | Moderate, center puddle risk if slope off | Fast, wall channel clears quickly | Depends on fall accuracy |
| Cost per sqm (Parts) | $45 to $70 | $85 to $130 | $35 to $55 but higher repair risk |
| Maintenance | Clean grate weekly, hair trap accessible | Slide-out channel, rinse monthly | Check board joints yearly for cracks |
| Lifespan if Sealed Right | 8 to 12 years | 10 to 15 years | 5 to 8 years |
The hidden trade-off: linear drains cost more parts but save labor cutting large tiles and keep a clean visual line. Point drains are cheapest but create wedge cuts that waste tile and grout. Always compare lifecycle cost , drain plus board plus rework , not unit price.
Installation Steps and Mistakes to Avoid
Set the wall board first, leaving a 5 to 8 mm gap above the tray so the board never wicks standing water. Tape joints with alkali mesh, then apply primer and waterproof membrane 1.2 mm dry thickness over the entire wet zone, lapping 150 mm up walls.
Set the drain assembly next and clamp the membrane. Check that the drain body is level in both directions before the screed. A tilt of 1 degree leaves 4 mm of water along one edge that never drains and stains grout.
Screed the fall toward the drain using a straightedge, not by eye, and verify with a digital level at three points. Install porcelain tiles with full bed adhesive, back-buttering pieces over 300 mm, and keep 2 to 3 mm joints for movement.
Common errors: bridging the wall-to-floor joint with rigid grout instead of flexible silicone guarantees a corner crack. Ending the ventilation duct in the ceiling void pumps moisture into timber framing. Using wood screws instead of stainless for cement board corrodes within a year and loosens tiles.
Limits, Edge Cases, and What to Do Next
No combination fits every structure. Over timber floors with deflection above 2 mm per 600 mm, use smaller tiles and a decoupling mat between screed and porcelain to absorb movement. A single large tile will crack grout even with perfect membrane.
In coastal homes where ambient humidity stays above 70 percent, pair epoxy grout with a humidistat exhaust fan that overruns 15 minutes after lights off. Daily manual switching leaves moisture trapped for hours and feeds mold behind mirrors.
Before buying, measure shower footprint, note slab thickness, and photograph the existing drain and duct route to outside. Ask the supplier for trap depth, board density, and fan pressure curve at your duct length. A good seller explains expansion gaps and test data, not just finish options.
Choose point drain with 6 mm board if the shower is small and tiles are under 400 mm. Choose linear drain with 12 mm board if you use large-format porcelain or need an accessible walk-in with single fall. Choose render only if walls are true and you can guarantee curing and taping.
For the full system view see our bathroom renovation guide which maps layout and budget, and the comparison of bathroom renovation options to match cost versus moisture risk. The kitchen countertop installation cost guide shows how flatness and sealing principles transfer to wet areas. For deep slab cuts or electrical moves, consult a professional.