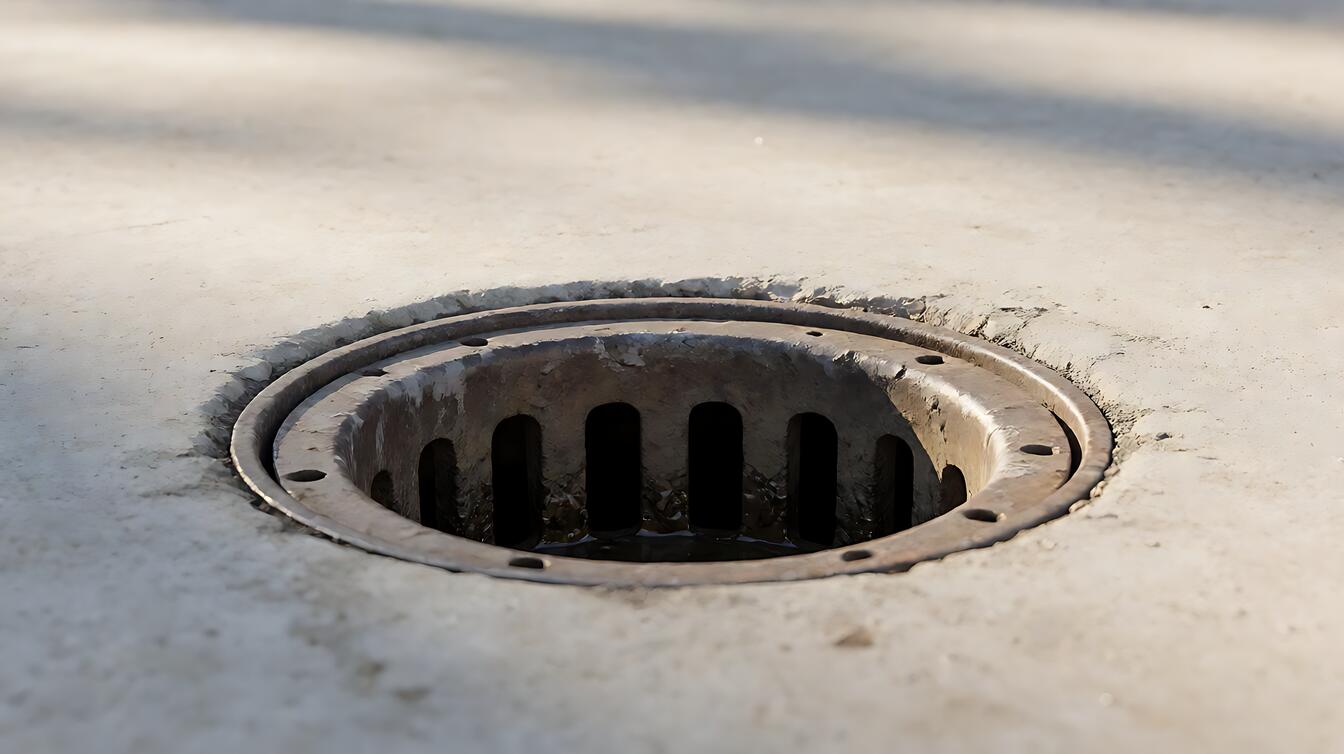
If someone says a retaining wall has “weep holes,” you may picture small openings near the bottom, but the missing part is how water actually reaches them. Put the holes at the correct height, connect them to drainage stone and a perforated pipe, and water can leave the wall instead of building pressure behind it. A retaining wall weep hole is an opening through a wall that gives accumulated water a controlled path out of the soil behind it.
What Retaining Wall Weep Holes Actually Do
Retaining wall weep holes are drainage openings that release water collected behind a wall, usually about 100 to 150 mm above ground or low-water level. Their function depends on a connected drainage path: an opening without free-draining stone and pipe may discharge slowly or become clogged.
Water pressure is the problem they address. Soil behind a retaining wall can become saturated, and that trapped water adds pressure against the wall face. Exterior wall systems perform better when the drainage route remains continuous, rather than relying on the wall material alone to resist moisture.
That distinction matters when choosing a drainage method. Weep holes are simple openings, while a drain pipe moves collected water to a defined outlet. For the broader drainage sequence, see retaining wall construction drainage.
How Weep Hole Size, Height, and Slope Work Together
Weep hole openings are commonly 50 to 75 mm square in masonry walls, while concrete walls often use pipe openings about 75 to 100 mm in diameter. This measured opening lets water escape while serving as the outlet for the drainage assembly behind the wall.
The opening alone does not create drainage. A common residential detail uses about 300 mm of clean drainage stone directly behind the wall face, with roughly 20 mm crushed aggregate. A 100 mm perforated pipe near the base collects water that moves through that stone.
Here is the mechanism: soil moisture enters the drainage zone, passes into clean stone, reaches the pipe or opening, and exits through the wall. Install the opening with a slight downward slope of 1 to 2 percent so water is not left sitting inside the passage.
PVC or asbestos-cement pipes are common choices for concrete or block walls because they provide a defined passage through the face. Material durability still depends on exposure, installation quality, and contact with surrounding soil rather than on the pipe name alone.
When to Choose Weep Holes or Another Drainage Option
Drainage weeps are a practical choice when the wall face is accessible, the surrounding soil drains reasonably well, and the openings can discharge into a safe location. They are simple, inspectable, and less dependent on a single concealed pipe for every water path.
Choose a perforated drain pipe when water collection is substantial, the soil is wet, or the wall length makes separate openings less practical. The pipe provides a continuous collection route, but it needs a deliberate outlet and correct fall. Poorly directed discharge can simply move water toward another part of the property.
Choose a combined assembly when the site has heavy rainfall, poor soil drainage, or a wall holding a significant height of soil. Clean stone, perforated pipe, and wall openings then work together rather than being treated as competing products.
| Drainage option | Best fit | Main limitation |
|---|---|---|
| Wall openings | Simple walls with an accessible, safe discharge point | Reduced capacity if stone or outlets become clogged |
| Perforated pipe | Wet ground or a longer wall needing collection | Requires correct fall and a suitable outlet |
| Combined drainage | Higher retained soil height and sustained drainage demand | More materials, inspection, and installation coordination |
How the Drainage Detail Behaves on the Job
Wall face drainage works most clearly when you can trace the route of water. In a residential wall, the practical sequence is clean stone behind the face, perforated pipe near the base, and openings that let collected water discharge without crossing the wall face.
The process starts by placing drainage material between the soil and wall face. The installer then runs the perforated pipe through that material, connects it to a suitable discharge route, and forms the weep openings with the required downward slope.
- Place about 300 mm of clean drainage stone directly behind the wall face.
- Use clean crushed aggregate around roughly 20 mm, keeping soil out of the drainage zone.
- Install a 100 mm perforated pipe near the base of the wall.
- Form openings about 100 to 150 mm above ground or low-water level.
- Slope weep openings downward by 1 to 2 percent toward the discharge point.
After installation, watch for damp streaks below the openings, mineral deposits around the holes, or water collecting at the wall base. Those signs can point to a blocked outlet, inadequate stone depth, or a pipe without sufficient fall. Material variants affect durability, but the drainage route determines whether water can leave the assembly.
Limits, Trade-Offs, and the Next Decision
Drainage durability is rarely a single-material story. Sun exposure can degrade exposed pipe components, while wet areas increase the load on stone, pipe joints, and outlets. A sun-exposed opening also needs protection from damage without sealing the water path.
The key trade-off is simplicity versus capacity. Openings are inexpensive to understand and easy to inspect, but a wet site with heavy retained soil usually benefits from a continuous collection pipe. Do not choose an opening-only detail where reliable discharge cannot be maintained, and do not assume a concealed pipe will perform without a clear outlet.
Load and span also matter. A taller wall or wider soil load requires an engineered drainage and wall design, not a standard hole pattern copied from another property. For wall work that also addresses bulk moisture, compare the appropriate exterior waterproofing membrane or coating options.
Consult a qualified structural or civil professional when the wall retains substantial soil, drainage outlets are difficult to place, or changes may affect structural safety. If underground moisture is the broader concern, use basement waterproofing for interior or exterior conditions as the next level of guidance.
Choose wall openings for a simple site with reliable, visible discharge. Choose perforated pipe when wet soil or sustained collection requires a continuous route. Combine both when the wall retains significant soil or rainfall drainage cannot be handled by openings alone, and have the design checked by a professional.