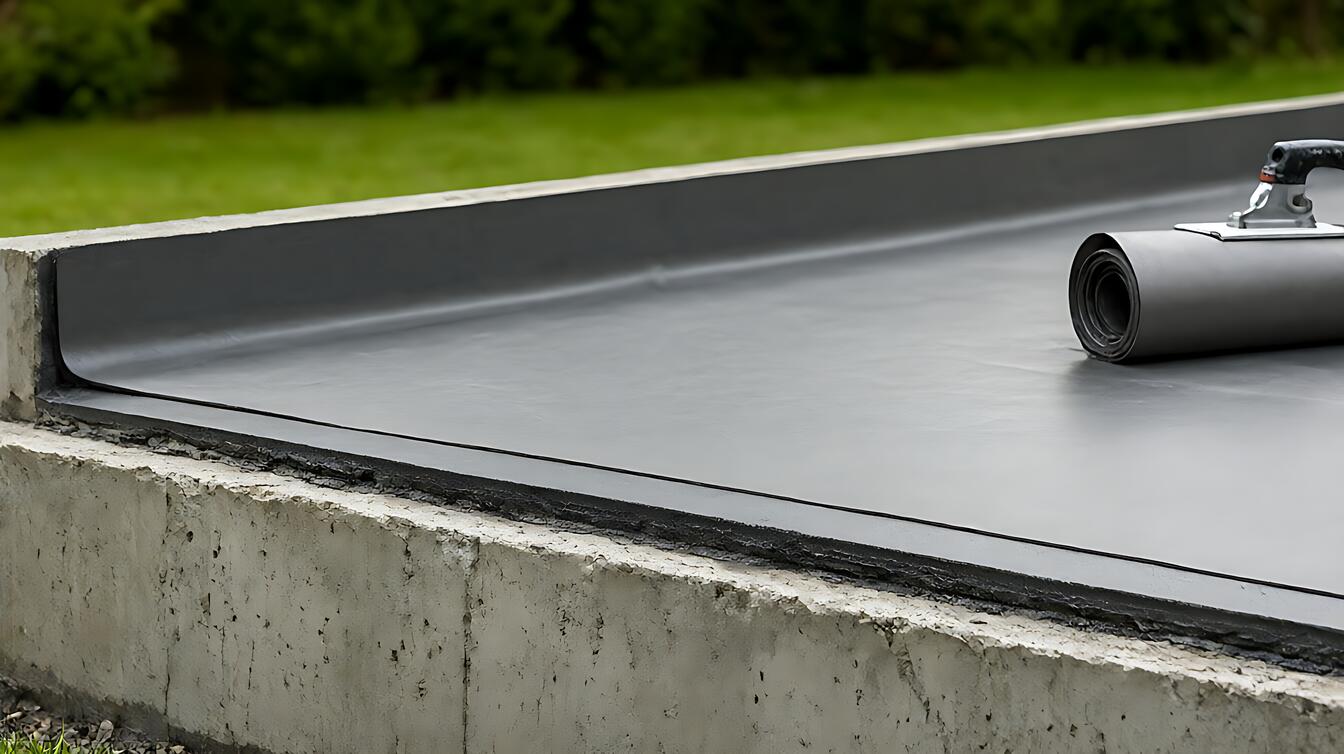
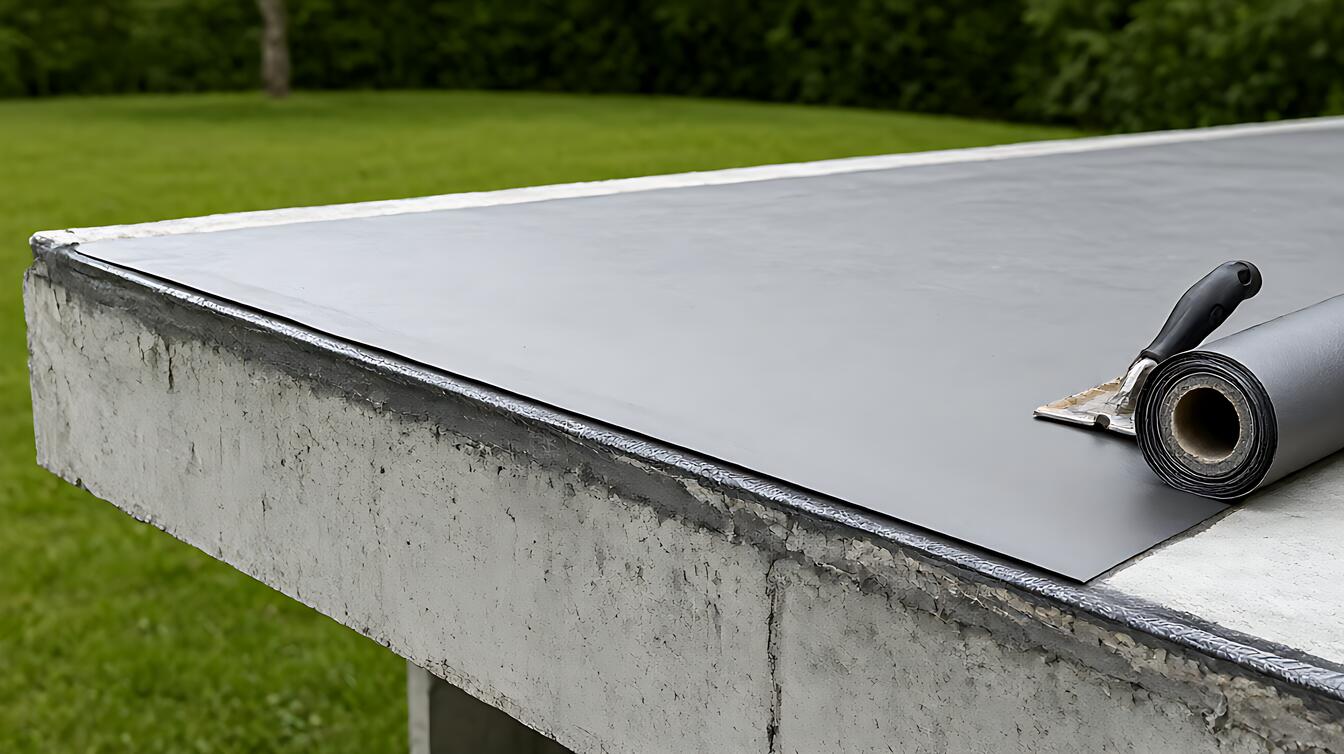
You are standing in front of a wall that looks dry, yet siding boards feel damp or a window corner stains after rain. The problem is not always the siding itself. Waterproofing for siding and exterior walls is the layered set of materials and drainage details that keeps water out of the wall assembly while allowing it to drain away when it gets in.
That distinction matters. A product can resist direct rain and still fail because the wall lacks flashing, overlaps, or a path for trapped water to escape. The useful question is not “Which product is waterproof?” It is which layer does the job your wall actually needs.
What Waterproofing for Siding and Exterior Walls Actually Does
Waterproofing for siding and exterior walls works by controlling water at three points: the surface that sheds rain, the joints that admit small amounts, and the drainage path that carries moisture away. Exterior wall systems rely on all three, because no siding material stays perfectly dry forever.
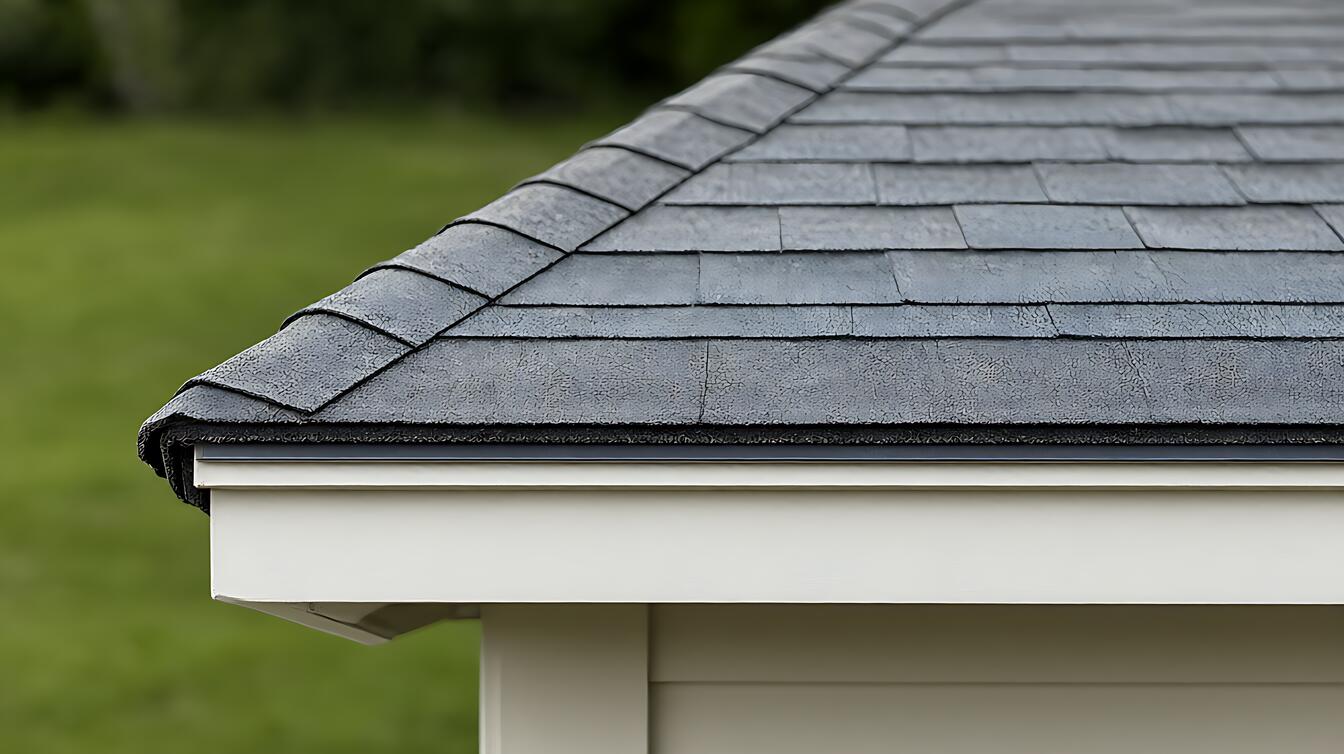
The first layer is the cladding itself. Siding and trim shed most visible rain, but seams, fasteners, and edges can admit water. The second layer handles what gets through, usually with weather – resistive barrier material behind the cladding. The third layer is flashings and drainage cavities that direct stray water downward and outward.
Key attributes matter only in context. A durable surface does not compensate for missing head flashing. A sealed barrier does not perform well if the wall cavity cannot dry. Understanding which layer is missing tells you what to fix first.
For houses with wet – area interiors and persistent wall dampness, the diagnostic work matters more than the product label. Read drainage behind exterior walls before replacing cladding that may only need a corrected drainage path.
How Exterior Wall Water Management Works, Layer by Layer
Exterior wall systems shed, resist, and drain water in that order. Cladding sheds bulk rain, the barrier resists what passes joints, and the flashing system drains the remainder. When one layer does its job, the next handles the rest without damage.
At wall penetrations, head flashing sits above openings and directs water downward across the siding face. At transitions between materials, pan flashing or metal drip edges prevent water from tracking behind the cladding. These details determine whether runoff enters the wall or leaves it.
For the drainage layer, vertical drainage space behind cladding lets liquid water fall downward instead of clinging. Wall flashing at the base creates an exit point. Without that route, water can remain trapped against the sheathing until the wall rots from the back.
Material choice follows exposure. Wood siding needs reliable drying time between wet periods. Fiber cement tolerates wet conditions better but still relies on correctly detailed joints. Vinyl siding depends on careful fastening because wind – driven rain can find poorly seated panels.
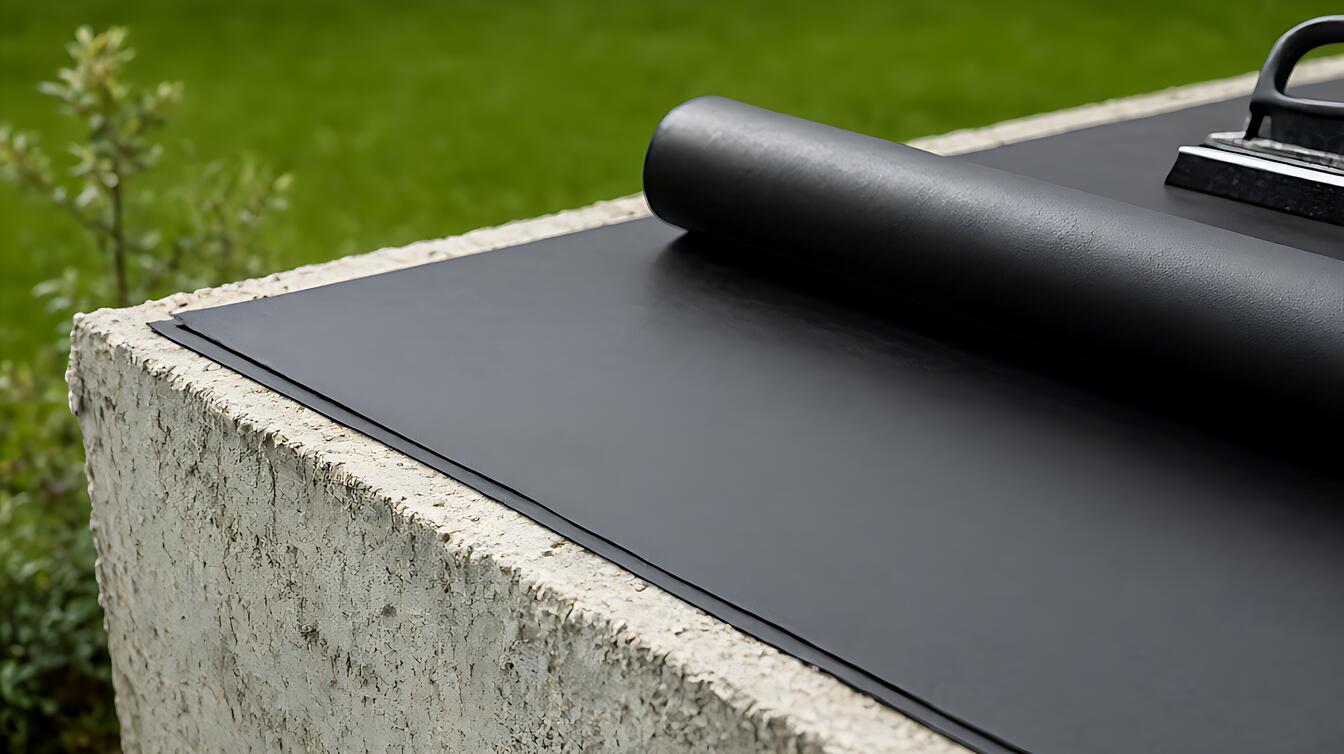
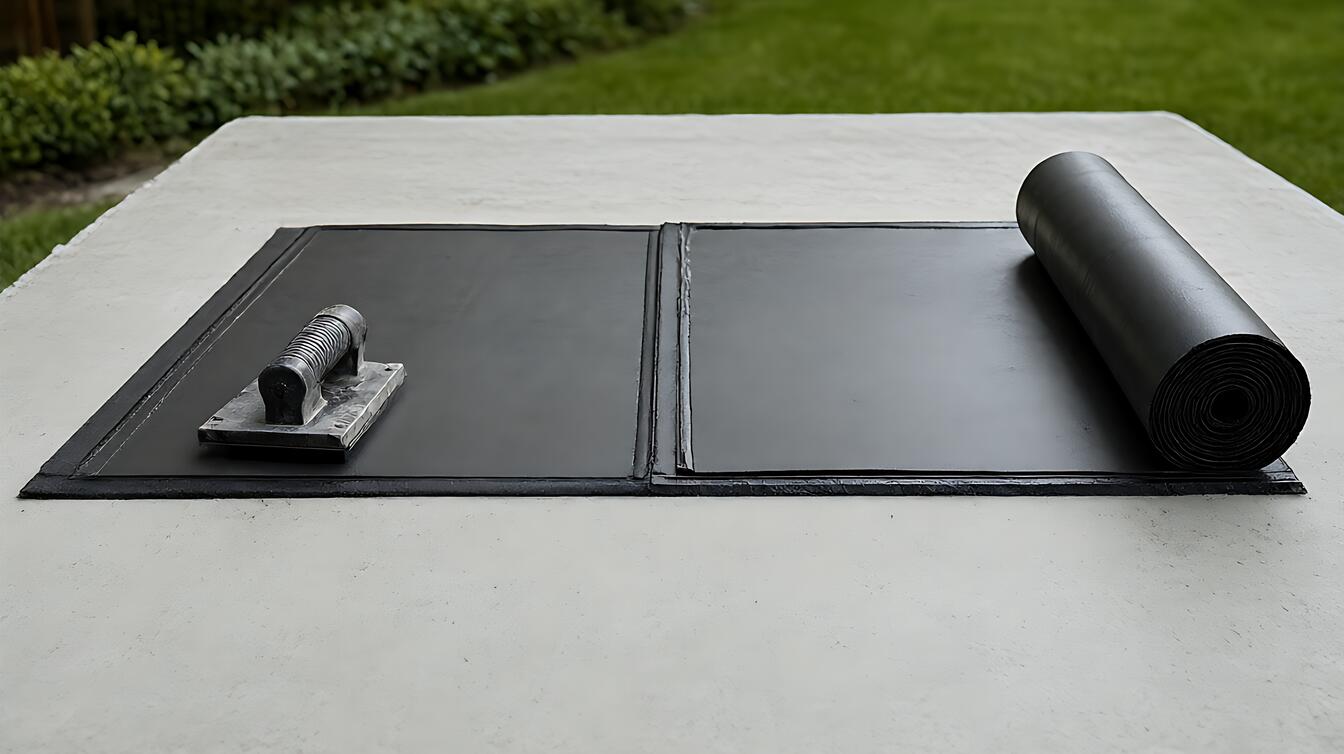
One caution matters here. Some waterproofing membranes are vapor – impermeable, while others allow drying in both directions. That difference affects how the rest of the wall should vent. Compare membrane types in exterior waterproofing membrane versus coating before specifying one.
How to Choose the Right Water Management Approach
Choose the approach that matches the water problem, not the label on the bucket. Membrane barriers suit walls that dry outward. Coatings help when the surface itself needs added resistance. Drainage and flashing corrections matter when the wall lacks an exit path.
Here is the practical decision. If rain reaches the wall assembly at seams and openings, and the sheathing stays dry, add or repair the water – resistive barrier and flashing details. If the barrier is sound but runoff collects behind cladding, correct the drainage cavity and wall base flashing. If the siding surface itself is porous or deteriorating, consider a compatible coating or cladding replacement.
Climate changes the order of these priorities. In a wet area, drainage capacity and drying time usually deserve attention first. On a sun – exposed wall, UV exposure can degrade sealants and coatings faster, so material compatibility and maintenance access matter more.
When the budget is tight, replacing all cladding is rarely the only route. Targeted flashing repairs and corrections to drainage details can address many failures, though you cannot confirm the full cause until the wall is opened.
| Water problem | Primary approach | Best condition | Key limitation |
|---|---|---|---|
| Water enters at joints | Barrier and flashing repairs | Rain reaches seams and openings | Does not fix a wet cavity |
| Water collects behind cladding | Drainage cavity and base flashing | Barrier is intact but sheathing stays damp | May require opening the wall |
| Surface absorbs or erodes | Compatible coating or replacement | Cladding material has aged | Cannot seal failed joints |
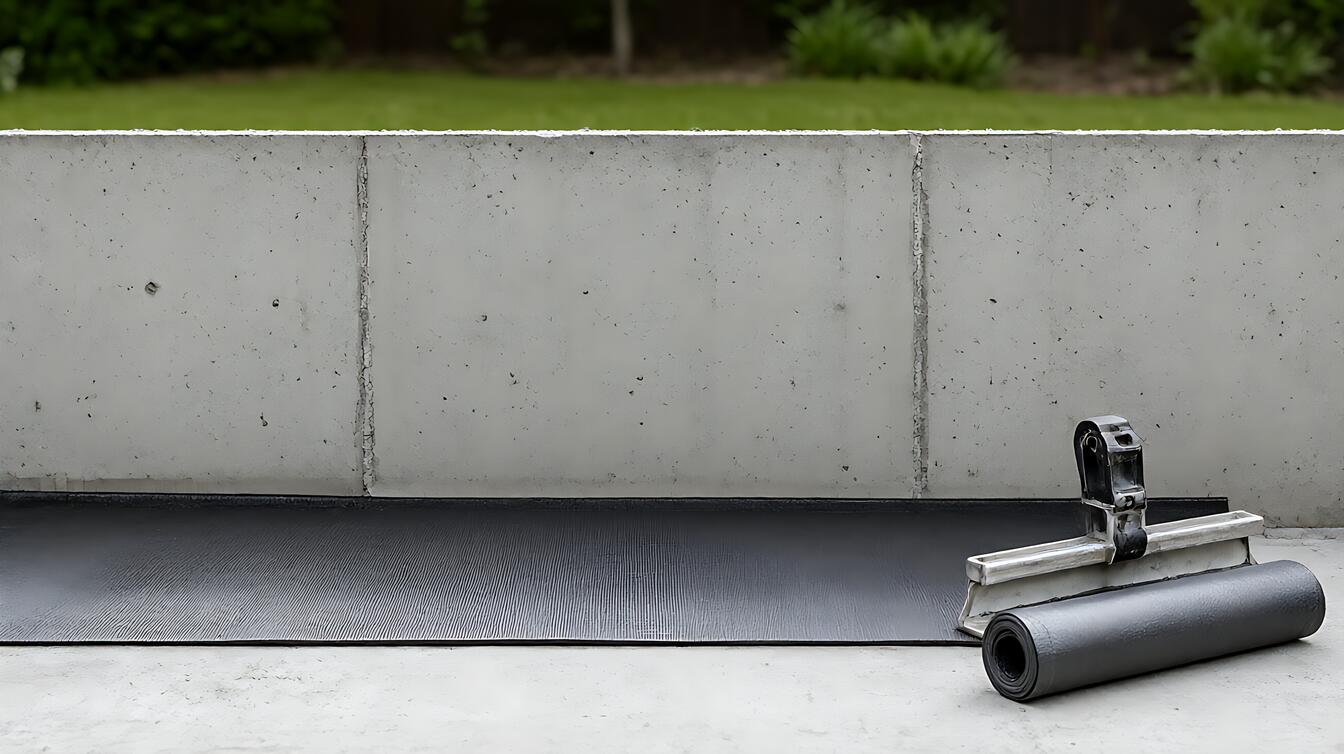
What Happens on a Real Job Site
The recognizable symptom is a damp patch on the interior wall that appears after wind – driven rain but fades on a sunny day. That pattern usually points to water entering at a joint, window edge, or wall transition rather than a roof leak.
Picture a wood – frame wall with fiber cement siding. The sheathing looks sound from indoors. During rain, window head flashing directs water down, but the wall base flashing is missing, so water that enters the cavity has no clean exit near the bottom.
The repair sequence follows the wall from top to bottom. Start where water enters, because correcting lower drainage while leaving an open joint simply moves the problem.
- Inspect window, door, and material – transition joints for open seams or failed sealant.
- Remove cladding sections that hide suspect flashing and barrier details.
- Repair head flashing and barrier continuity using compatible materials.
- Restore the drainage cavity and add a base exit that discharges water outward.
- Reinstall or replace cladding without sealing the wall cavity airtight.
Check the result after sustained rain, not a quick shower. Wind – driven rain can reach areas that a garden hose misses. Also inspect the interior wall during drying, because trapped moisture can persist longer than the storm that created it.
Several repair choices belong to adjacent tasks. For exterior wall drainage systems, focus on how water leaves the wall base. For recurring foundation – level moisture, exterior foundation drainage addresses soil and groundwater conditions below the wall.
Limits, Trade – Offs, and When to Call a Professional
Waterproofing for siding and exterior walls has clear limits. It manages rain and minor incidental water, but it does not repair failed structural framing, active roof leaks, or rising damp driven by ground conditions. Sheathing deterioration signals that the assembly itself may need more than a surface solution.
The central trade – off is appearance against performance. Face – sealed cladding can look neat because joints are tight, but it can trap water inside the wall. Ventilated cladding assemblies use more framing depth and care, yet they give moisture a drying path.
Choose a ventilated approach when the wall cavity needs reliable drying. Choose additional surface sealing when the cladding system already drains correctly and only the exposed surface needs protection. If both conditions apply, address drainage first, because coatings cannot compensate for a blocked exit.
Call a professional when you cannot identify the entry point, when fasteners or framing show damage, or when the work sits above finished surfaces. Waterproofing details also carry liability around electrical equipment and occupied interiors, so consult a qualified contractor before disturbing those areas.
Surface preparation can determine whether a coating adheres properly, which is covered in exterior paint preparation and priming. Keep that separate from the structural drainage problem, because clean paint on a leaking wall still leaks.
Decision Guidance for Your Exterior Wall System
Choose flashing and barrier repairs if water enters at joints and the sheathing otherwise stays dry. Choose drainage corrections if the barrier is intact but moisture collects behind the cladding. Choose a compatible coating or cladding replacement if the exposed material has aged or fails to shed water.
Match the decision to the site condition. In a wet area, prioritize drainage and drying time. On a sun – exposed wall, prioritize material durability and sealant compatibility. With a tight budget, begin with targeted inspection and flashing details before accepting a full cladding replacement.
Whichever path you choose, the verification step stays the same. Confirm that water enters no further, that trapped moisture can exit, and that the interior wall dries after sustained rain. If it does not, the diagnosis was incomplete.