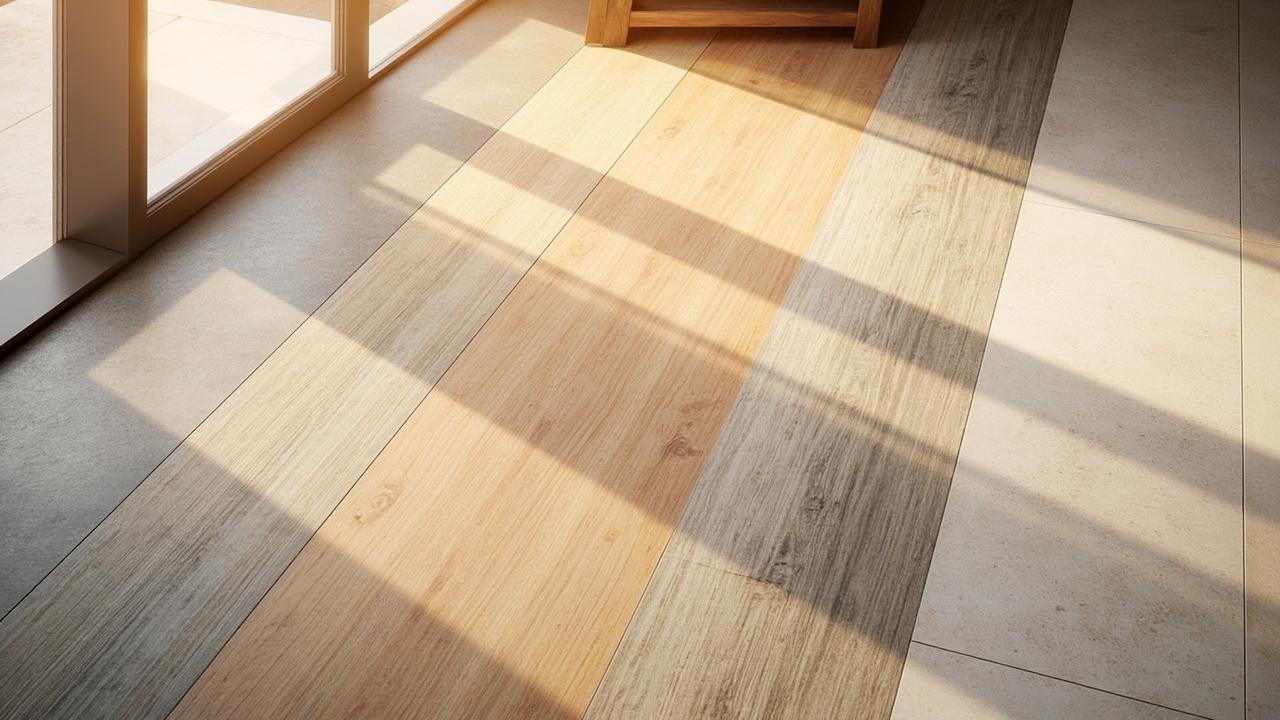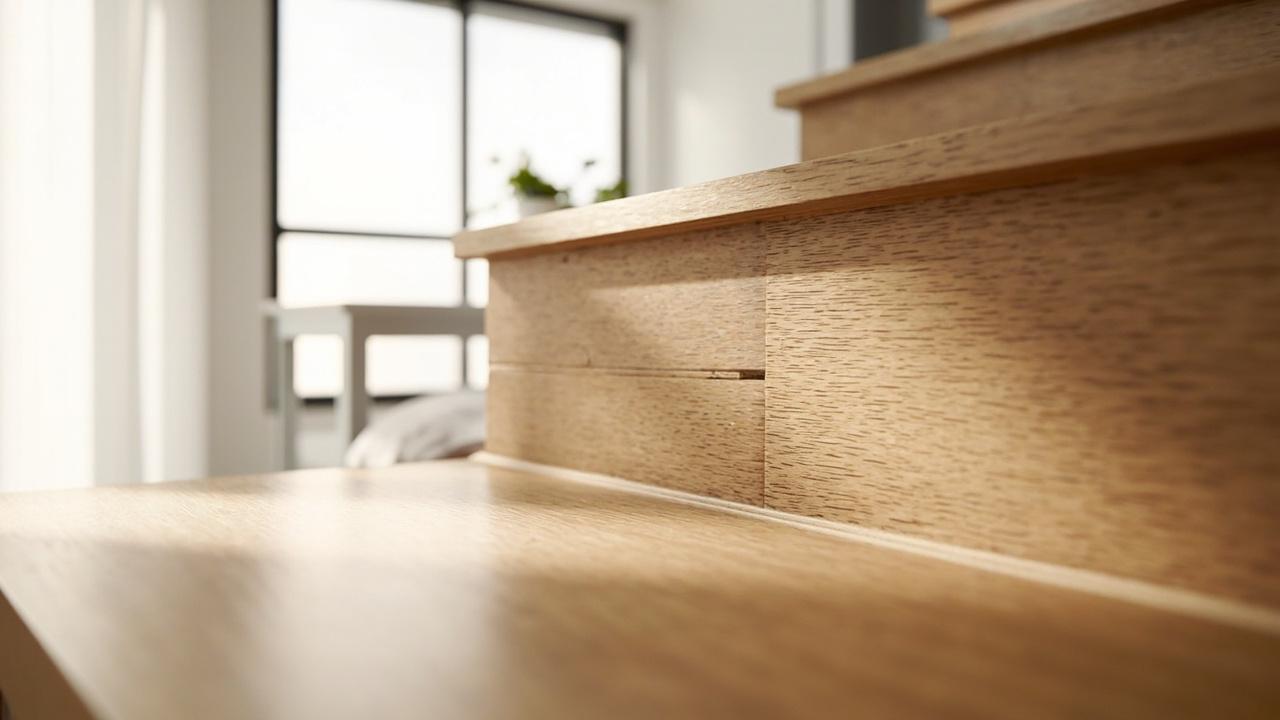

You have just laid a beautiful laminate floor and now face the awkward junction where it meets a stair, a doorway, or a different flooring height. The wrong transition profile leaves a gap, a trip hazard, or a visible seam that undermines the whole installation. This guide walks through the five transition profiles that solve every common junction, when each applies, and how to install them so the joint stays flush and secure through seasonal expansion.

What Each Transition Profile Does and When to Use It
Laminate flooring moves. The planks expand and contract with humidity, which is why every installation needs a 10-12mm expansion gap at walls and fixed objects. Transition profiles bridge that gap while protecting the exposed edge.
T-molding joins two floors of equal height, typically in doorways between rooms. A reducer strip drops down to a lower surface, such as vinyl or concrete at a patio door. Stair nosing caps the leading edge of a stair tread, rounding the nose and adding a slip-resistant lip. A threshold covers the gap at exterior doors where the floor meets the door sill.
For staircases, the choice between an overlap nosing (covers the gap between tread and riser) and a flush nosing (butts against the riser) depends on whether the stair is open-sided or closed. Selecting the wrong profile is the most common cause of premature joint failure.
How to Measure and Prepare the Subfloor Joint
Before cutting any profile, check the height difference between the two surfaces. Place a straightedge across the joint and measure the gap at the deepest point. If the difference exceeds 3mm, a reducer or beveled threshold is required rather than a flat T-molding.
Clean the expansion gap of debris and underlay foam that may have squeezed out. For stair nosing, verify that the tread depth is at least 250mm to accommodate the nosing profile without overhang. Mark the centerline of the joint on the subfloor, because the profile track must align with the midpoint of the expansion gap, not the edge of the laminate.
If the subfloor is concrete, install a moisture barrier under the track to prevent wicking into the laminate core. If you are installing over concrete for the first time, the laminate on concrete guide covers subfloor prep in detail.
Step-by-Step Installation: Track, Profile, and Stair Nosing
Cut the metal or PVC track to length with a hacksaw, deburring the cut end so it does not scratch the laminate. Position the track over the expansion gap and fasten it to the subfloor using the provided screws or adhesive, depending on the subfloor material.
For floating floors, never screw through the laminate itself, only into the track channel. Snap the T-molding or reducer profile into the track with a rubber mallet, starting at one end and working across to avoid twisting.
For stair nosing, apply construction adhesive to the tread nose, press the nosing profile into place, and secure with finishing nails every 150mm. On open staircases, the overlap nosing should extend 20-25mm over the riser below to create a shadow line that hides any minor misalignment. Allow the adhesive to cure for 24 hours before subjecting the joint to foot traffic.
Common Mistakes That Cause Gaps, Buckling, and Trip Hazards
| Mistake | Why It Fails | Fix |
|---|---|---|
| Omitting the expansion gap | Seasonal swelling pushes planks upward at the joint | Pull back laminate, re-cut to leave 10-12mm, reinstall profile |
| Screwing through the laminate | Restricts movement, causes buckling elsewhere | Remove screws, fasten only the track, re-snap profile |
| Wrong profile for height difference | Flat T-molding on a 5mm step creates a trip hazard | Switch to reducer or beveled threshold |
| Stair nosing without adhesive | Nails alone loosen under foot traffic, squeak develops | Add construction adhesive, re-nail every 150mm |
| Track off-center | Profile does not cover the gap fully, edge chips | Realign track to joint centerline before fastening |
When to Call a Pro and What to Expect Next
Most transition installations are straightforward for a confident DIYer with basic tools. However, if the subfloor is uneven by more than 3mm over a 1m span, or if the stair structure itself is damaged, a flooring professional should assess and level the substrate before any profile goes down. An uneven subfloor will telegraph through the transition and cause the profile to rock or separate within months.
Once the transitions are in place, the next step is to install baseboards or quarter-round molding to cover the expansion gap at the walls, completing the perimeter. For the stairwell, consider adding a stair runner or baluster finishing to tie the new nosing into the overall staircase aesthetic.
Choose overlap nosing if your staircase is open-sided and you want a shadow line detail. Choose flush nosing if the stairs are closed between walls and you need a clean butt joint. Choose T-molding only when both floors are within 2mm of each other; otherwise use a reducer strip to eliminate the trip hazard.
If you are still selecting flooring material, the laminate buying guide covers durability zones and the underlay and moisture barrier page explains moisture protection options.