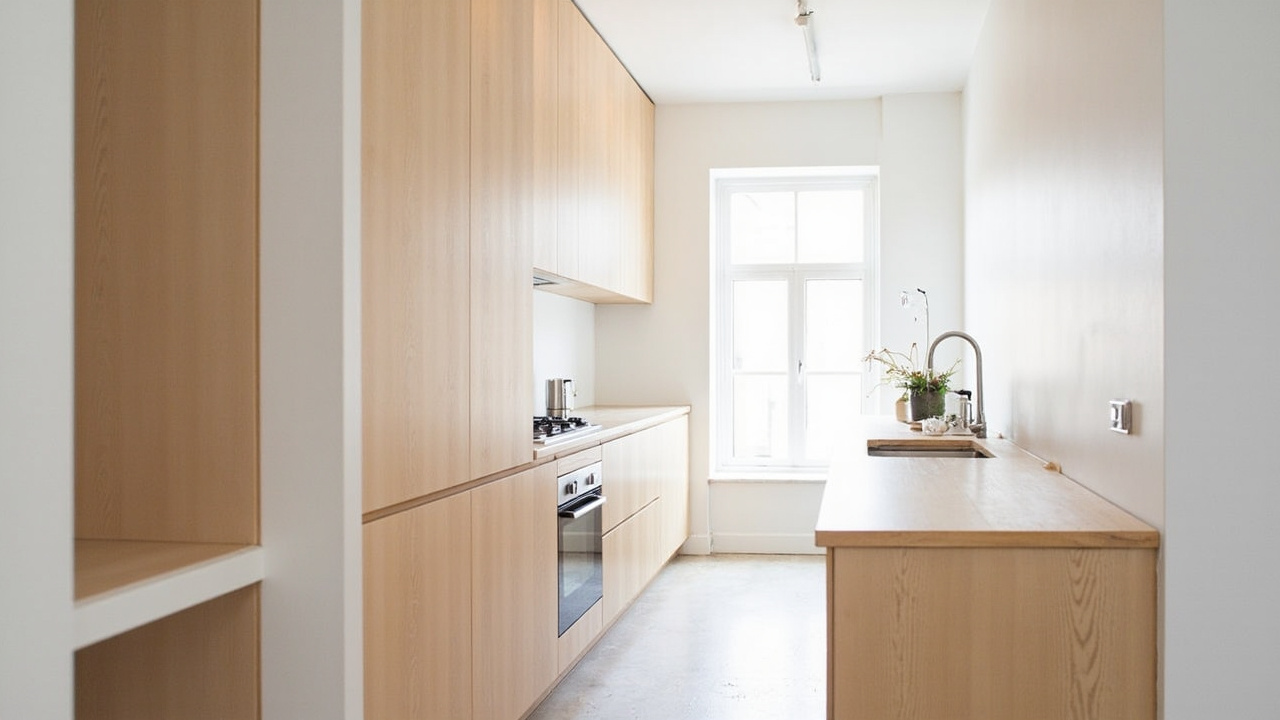
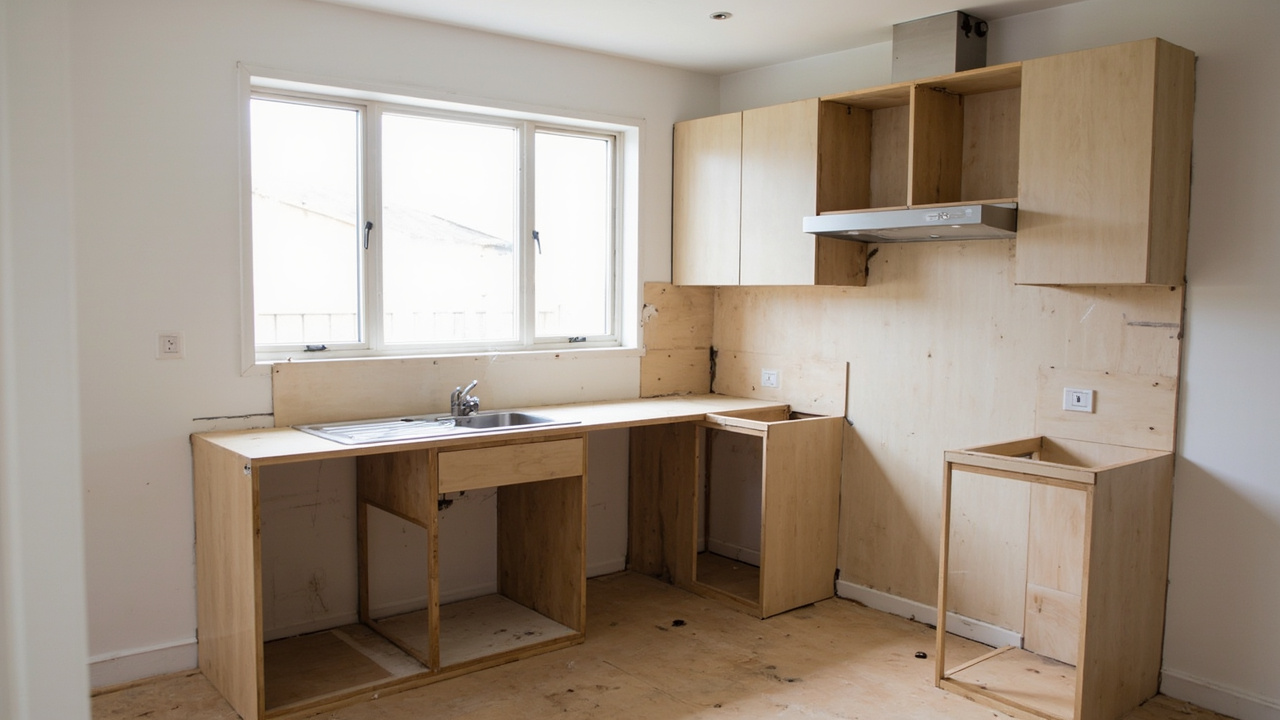
An L-shape, a U-shape, a galley, and an island look like four options for the same problem. They aren’t — each geometry carries a hard minimum room size, and the one chosen on a floor plan decides the longest cabinet run, the position of every service rough-in, and the way the household moves for the next fifteen years.
Pick the layout for what the room allows, not for what a magazine photo showed. The wrong geometry forces every later decision into a workaround, and the homeowner is the one who lives with the workaround.
This page compares the four main layouts side by side with their minimum room sizes, where each one shines, where each one fails, and the hybrids (peninsula, G-shape) that solve the awkward middle. Use it with a measured floor plan in hand.
Why Layout Comes Before Cabinets, Benchtops, and Appliances
The layout is the skeleton everything else hangs on. Before a single cabinet is quoted, the geometry decides where the work triangle — the path between sink, cooktop, and refrigerator — can physically sit. A good layout keeps that triangle compact and unobstructed. A bad one stretches it across a traffic path or traps the cook in a corner.
Three work zones drive the decision: the cook zone (cooktop, oven, landing), the prep zone (bench, sink, knife storage), and the clean zone (dishwasher, bin, drying). Each needs a clear clearance zone around it — typically 90 cm of unobstructed floor — so workflow doesn’t collapse when a second person enters. The traffic path is the route through the kitchen that isn’t part of cooking. When the two overlap, every meal prep becomes a negotiation.
In the field, the layout chosen on day one determines the longest cabinet run, the position of every service rough-in, and the placement of every window and door — every later choice is a reaction to the layout. A decision matrix that weighs room size, household size, cooking frequency, and open-plan requirements will point to one or two viable geometries before any aesthetic discussion starts.
The L-Shape: Versatile but with a Dead Corner
The L-shape runs cabinetry along two perpendicular walls, leaving the other two open. It works in rooms as small as 2.4 m x 2.4 m and scales up to 4 m x 5 m. The open side naturally connects to a dining area or living room, which is why it dominates open floor plan renovations across Australian suburbs.
The strength is the work triangle. With the sink on one leg and the cooktop on the other, the triangle stays tight. The weakness is the L-shape corner where the two runs meet. Standard corner cabinets leave a dead corner — a blind cabinet where the back 200 mm is unreachable without kneeling.
An experienced installer usually suggests a corner carousel or a Le Mans pull-out for any blind L corner deeper than 600 mm. The pull-out adds cost but recovers storage that would otherwise be wasted. The alternative is open shelving, which sacrifices storage for accessibility.
The L-shape fits best in households that cook alone or in pairs and have a room at least 2.4 m in both dimensions. It fails when the room is too narrow for two full runs with adequate clearance between them.
The U-Shape: Most Storage per Square Metre, but Tight
The U-shape wraps cabinetry around three walls — the highest bench-to-floor ratio of any standard layout. In a 2.4 x 3.0 m room, a U-shape delivers 6–7 linear metres of benchtop, roughly 30% more than an L-shape in the same footprint.
The minimum width is 2.4 m. Below that, the corridor drops below 120 cm. The workflow triangle is efficient on paper — cook zone, prep zone, and clean zone each claim one wall — but the enclosed feel can make the kitchen feel like a corridor if the room lacks natural light.
The U-shape is the geometry that punishes poor planning most — knock out a wall for an open-plan extension and you have to relocate three runs of cabinetry, not one. The cost of that relocation can add AUD 2,000–5,000 depending on distance and substrate.
The U-shape fits best in enclosed kitchens where storage is the priority and the room is at least 2.4 m wide. It fails in narrow rooms, in homes that want an open-plan flow, or where the budget cannot absorb a full three-wall service relocation.
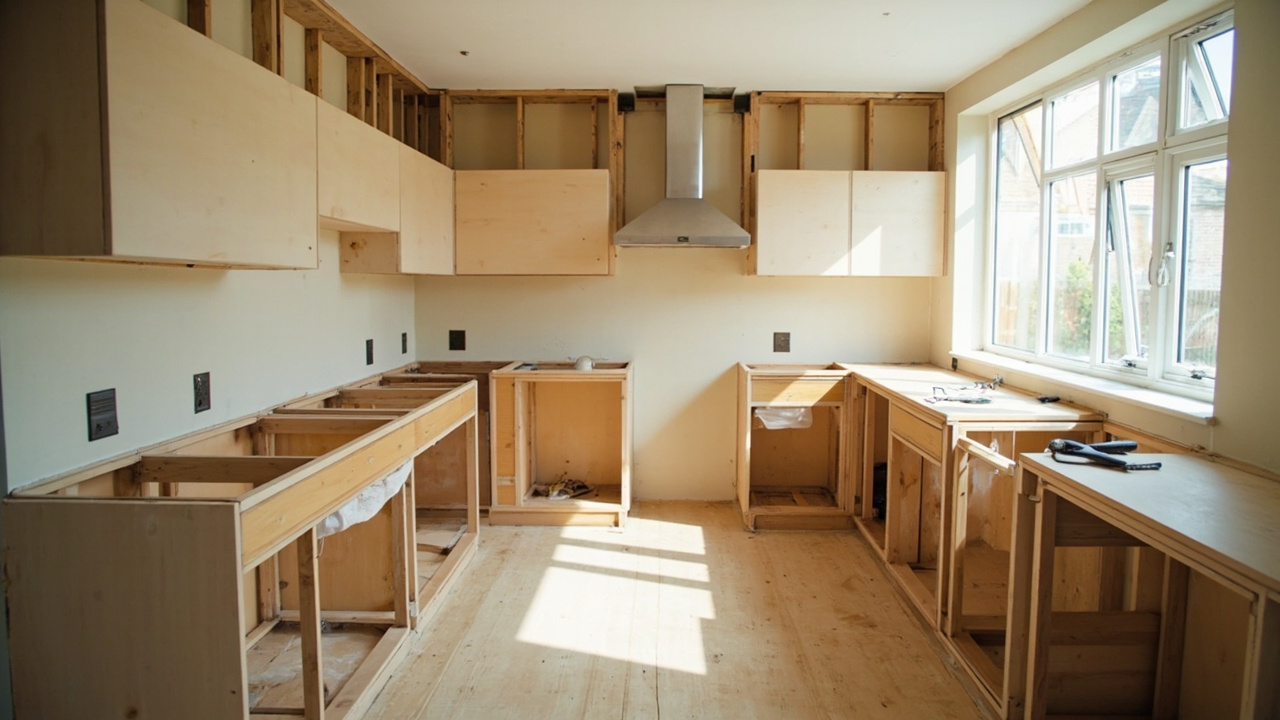
The Galley (Corridor Kitchen): Efficient but Unforgiving
A galley kitchen runs parallel runs of cabinetry along two facing walls, with a corridor between them. It is the most space-efficient layout per linear metre of bench, and the least forgiving of poor measurement. The corridor width is the entire design constraint.
The standard minimum for a two-cook galley is 120 cm corridor minimum. For a one-cook galley, 90 cm is acceptable — one person can work while another passes behind, but two people cannot work simultaneously. A pass-through galley opens one end to a dining area, which improves traffic flow but reduces the available wall space for cabinetry on that side.
The galley’s strength is its workflow — sink and cooktop on opposite walls, the cook pivots rather than walks. The weakness is the corridor itself: any appliance door that opens into it (oven, dishwasher, refrigerator) reduces effective width by 40–60 cm. In a 120 cm corridor, a 50 cm dishwasher door leaves only 70 cm of passable space.
For sub-10 m² rooms where an L-shape or U-shape won’t fit, the galley is often the only viable geometry. It pairs well with small kitchen renovation ideas that prioritise vertical storage and slimline appliances. The galley fails when the household regularly cooks with two or more people, or when corridor width drops below 120 cm and cannot be widened without structural work.
The Island Bench: A Fourth Surface That Demands Space
An island bench adds a freestanding run of cabinetry in the centre of the kitchen, creating a fourth work surface. It is the layout feature most requested in renovation briefs, and the one most often forced into rooms too small to hold it.
The hard minimum is 3.6 m room width — that allows a 600 mm island with 90 cm clearance on both sides, the minimum for two people to pass. Drop below 3.6 m and clearance on one side falls below 90 cm. A prep sink on the island adds plumbing complexity; a cooktop island needs a downdraft or overhead rangehood and often a structural penetration for ducting.
In the field, what usually fails first with an island isn’t the cabinetry — it’s the clearance zone. An island at 80 cm clearance looks fine on paper and breaks the workflow the first time two people try to use the kitchen together. The fix is almost always to shrink the island or remove it entirely, which means reworking the floor plan after the initial design has already been quoted.
A waterfall edge (benchtop wrapping to the floor) adds visual weight, cost, and cabinetry protection. A storage island with open shelving can work in rooms as narrow as 3.3 m, provided the overhang stays at 30 cm or less.
The island fits best in open-plan kitchens at least 3.6 m wide. It fails in rooms under 3.3 m, where the budget cannot absorb additional flooring and service rough-in costs, or where the island interrupts the work triangle. For how an island affects overall kitchen renovation project scope, the linked guide covers the sequencing.
Peninsula, G-Shape, and Hybrid Layouts
Not every kitchen fits neatly into L, U, galley, or island. The hybrids exist to solve the awkward middle — rooms that are too wide for an L-shape but too narrow for a full island, or households that want the social benefit of an island without the clearance penalty.
A peninsula is a run of cabinetry attached to a wall at one end, projecting into the room without the fourth open side. It delivers the same visual and functional benefit as an island at roughly 30 cm less clearance. A peninsula is what most homeowners actually build when they think they want an island in a 2.7 m wide room.
The G-shape is a U-shape with a peninsula attached, maximising storage in 2.7–3.3 m rooms but feeling enclosed if the peninsula is too deep. The L-shape with island needs at least 3.3 m of width.
A breakfast bar — a 300–400 mm overhang on any run of cabinetry — adds seating without a full island. In an open-plan kitchen, it becomes the boundary between cooking and living zones, useful in apartments and smaller homes. The trade-off: the overhang reduces knee space for anyone sitting, so it works better for quick meals than for long conversations.
The hybrids fit best in rooms that fall between standard minimums. They fail when added as an afterthought rather than integrated into the initial floor plan.
Choosing Layout by Room Size and Household Pattern
The mistake most homeowners make is picking the layout first and the room second. Flip the order: measure the room, decide the workflow zone, then the layout writes itself. Three measurements determine which geometries are viable: room width, room length, and the position of every door, window, and existing service point.
The table below maps the four main layouts and their hybrids to room-size thresholds and household patterns. Use it as a starting point, not a final answer — the position of a structural wall or a plumbing stack can override any general recommendation.
| Layout | Minimum Room Width | Best For | Avoid If |
|---|---|---|---|
| L-shape | 2.4 m | One-cook, open-plan, moderate storage | You need maximum storage in a small footprint |
| U-shape | 2.4 m (3.0 m length) | Multi-cook, enclosed, high storage | Room is under 2.4 m wide or you want open-plan flow |
| Galley | 1.2 m corridor (two-cook) | Small footprint, one-cook, rental | Two cooks share the kitchen regularly |
| Island | 3.6 m | Large open-plan, entertaining, social cook | Room is under 3.3 m wide |
| Peninsula | 2.7 m | Medium room, breakfast bar, room divider | You need full island clearance on all sides |
| G-shape | 2.7 m | Medium room, high storage, partial enclosure | Room feels too closed with the peninsula added |
Beyond room size, three household factors shift the decision. One-cook vs multi-cook households can run on different geometries. Cooking frequency matters: cooking twice a day needs a tighter work triangle than reheating-and-assembling. Seating for a breakfast bar or homework spot pushes toward island, peninsula, or L with overhang. Open-plan vs enclosed is lifestyle as much as spatial: an open-plan cook zone is always on display, and rangehood noise carries into the living space.
For a realistic picture of how layout decisions feed into cost, the kitchen renovation cost reality breakdown covers the cost ranges by layout type. For layout decisions that most often lead to regret, the common layout mistakes article covers the failure patterns in detail.
When to Revisit the Layout Decision
The layout decision is not final until the floor plan is confirmed against the existing structure — a floor plan revision may be needed for a wall 100 mm thicker than expected, a beam dropping below the ceiling line, or a service point that cannot be moved without structural work.
A structural wall check is the most common trigger for revisiting the layout — removing a load-bearing wall needs an engineer’s sign-off, often a steel beam, which reduces ceiling height. The service relocation cost is the second trigger: if the plumbing stack sits on the opposite wall from where the sink needs to go, the layout decision just got re-priced by a plumber’s day rate plus breaking concrete.
Two other checks can force a revision. Window and door swing paths that intersect with appliance doors create daily friction — a refrigerator that can’t open fully because it hits a swing door is a layout failure no hardware can fix. Traffic path conflict — where the route from back door to living area passes through the work triangle — is the most common complaint in open-plan renovations.
For any layout involving structural work, service relocation, or a change to the building envelope, engage a licensed builder before the design is finalised. The layout is the first decision that should be locked once the floor plan is measured, and the last one that should be changed without understanding what it re-prices.