Struggling to step over a tub edge or wondering where a grab bar will actually hold? You need a bathroom that supports balance today and wheelchair access later without looking clinical. Accessible bathroom design is a layout and fixture approach that pairs supported transfers with step free entry so every user moves safely. Plan blocking, slope, and clearances first and finishes second.
What Accessible Bathroom Design Covers and Why It Decides Safety
Accessible bathroom design sets clear floor space 30 by 48 in plus door clearance 32 in minimum so a wheelchair can enter, turn, and reach each fixture without trapping a helper outside the swing path.
The dominant answer is simple. Add plywood blocking at every future bar location, keep the shower entry flush, and raise the toilet to comfort height before you pick tile color. Structure first decides safety while finishes only affect grip and cleaning time.
That order matters because remodels fail at framing, not at fixtures. A bar screwed only to tile pulls out under a 250 lb load, while the same bar on plywood blocking 3/4 in thick holds steady during a real slip event.
How Grab Bars, Slope, and Clearances Work Together
Grab bar placement uses mounting height 33 to 36 in above the floor so an adult can push down during sit to stand without shoulder strain in wet or dry zones.
Inside the shower, an L shaped pair works best. A horizontal bar at 33 to 36 in steadies entry while a vertical bar near the opening helps stepping across the flush threshold. Near the toilet, a horizontal side bar 42 in long plus a rear bar 36 in long support lateral and rear transfer loads.
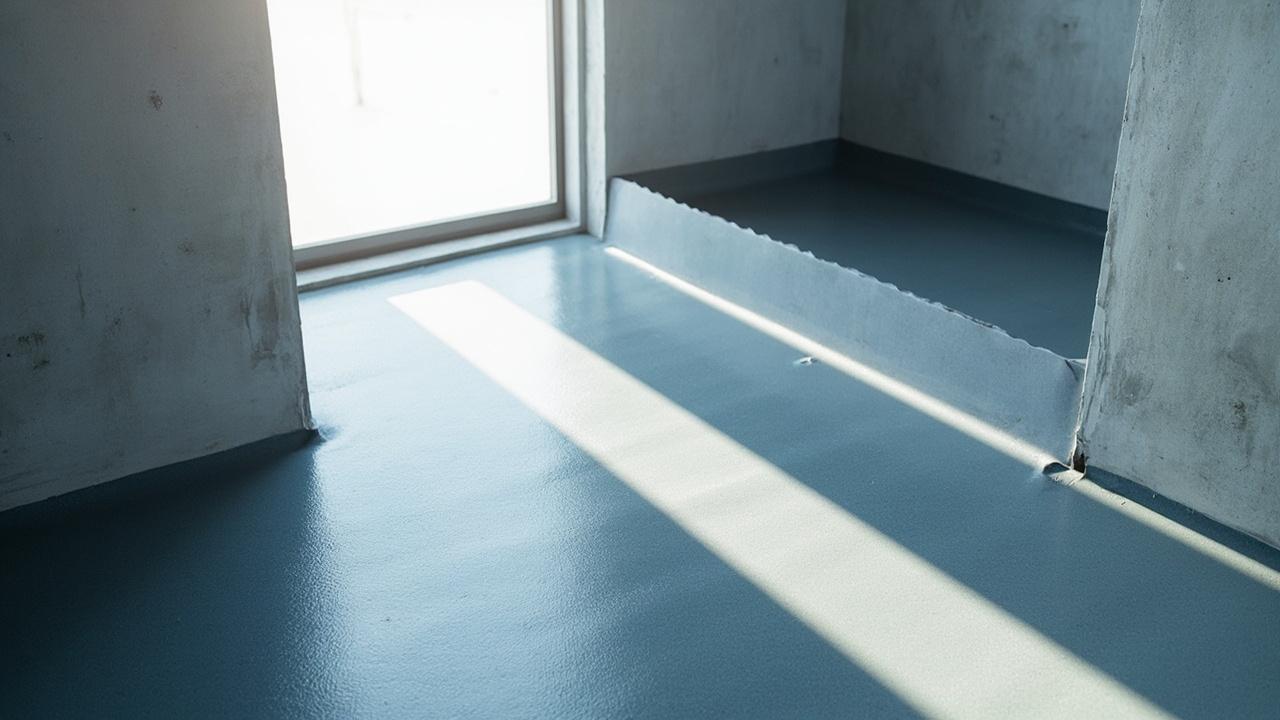
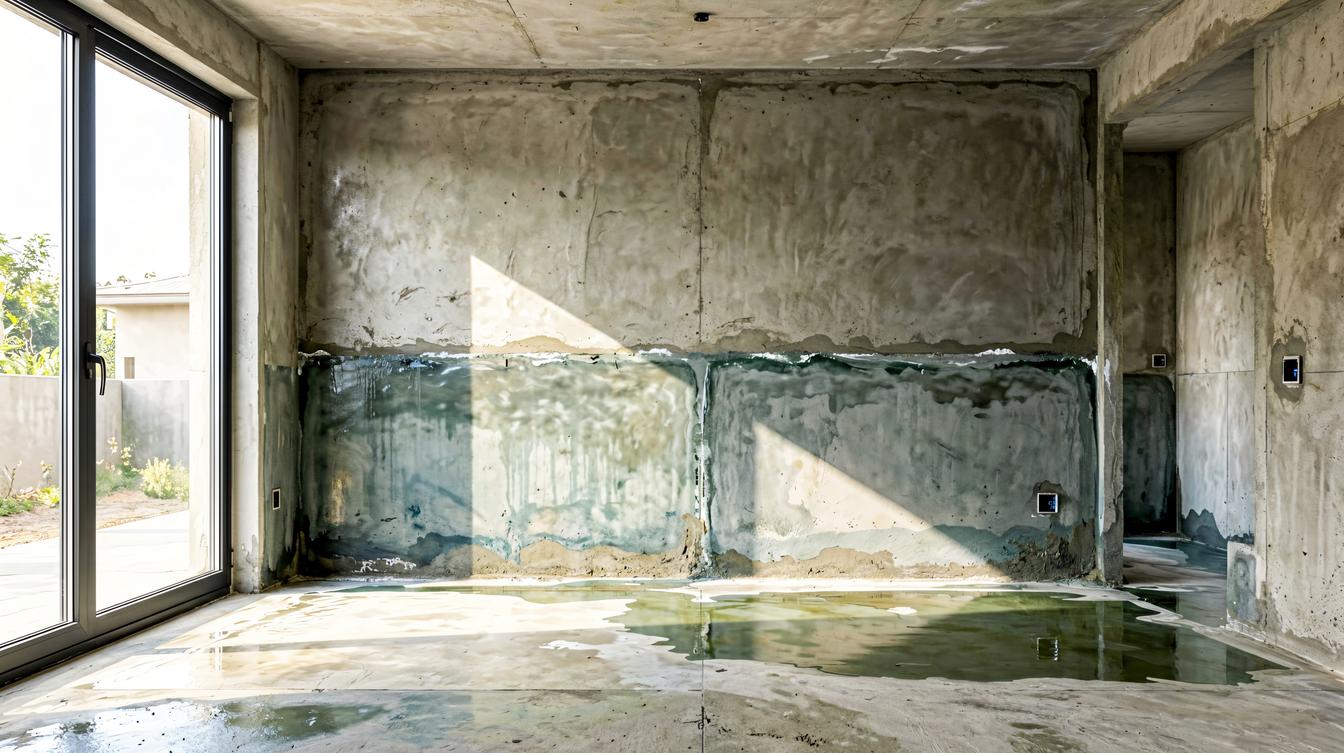
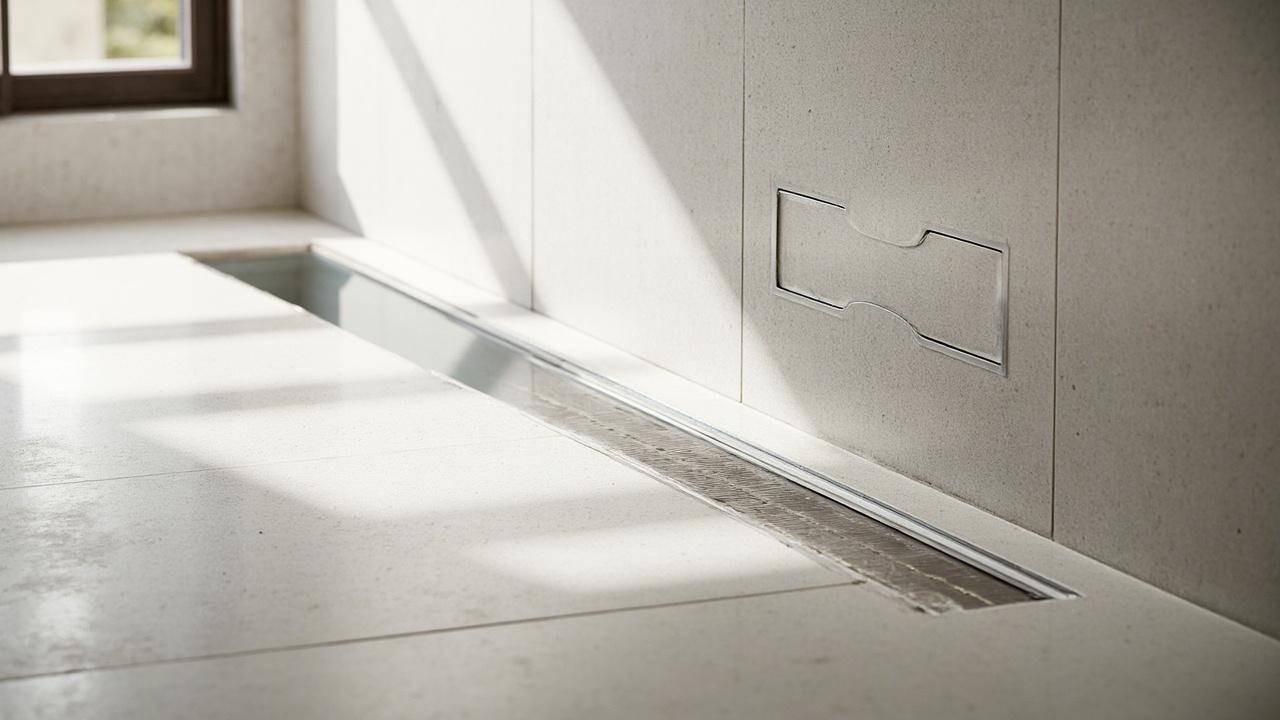
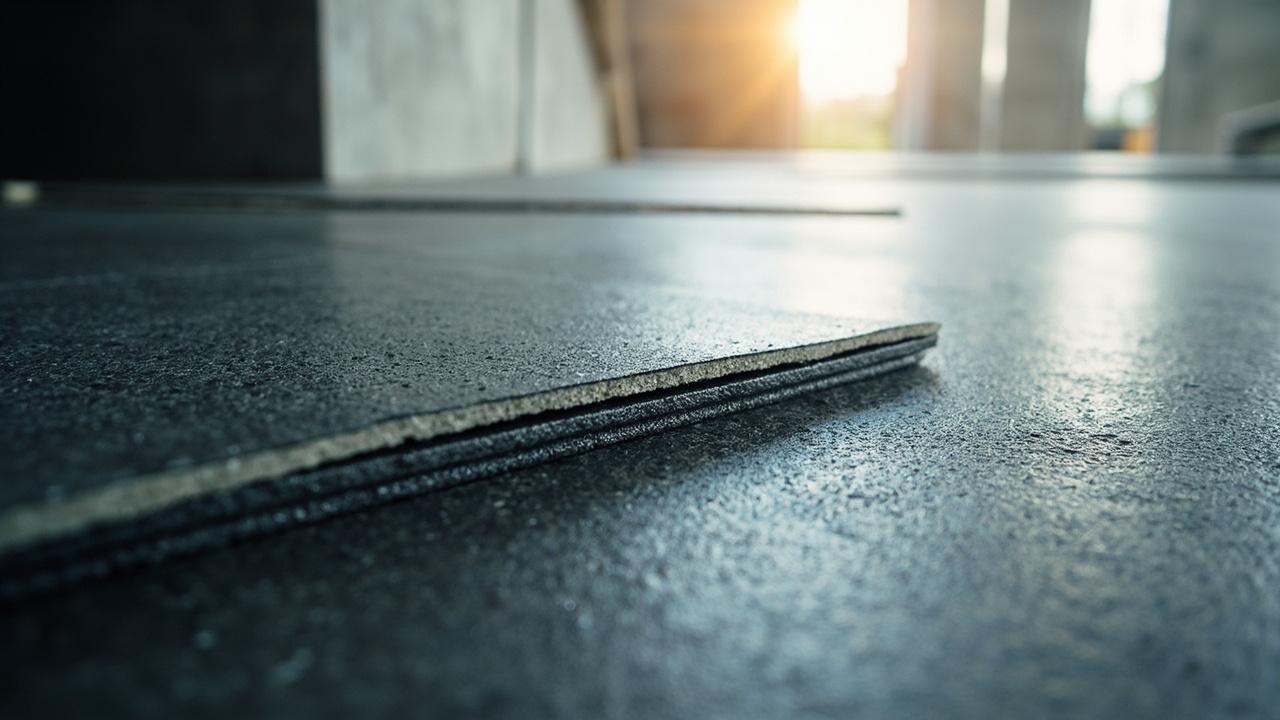
Curbless shower slope needs shower slope 1 to 2 percent toward the drain so water flows within a minute yet feet still feel stable. The wet zone extends at least 36 in beyond the spray line, with a waterproof membrane 0.8 to 1.2mm lapped up walls to contain spray.
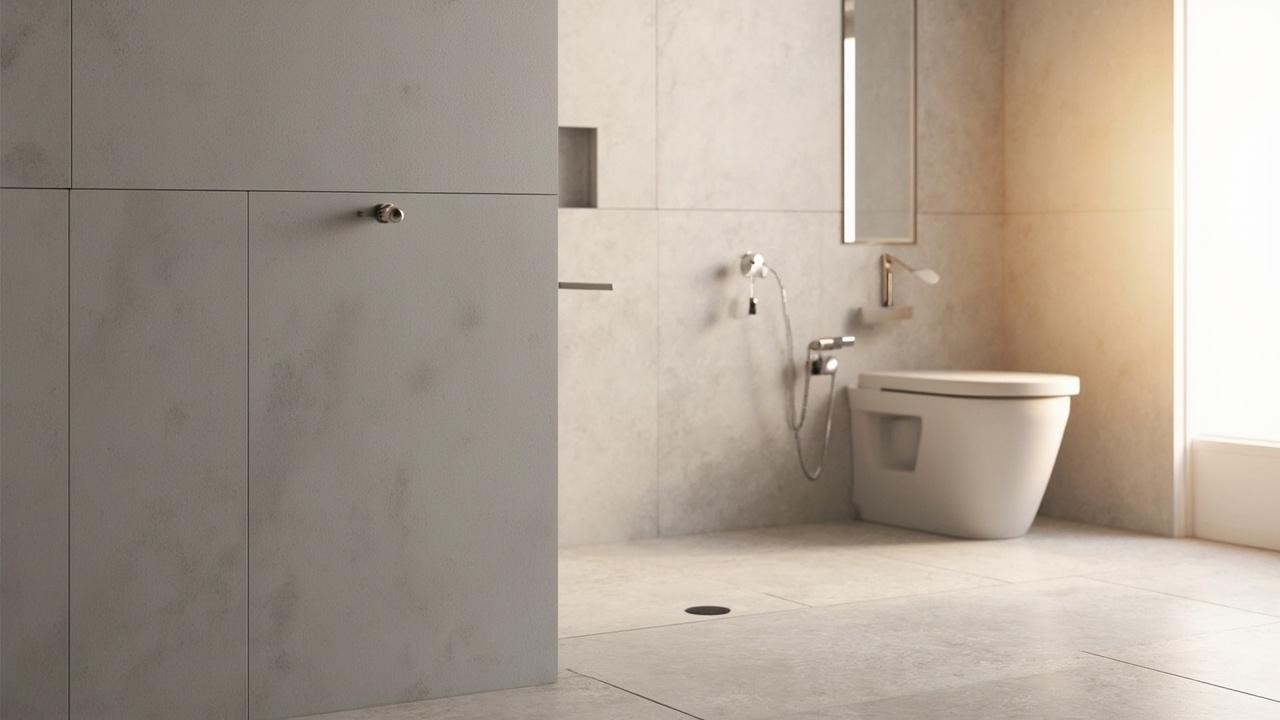
Clearances tie the parts together. Keep 60 in of turning room or a compact T turn, plus 18 in of side space at the toilet for a caregiver. Without that open floor, even perfect bars and slope leave the chair stuck at the door.
Choosing Fixtures and Finishes and What They Cost
Comfort height toilet 17 to 19 in to the seat top reduces knee strain because the higher seat shortens the stand up arc for older adults and taller users.
Slip resistant tile DCOF 0.42 or higher keeps wet footing steady since texture holds the sole while polish lets water film slide underfoot. Choose small mosaics or matte porcelain in the shower, and compare tile body options in this ceramic versus porcelain tile guide for bathrooms before you buy.
| Criteria | Access Ready Package | Standard Remodel | Budget Refresh |
|---|---|---|---|
| Grab bars and blocking | 3 bars on plywood blocking, 1.5 in diameter | 1 bar on studs only | Suction bars, no blocking |
| Shower entry and drain | Flush entry, linear drain, single plane slope | Low curb, point drain, four way slope | Tub kept, handheld head added |
| Toilet and floor | 17 to 19 in seat, DCOF 0.42 plus tile | 15 in seat, matte tile | Old toilet, polished tile |
| Typical cost range | $9,000 to $18,000 full bath | $5,000 to $9,000 full bath | $800 to $2,500 refresh |
| Best for | Wheelchair use and aging in place | General family comfort | Rental or short term fix |
The field pattern is consistent. Households that fund blocking, flush slope, and seat height first rarely retrofit twice, while cosmetic refreshes often return within three years for the same transfer problem. Choose the access ready package if a walker or chair is likely within five years, and pair shower planning with this shower system comparison of tiled tray prefab and wet room to match drain work.
Installation Sequence and Errors That Weaken the System
Grab bar blocking requires blocking height 33 to 38 in behind the wall so future bars land on solid wood anywhere along the toilet and shower run.
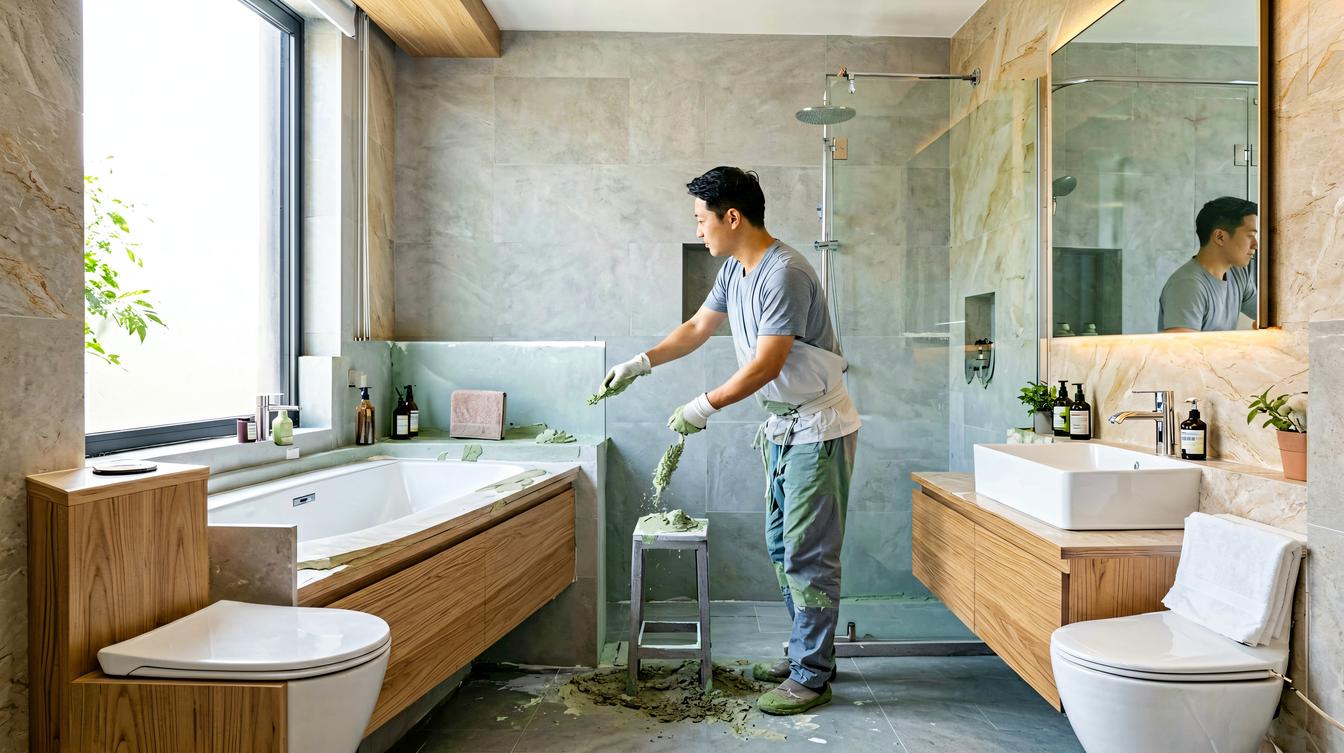
Set the sequence in order. Frame and add blocking, slope the shower bed 1 to 2 percent to the drain, apply membrane two coats with membrane overlap 100mm at seams, flood test 24 hours, then tile and mount bars with stainless screws. Keep the drain weep path open during mortar work.
Common mistakes undo good plans. Mounting bars to tile alone, sloping the full floor instead of one plane, and sealing the floor drain with mortar each cause leaks or falls. For structural cuts, joist notching, or drain relocation, consult a licensed professional before cutting.
Limits, Edge Cases, and Next Steps Before You Build
Accessible clearances reach their limit in small bathroom footprint 5 by 8 ft because a full 60 in turn circle cannot fit without moving a wall or swapping the tub for a shower.
In that case choose a T shaped turn, a pocket door, and a wall hung sink for knee space. In humid rooms with no window, add an exhaust fan on a timer and seal grout lines, following this mold prevention routine for humid bathrooms so the level entry stays dry.
Choose full access if balance is declining or a chair visit is expected. Choose standard comfort if the household is young and the frame stays closed. For slab cuts, load bearing walls, or electrical moves near water, consult a licensed professional and get two fixed bids first.