Small kitchens don’t fail because they’re small — they fail because every decision is made against the room dimensions instead of against the activities.
The right way to think about a kitchen under 10 m² is to list what the cook does at the same time — prep while the pasta boils, wash while the bread toasts — and design around those moments. Room size becomes a constraint to solve, not the constraint itself.
This page walks 9 practical tricks that make a tight kitchen work: layout, vertical storage, slimline appliances, handleless profiles, splashback, lighting, doors, and the moments when the small-kitchen strategy must change entirely.
Why Small Kitchens Fail (and What Actually Works)
The work triangle — between sink, cooktop, and fridge — collapses when the room drops below 10 m². In a standard kitchen it needs 3.6–6.6 m of total perimeter. Squeeze into 8 m² and the legs compress below 1 m each — the cook works in a pivot rather than a stride.
The circulation space is what breaks first. A cook needs at least 90 cm of clearance in front of every open appliance. In a single-wall kitchen, that 90 cm eats 40% of the room’s width before any cabinetry goes in. The dead storage zone grows as the room shrinks.
Vertical real estate is the counterintuitive fix. A 2.4 m ceiling holds 2.2 m of usable cabinet height — 80 cm above the standard 720 mm benchtop can hold weekly-use appliances. The traffic path must stay clear of the work triangle, or every visitor becomes an obstacle.
The predictive: kitchens that function under 10 m² are not the ones with the most storage. They are the ones where the clearance zone stays clear and the vertical real estate is fully used.
Layout in a Sub-10 m² Kitchen (Galley, L, Single-Wall)
The layout decision starts with corridor width. A galley needs 120 cm between runs for two cooks, but 90 cm works for a single cook with staggered appliances. An L-shape (compact) fits a corner and leaves one wall open; the corner cabinet becomes dead storage without a carousel or Lemans pull-out. A single-wall is the last resort — works only when the room is also the hallway.
- Measure the fixed points — sink position (plumbing stack) and cooktop position (gas or electrical supply). If that distance is under 2.4 m, the work triangle is already compressed.
- Mark the clearances. Every appliance door needs 90 cm of clear floor in front of it. If the galley is under 120 cm wide, put the dishwasher and oven on the same run so the other stays clear.
- Check the door swing. A standard 80 cm door swings through 1 m² of floor space. In a 6 m² kitchen, that swing can block the only clear path. Consider a pocket door or barn door if the door opens into the kitchen.
An experienced designer picks the layout by listing activities the cook does at the same time, not activities the room can hold. Two-cook households hit the wall at 8 m² in galley; single-cook can function at 5 m² if every storage decision is vertical.
For a detailed breakdown of each layout type and the minimum room size each requires, see the kitchen layouts compared.
Vertical Storage: The Single Biggest Win
Full-height cabinetry (ceiling line) is the single most effective storage move. A standard wall cabinet stops at 720 mm above the benchtop, leaving 1 m of dead space below the ceiling. Extend to the ceiling line and you gain 30% more storage volume without adding floor footprint.
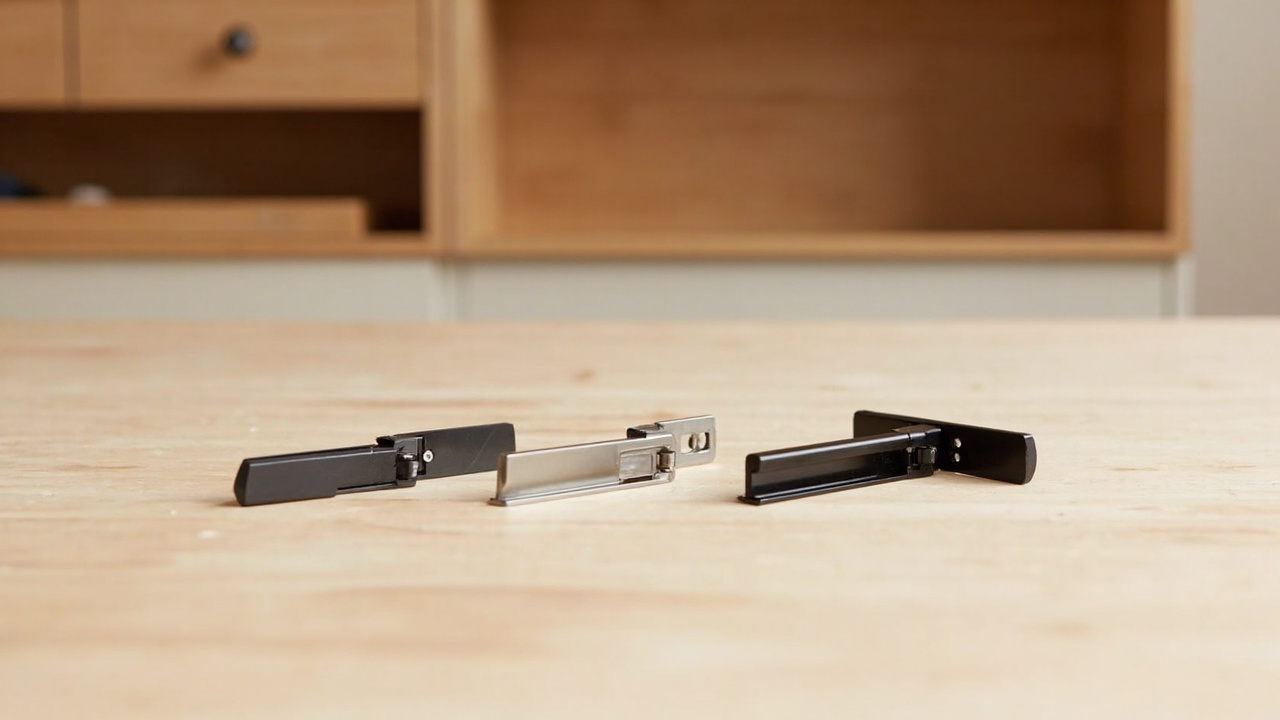
The hardware matters more than the carcass. A lift-up hinge (Blum Aventos) opens a wall cabinet above the cooktop with one push; the door stays up instead of swinging into the cook’s head. A pull-down pantry brings the top shelf down to bench height. A slimline pull-out (150–200 mm wide) fits between sink and cooktop.
Toe-kick drawers in the 100 mm gap below base cabinets hold flat items. A corner carousel or Lemans hinge turns the dead corner into a pull-out. A drawer divider doubles usable volume by keeping utensils in channels.
In the field, the lift-up overhead hinge is the single hardware upgrade that changes a small kitchen — a wall cabinet above a cooktop becomes accessible instead of dangerous.
What to check next: measure the ceiling height. Full-height cabinetry works above 2.4 m; below that, the top shelf needs a step stool, and storage becomes decorative.
Slimline and Integrated Appliances
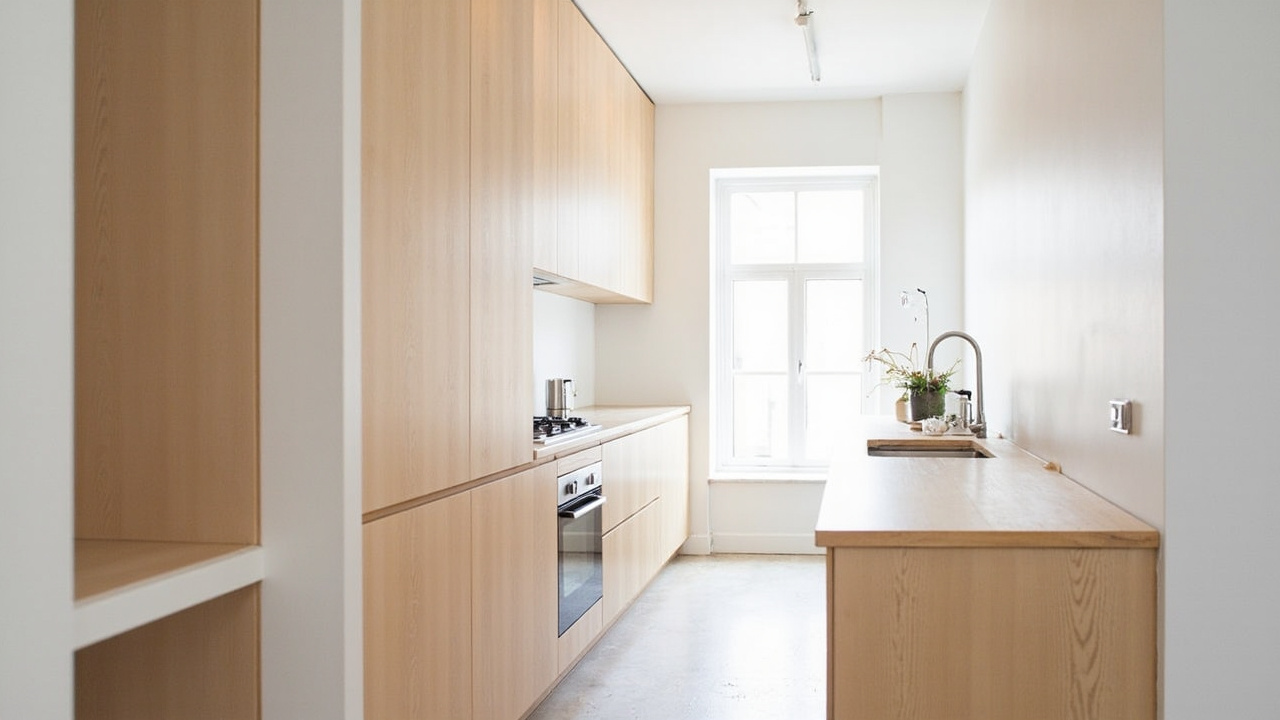
A slimline dishwasher (45 cm) handles the same load as a full-size (60 cm) for a one-to-two person household — the difference is washing in two cycles instead of one, which trades time for floor space. An integrated dishwasher hides behind a cabinet door and makes the kitchen read as cabinetry rather than appliance. A drawer dishwasher — two small drawers that run independently — fits under the bench and washes half-loads without the half-empty feel.
An induction cooktop (2-zone) takes up 60 cm of bench space and heats faster than gas, which matters in a small kitchen where the cook stands closer to the heat source. A combination microwave — microwave, convection, and grill in one unit — frees up the space a separate oven would occupy. An integrated rangehood sits inside the wall cabinet above the cooktop and disappears when not in use.
A compact fridge — 600 mm wide instead of 900 mm — loses about 150 L of capacity but gains 300 mm of bench space. In a single-person household, that trade is usually worth it. An under-bench oven frees up the space above the bench for a splashback or a window, and the cook doesn’t have to reach over a hot door to stir a pot.
The comparison: slimline appliances sacrifice capacity for footprint. In a kitchen under 10 m², the footprint is the scarcer resource. The cook who washes dishes daily in a slimline machine will never miss the extra rack, but the cook who loses 30 cm of bench space to a full-size dishwasher will feel it every time they prep a meal.
Handleless Cabinetry and Push-to-Open Hardware
A handleless profile removes the visual interruption that breaks a cabinet run into separate doors. In a small kitchen, the eye reads the cabinetry as a single vertical plane when the handles disappear, and the room reads as bigger than its measured footprint. A push-to-open hinge opens the door with a gentle press on the cabinet face — no handle, no catch, no visual break.
A recessed channel handle is a 10 mm groove routed into the bottom or top edge of the door. The cook opens the cabinet by hooking fingers into the groove. An integrated J-pull is a shaped edge on the door itself — the top door has a downward-facing lip, the bottom door has an upward-facing lip, and the gap between them becomes the handle. A continuous finger pull is a single groove that runs the full height of the cabinet run and unifies the doors into one visual line.
The hardware choice affects the carcass. Push-to-open hinges need a 2 mm gap between doors to allow the mechanism to work. Recessed channel handles need a minimum 15 mm door thickness. Integrated J-pull doors need a CNC router to shape the edge, which adds to the fabrication cost.
What to check next: order a sample door with the chosen handleless profile and hold it against the cabinetry in the actual kitchen light. The groove that looks crisp in a showroom can read as a shadow line in a dim galley, and that shadow line can break the visual continuity you are trying to create.
Splashback, Lighting, and Visual Depth Tricks
A full-height splashback draws the eye upward and makes the ceiling feel higher. A mirrored splashback doubles perceived depth but shows every fingerprint. A glossy glass splashback reflects light without the cleaning penalty, and a high-LRV paint finish (LRV above 70) does the same with a paint roller.
Under-cabinet lighting is the single most important lighting layer in a small kitchen. A 3000 K LED strip mounted under the wall cabinet illuminates the benchtop without casting shadows. Toe-kick lighting at the base of floor cabinets creates a floating effect. A combination — warm under-cabinet, cool toe-kick — adds visual depth without a single physical centimetre.
The light reflectance value (LRV) of every surface matters. A matte white ceiling (LRV 85) reflects more light than a satin finish (LRV 60). In a windowless kitchen, that difference is the difference between a room that feels bright and one that feels like a corridor.
Experienced installers usually steer homeowners toward a glossy glass splashback or a high-LRV paint finish instead of mirrored, which gives the same visual lift without the cleaning penalty.
What to check next: measure the natural light. South-facing (southern hemisphere) or north-facing (northern hemisphere) windows give consistent light; east or west windows are directional, and the splashback must be glossy to bounce light into the shadowed corners.
Doors, Windows, and Pocket Solutions
A pocket door slides into a wall cavity and disappears. In a small kitchen, the recovered floor space becomes an extra 40 cm of benchtop or a slimline pantry. A barn door slides on a track on the outside wall and is easier to install, but the wall behind it is unusable. A swing-clear hinge recovers about 30 cm versus a standard hinge.
An experienced cabinetmaker measures the door swing arc before quoting — a standard 80 cm door swings into 1 m² of floor, which a pocket door recovers.
A window seat (banquette) stores pots and pans inside the seat. The window sill depth — usually 100–200 mm — can be extended to 300 mm for herbs or a charging station. An open-shelf pantry replaces a wall cabinet with three open shelves, visually lightening the upper wall.
A windowless kitchen needs a different strategy. Natural light is missing, so the lighting plan must compensate with multiple layers — under-cabinet, toe-kick, and a ceiling fixture with high CRI (above 90).
Mark the door swing on the floor with masking tape before the cabinetry is ordered. The cook should walk from sink to cooktop without stepping around a swinging door.
When Small Kitchens Need a Different Strategy
The structural change (load-bearing wall) threshold is where strategy stops being layout and starts being structure. Removing a wall between kitchen and living area can double usable space, but the wall may be structural. Removing it without a licensed builder consultation can compromise the floor above.
A ventilation limitation is the hidden risk. If the kitchen has no window and no external wall, ducted extraction may not be possible, and the layout must shift the cooktop to an outside wall, even if that loses the planned fridge space. A recirculating rangehood works only for light cooking; a household that fries daily needs ducted extraction or an openable window within 2 m of the cooktop.
The licensed builder consultation is not optional when the change involves structure, gas, or main plumbing. A licensed builder can assess load-bearing walls, gas line relocation, and whether the extraction capacity meets the building code. The consultation cost is a fraction of fixing a structural failure.
For a full breakdown of ducted vs recirculating extraction and the building code requirements, see the kitchen ventilation guide. For the broader project scope — timeline, budget, and the order of trades — see the kitchen renovation project scope.
What to do if you see the sign: if the kitchen has no window, no external wall, and the cooktop is on an interior wall, stop the layout planning and engage a licensed builder before any finish decisions. The ventilation constraint will drive every other decision.
What to Measure Before the Quote
Three measurements decide which tricks work in a given small kitchen: ceiling height (full-height cabinetry only works above 2.4 m), corridor width (galley needs 90 cm minimum for one cook), and the position of every door swing and window sill. Take those to the cabinetmaker before any finish decisions are locked — the cabinetry drives the layout, the layout drives the appliances, and the appliances drive the finish.