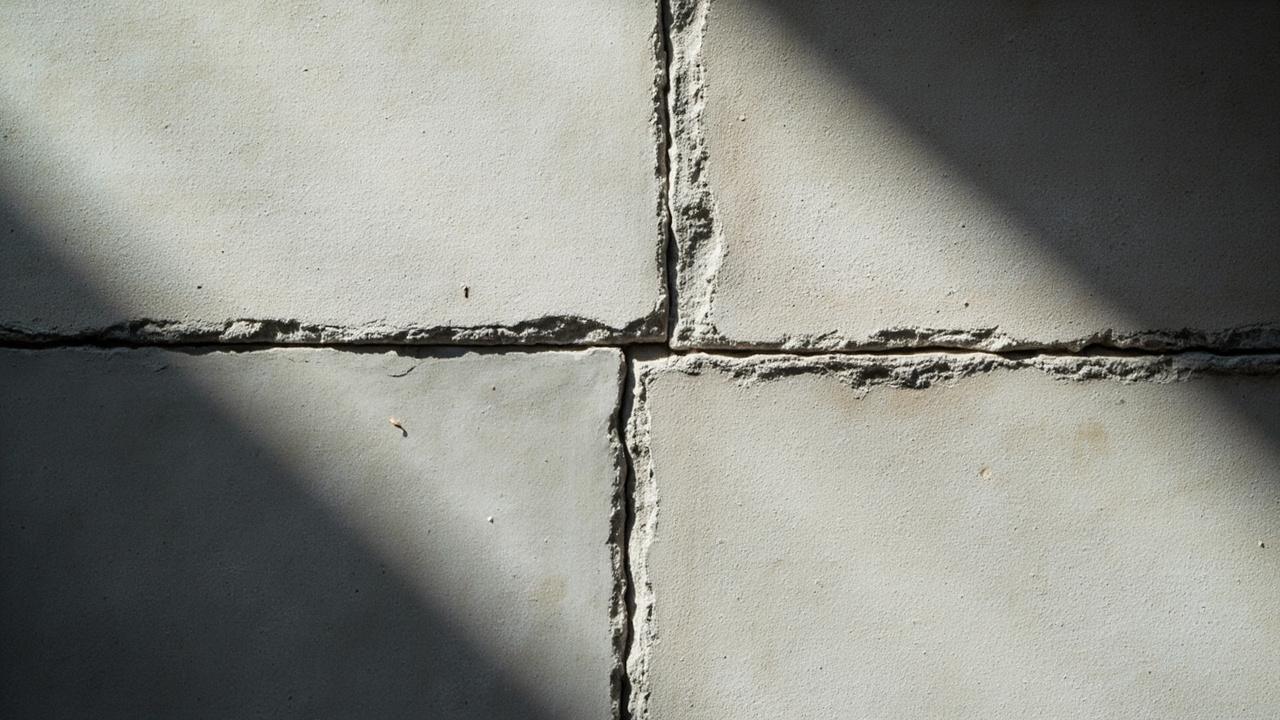

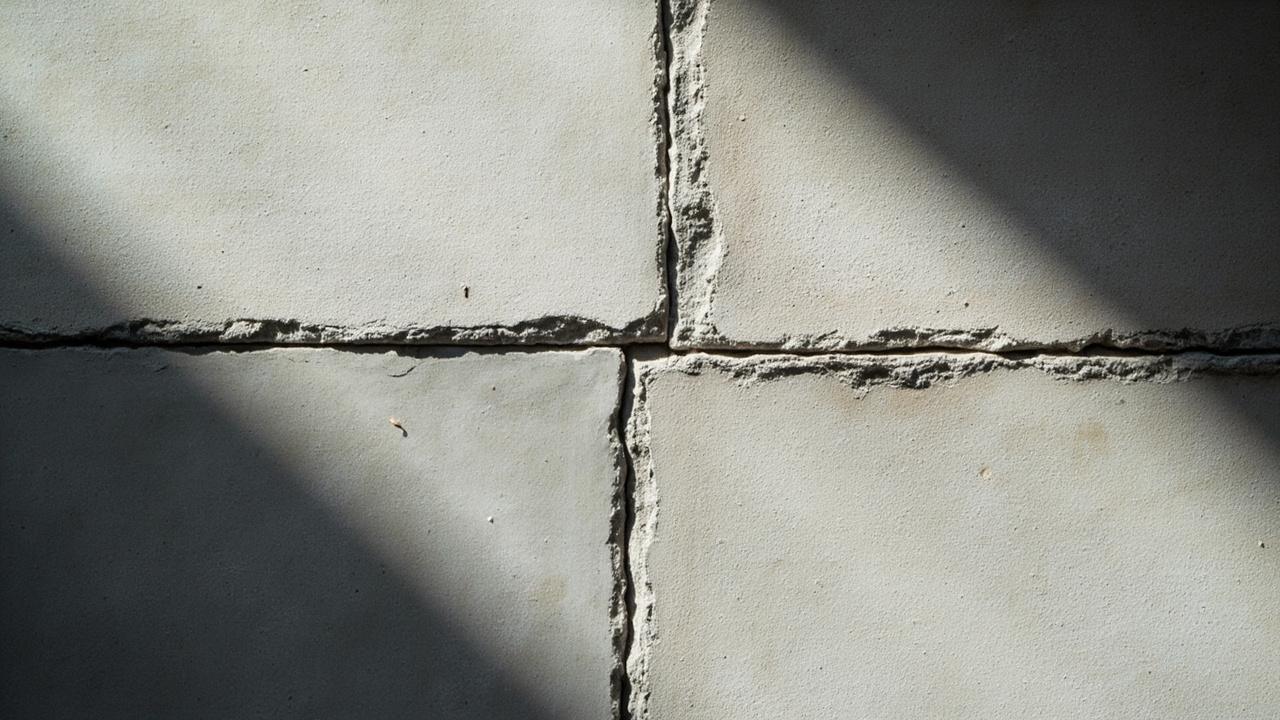
You spot a chunk missing along the control joint in your driveway or basement wall, and now you’re wondering whether to patch it, ignore it, or call someone. Concrete crack repair at control joints is not one job, it’s a diagnosis first: the joint failed because something forced it to, and the repair only lasts if you address that root cause. A spall at a control joint is concrete that has broken away from the joint edge, usually 10 – 50mm deep and 50 – 300mm long, caused by moisture infiltration, joint filler failure, or load stress concentrated on an already weakened plane.
What Spalling at a Control Joint Actually Means (and Why It’s Different from a Random Crack)
A control joint is a planned weak point. Contractors cut or tool it into fresh concrete to force shrinkage cracks to form in a straight, predictable line instead of wandering across the slab. The joint is usually 3 – 6mm wide and 25 – 33% of the slab depth (so 75 – 100mm deep in a 100mm patio pour). When that edge spalls, it means the joint itself stopped working as designed.
Three things cause this. First, water entering the joint and freezing expands by roughly 9% in volume, prying the concrete apart from the inside. Second, the joint filler (foam backer rod and polyurethane or silicone sealant) aged out, hardened, or was never installed, leaving an open channel for debris and water. Third, load stress at the joint edge from vehicle traffic, point loads, or slab curl concentrates on a thin, unreinforced edge that was never meant to take impact.
Why this matters: a spall is not cosmetic. It signals the joint has lost its ability to absorb movement. Ignore it and water reaches the sub-base, the spall widens with each freeze-thaw cycle, and the steel reinforcement (if present) begins to corrode. In a driveway that sees vehicles, a 50mm spall can grow to 150mm within two to three winters.
The Mechanism: How Water, Movement, and Filler Failure Break the Joint Edge
Concrete moves. A 3m slab expands and contracts roughly 4 – 6mm across a 20°C swing, and control joints exist to absorb that movement. The backer rod (closed-cell foam, 6 – 13mm diameter) sits in the joint to control sealant depth and prevent three-sided adhesion. The sealant (polyurethane or self-leveling silicone) stretches and compresses to keep the joint watertight.
When any part of that system fails, the joint stops being a controlled crack and becomes an exposed one. Polyurethane sealant typically lasts 5 – 8 years before UV and movement degrade it. Silicone can go 10 – 20 years. If the backer rod was omitted or the wrong diameter used, the sealant bonds to the joint base and tears under the first expansion cycle.
Here’s the chain: sealant fails → water enters → backer rod absorbs and holds moisture → freeze-thaw cycles (in climates where temperatures cross 0°C) pry the concrete edge → spall forms → spall collects more water → cycle repeats. In warm climates without freeze-thaw, the main driver is debris packing the joint and load impact on the weakened edge. Joint edge deterioration accelerates when slab thickness is under 100mm or when the joint was cut too late (after random cracking already started).
Choose Your Repair by Condition: What Fits Where
The right repair depends on three things: spall size, cause, and whether the joint still moves. A rigid patch over an active joint will crack again within months. Match the fix to the diagnosis.
- Small spall (under 25mm deep, no exposed rebar): Clean the joint, remove loose concrete back to solid material, apply a polyurethane concrete repair mortar (like Sikaflex or SikaTop), and reseal the joint with new backer rod and sealant. Budget roughly $3 – 6 per linear foot for DIY materials.
- Medium spall (25 – 50mm deep, edge crumbling): Chip back to sound concrete, cut a clean edge with an angle grinder, prime with a bonding agent, fill with polymer-modified concrete patch material in lifts, then reseal. Cost runs $6 – 12 per linear foot, or $150 – 300 for a typical 20-foot joint professionally done.
- Large spall (over 50mm deep, exposed or corroded rebar): This is structural territory. The rebar needs cleaning, possible treatment with a corrosion inhibitor, and form-and-pour repair with a structural repair mortar. Expect $15 – 25 per linear foot or a $400 – 800 professional quote for a section. If the slab is load-bearing, consult a structural engineer.
- Recurring spall after repair: The joint is still moving and the patch is too rigid. Use a flexible sealant-only repair after cleaning, or install an expansion joint cover that allows movement without edge contact.
Choose rigid mortar repair if the joint is no longer active (older slab, 5+ years, minimal movement) and the goal is to restore surface integrity. Choose flexible sealant-only repair if the slab is still curing or subject to temperature swings. For wet areas with ongoing water exposure (pool decks, exterior stair landings), prioritize a non-sag polyurethane sealant rated for immersion after cure, and ensure positive drainage slopes at 1 – 2% away from the joint.
What Field Practice Actually Looks Like (and Common Traps)
In a 40m² residential driveway with a 6-meter control joint running across the tire path, the typical failure shows as 100 – 200mm of spalled edge exactly where vehicles cross. The homeowner sees “a crack that got worse” and assumes the slab is failing. Usually, the slab is fine; the joint edge took the impact load because the sealant hardened and transferred stress to the concrete instead of absorbing it.
Here’s the repair sequence that works: 1. Cut back spalled edges to sound concrete with a 4-inch angle grinder and diamond cup wheel, creating a clean square profile at least 10mm deep. 2. Vacuum and dampen the surface, then apply a acrylic bonding agent to the repair area. 3. Fill in lifts no more than 25mm thick using a polymer-modified patching mortar, allowing each lift to set before adding the next. 4. Reinstall backer rod sized to 125% of the joint width, then tool in a self-leveling polyurethane sealant flush with the surface or 2 – 3mm recessed. 5. Cure for 24 – 48 hours before vehicle traffic.
Three common traps. First, painting over the spall with concrete patch without resealing the joint: the patch fails within one season because water still enters behind it. Second, using hydraulic cement on a moving joint: it sets hard, then cracks immediately as the slab expands. Third, skipping the backer rod to save time: sealant bonds three sides instead of two, tears under movement, and you’re back to square one within a year.
Limits, Edge Cases, and When to Call a Professional
DIY repair works for small to medium spalls on slabs less than 10 years old with no structural cracking beyond the joint. It doesn’t work when the spall is a symptom of a larger problem: subgrade settlement, underslab plumbing leak, or corroding post-tension cables. If you see spalls appearing at multiple joints in a pattern, or if the slab has tilted or cracked across its body (not at a joint), stop patching and get an assessment.
Structural concerns escalate the job. Spalls that expose rebar with visible section loss (more than 10% of bar diameter), or spalls on a load-bearing wall or elevated slab, need an engineer or specialty contractor. Same for any spall near a foundation where water infiltration could reach waterproofing or footings. The cost range for professional structural concrete repair is $25 – 50 per linear foot, and a full joint replacement on a driveway can run $1,200 – 2,500 for a 40-foot run.
For interior slabs (basement floors, garage slabs under living space), moisture control matters more than patch strength. A spall there usually means vapor barrier failure below; sealing the surface without addressing that leads to mold and efflorescence. Address the vapor barrier first, then repair the joint.
Decision guidance: Choose DIY polyurethane mortar patch if the spall is under 25mm, the joint is stable, and the slab is exterior with good drainage. Choose professional repair if the spall exceeds 50mm, exposes rebar, or recurs after a previous fix. Choose full joint reconstruction if the sealant has failed system-wide across multiple joints: spot repairs will fail one by one until you reseal the whole run.
Next, if you’re seeing spalls along with efflorescence (white powder on the surface), the issue is moisture migration through the slab, and you may need to address drainage or waterproofing before any joint repair lasts. For concrete slab cost benchmarks by region and thickness, or to compare polyurethane versus epoxy repair materials for different conditions, see the related guides.